This guest post is by Landscape Designer, Joe Ciaglia.
2023 Update – It’s your turn this season for hosting the annual family reunion! You’ve decided on planning your party as a “start of the summer kick off” barbecue. Your preparation checklist includes who will be invited, a list of foods and drinks that you will provide to your guests, party supplies that you will need, some outdoor BBQ games for your guests to enjoy, and you put together some of your favorite music, because what’s a party without some dancing?
As your family barbecue gets closer and just about when you think you’re getting everything under control, you notice your property really needs some serious landscape maintenance work…
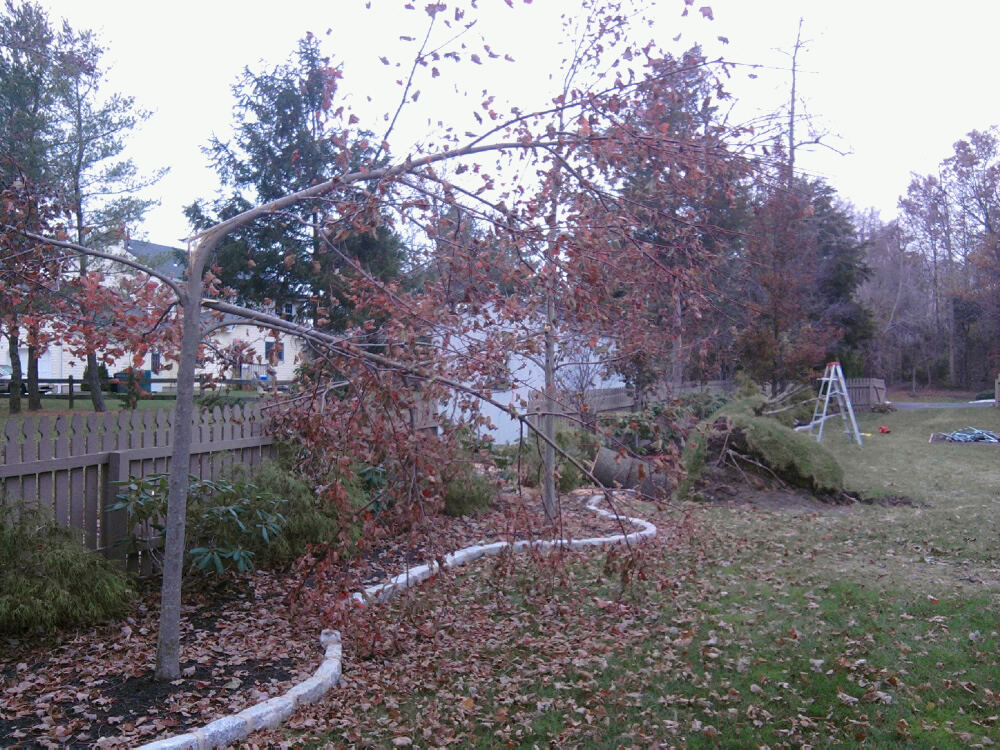
Okay, well maybe it doesn’t look quite as bad as this!
But your cousin Sally hasn’t seen your home since 1991. What will she say to herself when she pulls up to your old-fashioned overgrown landscaping? What kind of impression will your family get when they see your shoddy landscape beds? You could call in a landscape designer but you’ve practically gone over your budget just in party supplies alone.
Well I’ve got some good news – You can revive your landscaping and impress your guests just by implementing the 5 simple landscaping ideas described below!
Let’s get started because you have a lot to do as your family reunion quickly approaches. You can be certain that your Aunt Edna will think you hired a professional landscape designer once we are finished.
 Garden Tools
Reviving your landscape will require some basic garden tools, many of which you may already have stored away in your shed. You will need a garden spade, a shovel, hand pruners and a metal garden rake. You will also need a set of hedge clippers (electric or gas powered) and a wheel barrel. If you don’t already have a leaf blower, a simple plastic rake will work out just fine.
You’re also going to need some help so I would grab a family member (or two) to help you as there’s going to be some manual labor involved. Now we are going to start off with a few basic ideas and finish off with some of the more creative ideas.
And you’ll also need to use some of your own creativity & imagination as we move forward…
Step 1: Pruning and Shaping of Existing Shrubbery
The initial steps are basic – but will really neaten up your landscape beds and give them more of a manicured and kept appearance. First, you need to gently prune and trim back all of your shrubbery.
If you noticed, I said “gently” as you only want to cut back the overgrown areas.
For example, if you once had rounded evergreen shrubs (Boxwoods, Holly, etc.), then simply trim back the extra growth so the plant is rounded or circular again when you have finished with your trimming. Take your time with this as you can always trim back more if needed.
Rule of Thumb for Shrub Pruning:
It’s always better to trim back less and allow yourself some extra growth for additional pruning. If you trim back too much, it can be difficult to reshape your shrubbery. If you have larger specimens, again just cut back the growth that appears to be “hanging out” or overgrown.
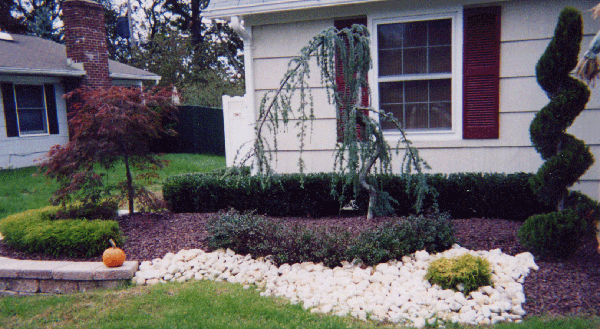
For example, if there is a Blue Atlas Cedar in your existing landscaping and a branch or two is extending out onto your walkway, trim back only those branches that are blocking your walkway. You wouldn’t want to force your guests to have to walk under or around the overgrown branches. This can also be a safety issue especially at night when limbs are not as visible.
Using a plastic rake, you can rake up all your shrub clippings and dispose of them.
One thing I also think is important at this point of your work is to remove any dead shrubs or even just any dead growth from existing shrubbery. There’s nothing worse than landscaping with dead or damaged shrubbery so be sure to take a good look.
Trimming your shrubbery once or twice a year will keep your landscaping looking fresh year after year.
Step 2: Refreshing Landscape Bed Edges and Weed Removal
Now, it’s time for weeding and redefining all your bed edges. Using your garden spade, you can cut back or redefine your landscape beds. How much you cut back really depends on the last time it was done. For example, if your landscaping was edged last season, the edging would not require as much cutting back as edging that was done 5 years ago.
By edging your beds, you will quickly see your landscaping regain its “kept” appearance.
A nice neat edge will look even nicer when you starting replenishing your beds with mulch and stone which we will discuss soon.The pictures that follow show some examples of landscape beds that were neatly edged and redefined…
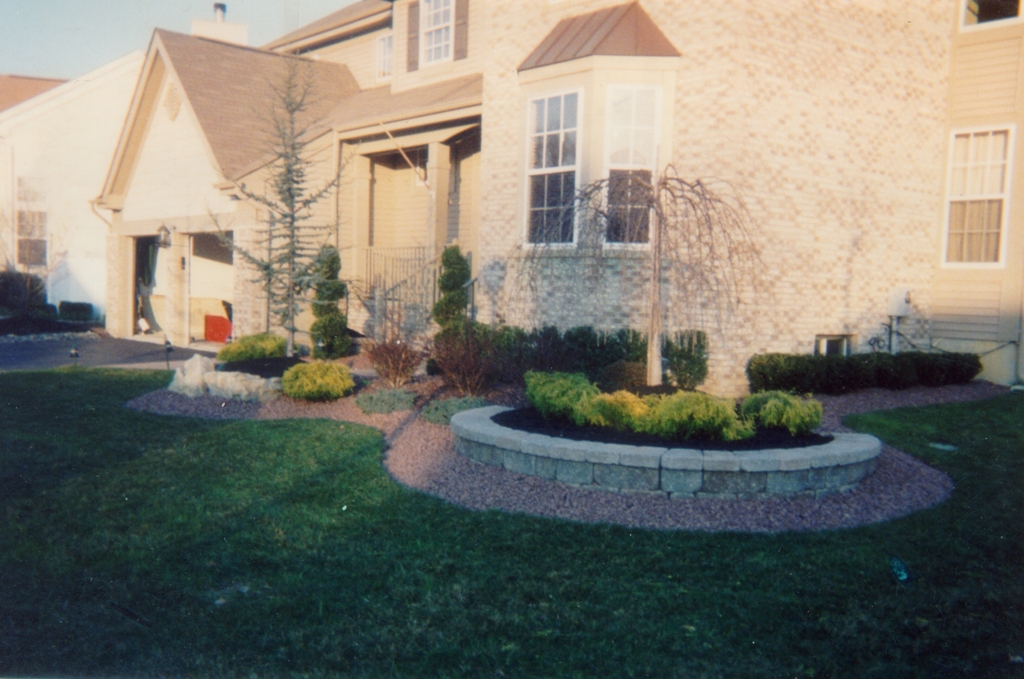
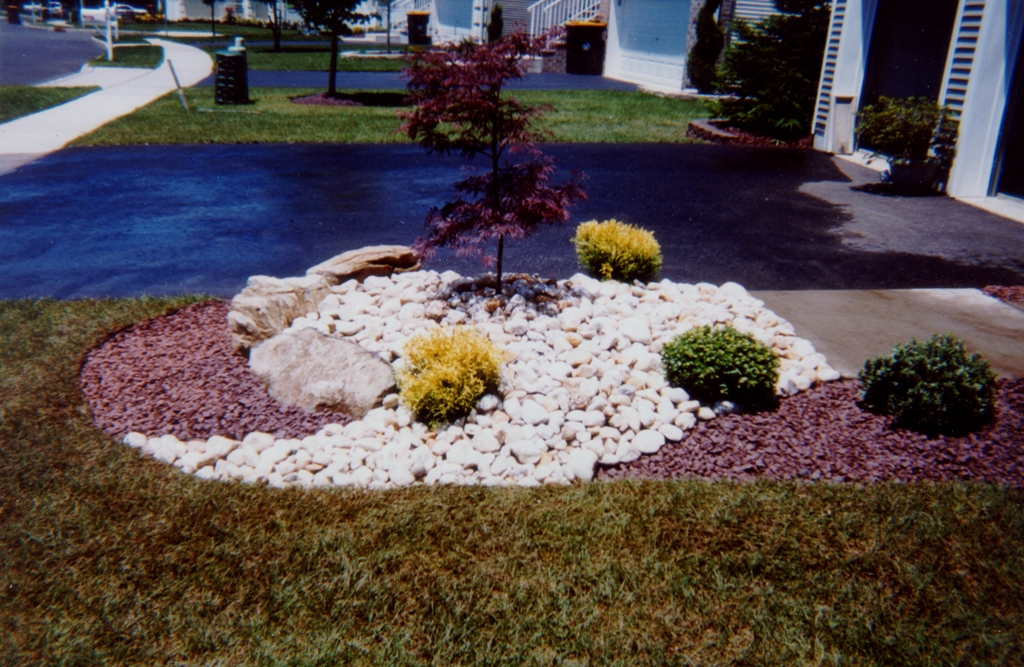
Using your garden spade or a shovel (or simply by hand), be sure to remove any weeds. You want your lush green landscape to be completely weed-free.
So at this point all your shrubbery has been trimmed back, you have removed all the shrub clippings from your landscape beds, and your landscape is neatly edged and weeded.
As a professional landscaper, I often stand back in few different areas at this point to get different views on the landscape during my work – I find this often helps to generate further creative ideas that can really make the landscape look incredible. Some of the techniques I use for this? Please read on…
Step 3: Maximize Curb Appeal – Add Color to your Landscaping
This is one of the most important of all the steps to bringing your landscape back to life and creating some attractive curb appeal – and it involves adding color to your existing landscape beds.
This can be done by planting some annuals or perennials within specific areas of your landscape. For instance, you can plant a splash of impatiens or begonias in areas such as along both sides of your front stoop or even just in front of some of your specimen trees.
Let me give you a few examples to help you as you start thinking of which areas would look best with a splash of vibrant colors.
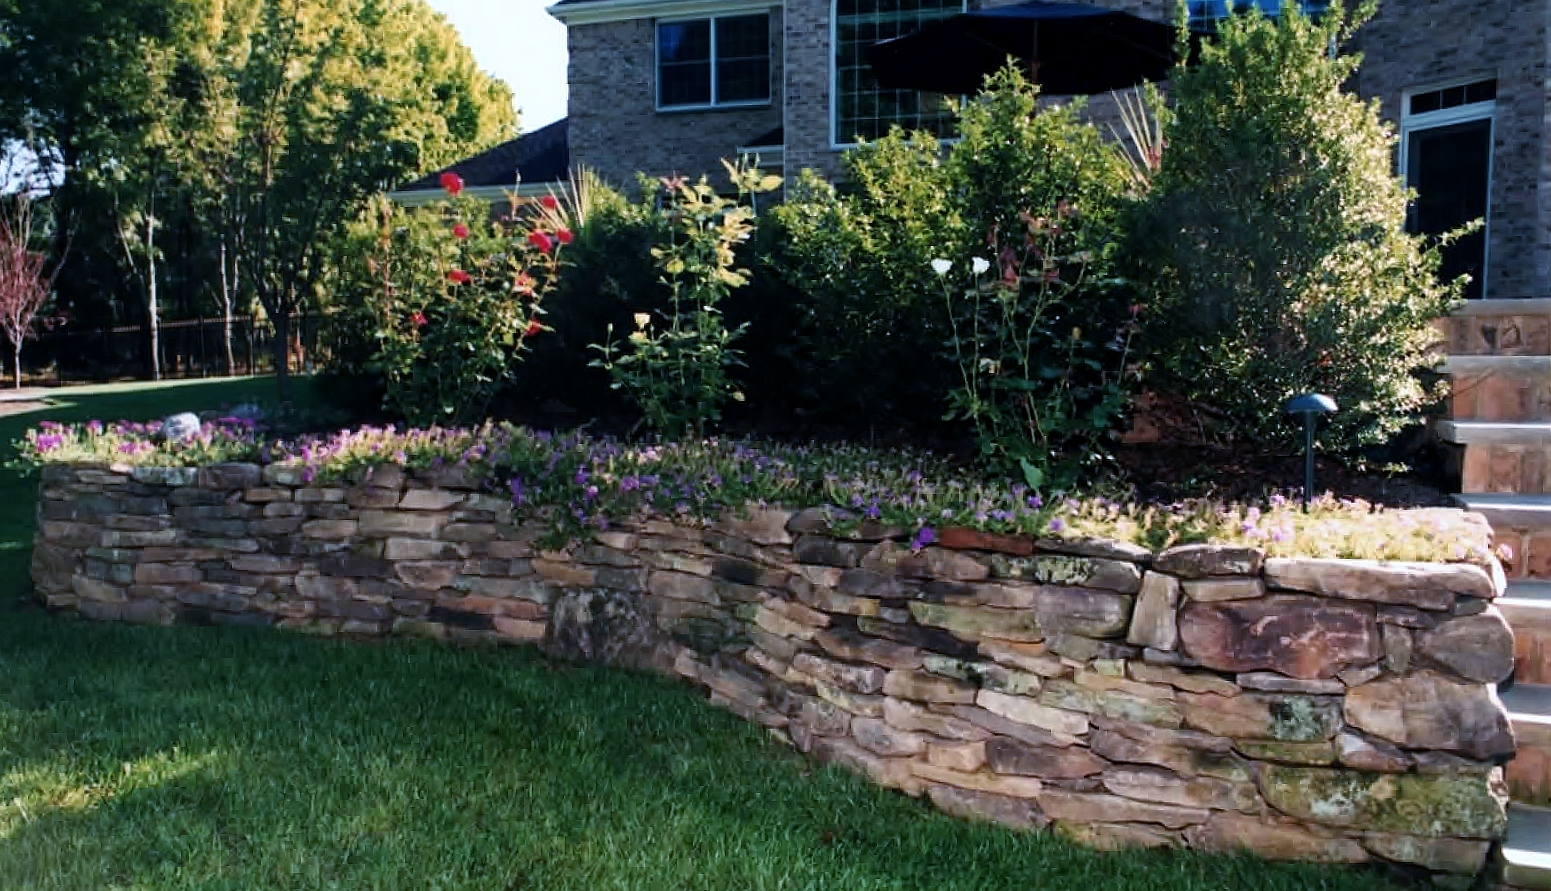
Let’s say you chose to plant some Impatiens in some specific areas. Keep in mind Impatiens are annuals that come in various colors. Being that they do best in shaded areas, you may want to plant some under some of your existing specimen trees. Some examples would be planting some Impatiens under your weeping Japanese maple, under your Pear tree at the corner of your landscape, or even along the border of your beds that don’t get as much sunlight.
If your beds do get full sun all day long, then you can plant Begonias or Geraniums in these areas. Be sure to plant closely so when your guests do arrive, these colors will really pop out and give a nice colorful touch to your new landscaping.
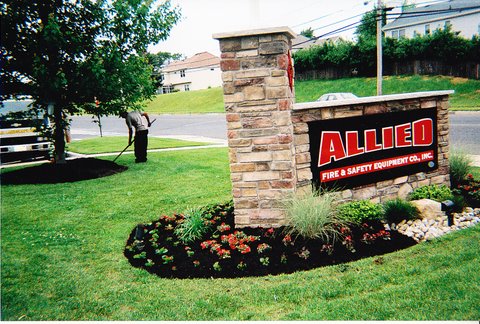
When you pick up your flats of flowers from a local nursery, be sure to ask your salesperson which annuals do best in full sun and which will thrive in full shade.
Just a quick tip as you decide on which flowers you will plant…mixing colors such as planting all pink in one area and all white in another really gives your landscape beds a nice distinctive contrast. Believe me your Uncle Richie will comment on the beautiful color scheme you put together. This can also be done with the use of perennials like Daylilies or Liriope.
However, if you would like to keep your costs down, a few flats of annuals would be most cost effective and cover a large amount of area. One last thing, be sure to use some screened potting soil when planting your new annuals or perennials.
Step 4: Accent Boulders for your Landscape
Accent boulders can make a huge impact to the curb appeal of your landscape. Weathered moss rock or boulders can come in some large sizes so you would want to choose some that are manageable. I would suggest purchasing approximately 3 to 4 boulders.
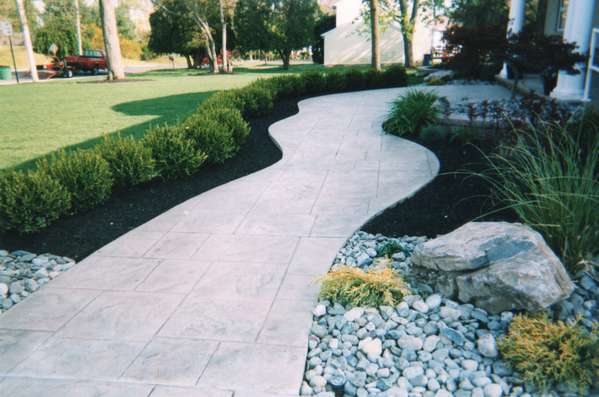
Rule of Thumb for handling Accent Boulders:
Being that you will not have large equipment on hand, you should be sure to choose boulders that can be lifted and easily handled by two people. Don’t take unnecessary risk here – these stones are heavy and you must have the appropriate man-power (or equipment) to move these.
So you are probably thinking what would I do with these boulders?
Well, let me explain how we can use these to make your landscaping even more appealing.
Your landscape boulders should be set in areas as “accent decorative rock.” You can set each boulder in areas such as in front of an entrance way, under a specimen tree or even on its own.
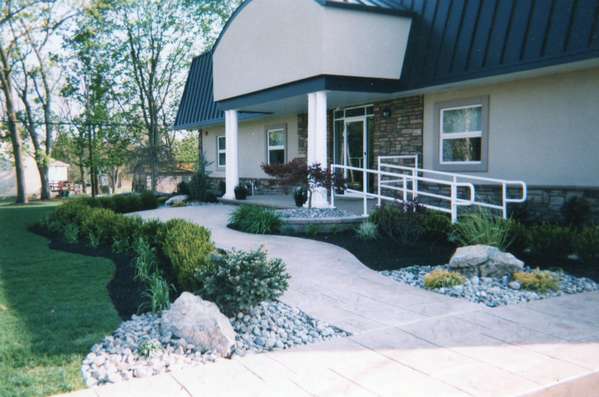
By the way, if you have some extra Begonias, it would look very attractive to plant some surrounding your boulders in specific areas. You can decide on the angle of each boulder as you go.
Step 5: Mulch and Decorative Stone
It’s now time for the finishing touches – to really impress your relatives.
The last step is to replenish your beds with fresh mulch and stone. You’ll need to call a local nursery or landscape supplier and have them deliver your mulch and decorative stone. Being a full service landscape contractor over the years, I must admit that black dyed mulch has been the most popular choice requested by customers.
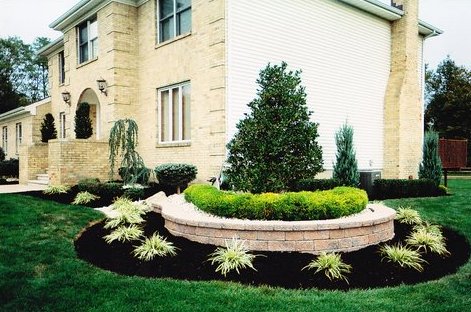
The black mulch really brings out all the color in all your plantings. You will quickly notice as you start applying your mulch that your most colorful shrubs and newly planted annuals will now really begin to pop!
You should put down somewhere between 3-4 inches of new mulch.
You also want to replenish your areas of accent stone. If your existing landscape beds do not have stone, I would recommend applying stone to a few specific areas of your landscape beds. The color contrast between the black dyed mulch and whatever stone you decide on can really take your landsaping to a new level of vibrance.
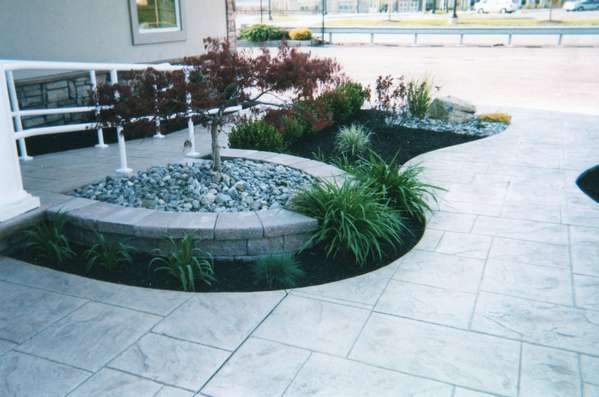
If you are adding stone to your landscape beds for the first time, you want to apply it to areas using some creativity as seen in these photos. Whether it is applying stone under your Japanese maple, or just simply around your Montgomery spruce in a circular design, it will really make a difference and add a substantial amount of beauty to your landscape.
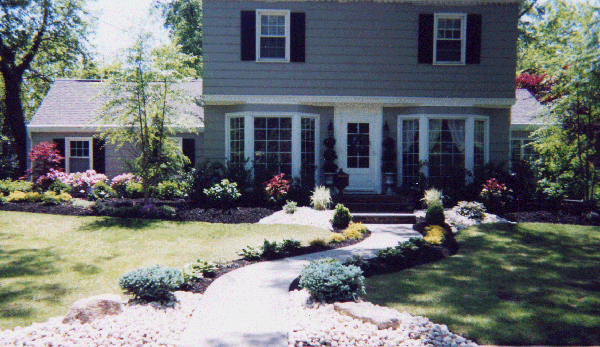
BBQ Time: Anticipating the Landscape Accolades
These landscape maintenance steps can truly turn your boring and rather dull landscaping into an eye-catching portrait of complete beauty. Your guests will think that you brought in an award winning landscape designer when they pull into your driveway.
You worked hard. Now sit back and enjoy your new landscape…
And get ready to fire up the grill!
About the Author: This article is provided by Joe Ciaglia, founder and operator of Ciaglia Landscape Design and Grounds Maintenance. Joe currently manages the landscaping needs for over 300 clients including schools, churches, banquet halls, personal residences and shopping centers – and enjoys partnering with his clients to create some extraordinary landscapes and gardens.


Some great information here Joe. Living in Australia we are supposed to prune in August which is the last month of winter. This year summer just came early and before we knew it everything was budding and flowering so I didn’t want to prune. As a result the lilly pillys which are similar to the trees in step 5 have grown very straggly instead of bunching out and filling out like the ones in the picture so I am not really sure how to prune them to make them fill out a bit more. The year before a bug got into all of them eating the leaves so they have not had a great start, but with the humidity and rain of the last few weeks they are really starting to grow. Would appreciate your advice.
Hi Jan, I actually have quite a bit of family in Australia and have visted them in the past. They all currently live in Melborne. I would suggest trimming them back as lilly pillies can handle some hard prunning. I would trim them back as much as needed (if there is very little new growth then just trim back lightly) which will allow them to push out more. If I am not mistaken, I remember my uncle mentioning that the lilly pillies are often used for “hedge planting.” The reason I mention that to you is that I do recall reading that as they are trimmed (sometimes aggresively) they grow nicely into a hedge form. That being said, dont be afraid to trim them back as long as they have already bloomed. It will actually allow them to fill out more. Good luck!
Thanks Joe, that’s what I needed to find out! We have a house a few doors away where the owner trims them into a hedge and they do make really dense hedges that you can’t see through, although he keeps his hedge low. I really like a natural look so wouldn’t make them into a solid hedge but they do look so scrappy after the insect infestation last year.
March is the beginning of our Autumn, but we have had so much rain followed by hot, humid weather that the trees are sprouting new leaves and my camellias are absolutely loaded with buds. So I will give it a couple of months when the cold weather sets in and then prune them right back when it gets cold. Many thanks for your help.
Thanks for this article Joe – so much great information in here, especially given it’s the perfect time of year to start thinking about landscaping here at Jersey Shore! One question for you… Would you recommend using landscape edging? It looks like from some of your photos you don’t use it too much. Are there pros and cons?
Hi Mark–I’ve found that many homeowners do not like edging as it only comes in either plastic or metal. It does work great neatly separating the lawn area from the actual landscape bed. It prevents the stone or mulch from washing off into the lawn area. In my experience, I’ve found that the grass eventually does grow over the edging without the proper maintenance. I would say it really is personal preference whether or not you want to use it or not. With or without the edging, one would need to make sure the grass and stones/mulch is neatly kept on an annual basis. I would suggest using a more durable border such as decorative block or stones. This would involve less maintenance over time. However, many homeowners want to keep it natural and just have the edges redefined before mulching every year.