Moving now into the final phases of the dining room trim work design, the original vision for the room is becoming a full-blown reality.
What started as a nice (but somewhat stark) dining area is now taking on a completely different overall personality. To me, this is the power of architectural trim work – and in this article and the video that follows below, I’ll focus on the accents within the dining room wall frames which were achieved using a carefully selected wallpaper.
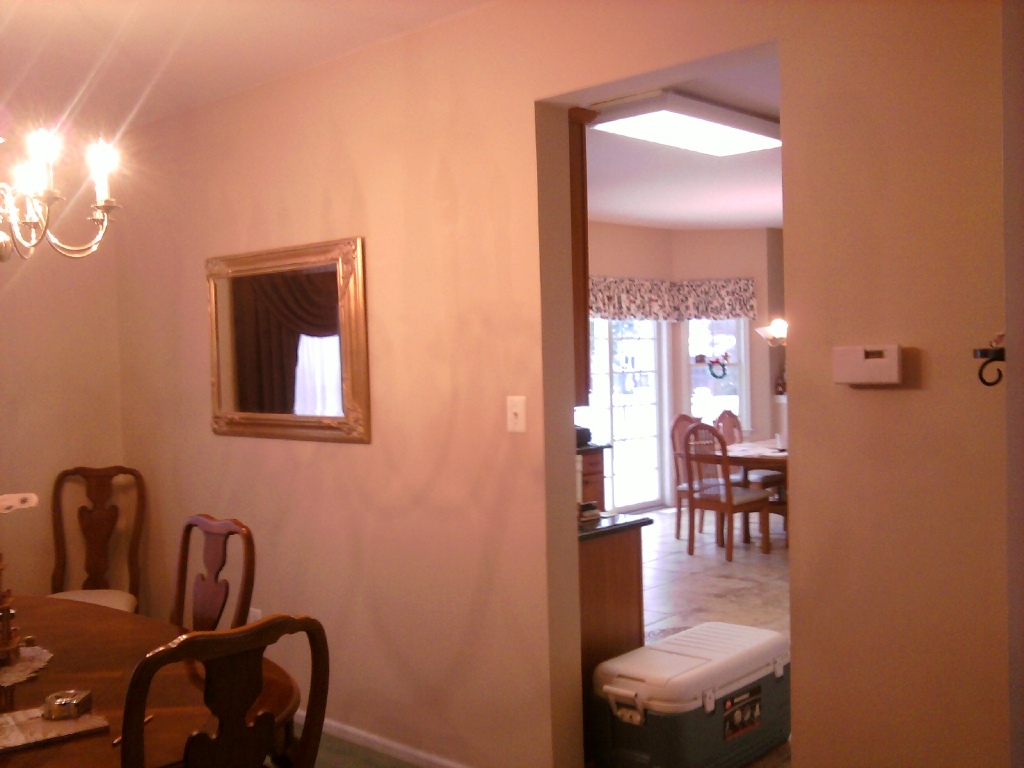
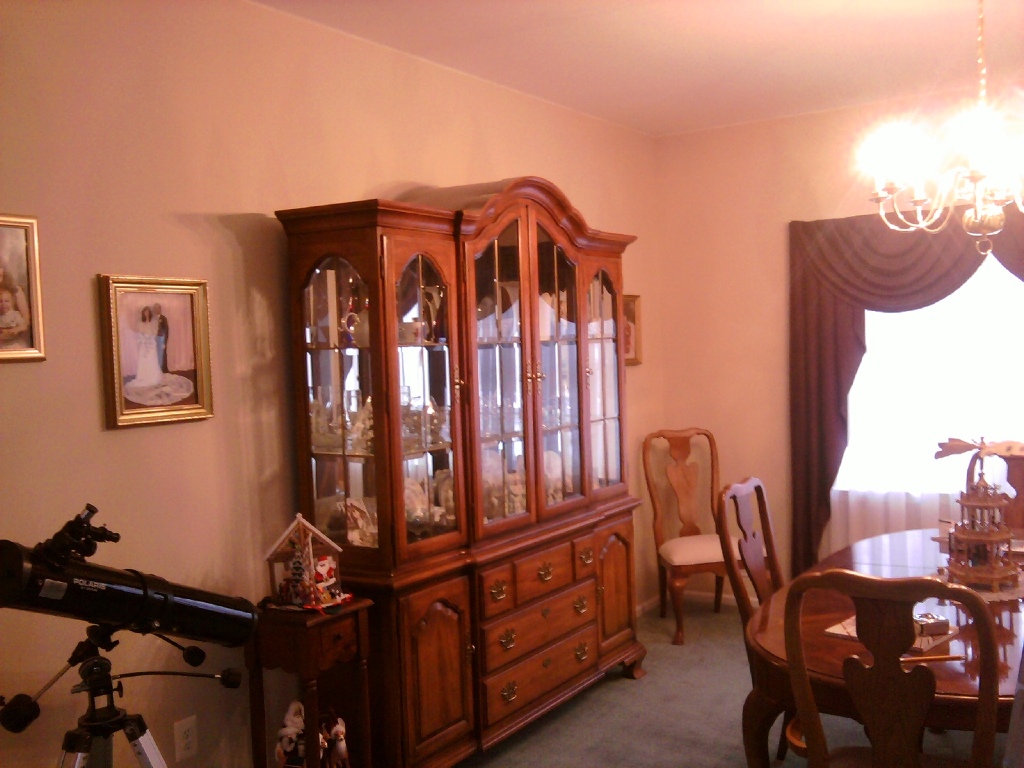
Our Dining Room before Trim Work
If you’ve seen some of the previous articles on this project, you’re familiar with the original room. If not, though, below are a few chronological links to articles and videos as the work unfolded – along with some “before” photos.
This dining room renovation has been going on, overall, for months! And while my original goal was to complete the room by Christmas, my wife can attest to me being on the ladder doing some final touch-ups while simultaneously cooking on Christmas Eve.
Shall we call that success?? ;-)
Some chronological links to past articles & videos showing the progress of this project:
- Phase 1: Drywall Repair for my Dining Room Ceiling
- Phase 2: Trim Work Design Tips – from Casing to Crown Molding
- Phase 3: Dressing Up an Archway with Fluted Casing and Rosettes
And some “before shots” of the dining room as well:
Wallpaper or Faux Finish within the Wall Frames?
This question had been in mind since I decided on the essential dining room design.
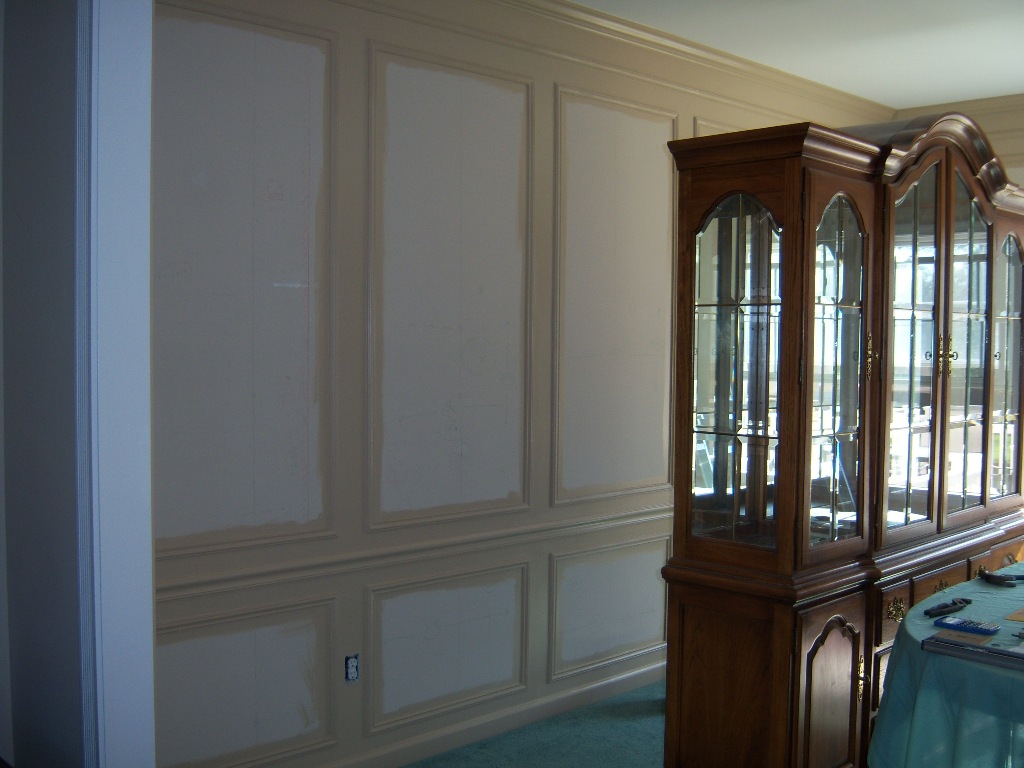
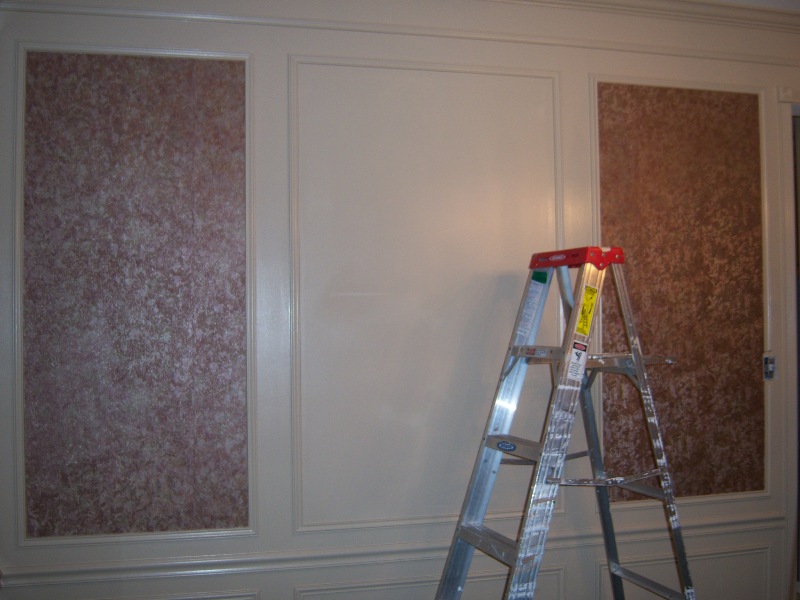
It really could have gone either way. Since this article focuses on wallpaper, it’s quite clear which way I decided to go, of course, but it was really “floating” pretty-much until I reached the point of having the dining room completely trimmed out and painted outside of the shadow boxes as shown below.
In the video that follows, I describe why I personally opted to go with wall paper for this room – and also show some examples of painted wall frames.
In addition, I give some tips to consider when selecting wallpapers overall…
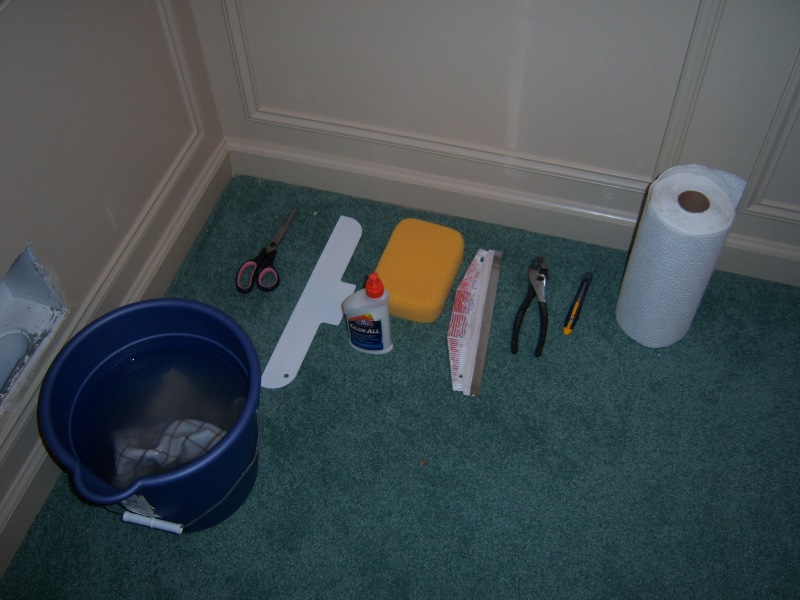
Dining Room Wallpaper Tools and Preparation
Once I had ordered my wallpaper, I was told to expect a 1-2 week delay in arrival. This is extremely typical in my experience, and so I then turned to some basic preparation for the effort. There are a few tools that are really critical. Not too many, but a few.
I’ll summarize briefly in the following sections and provide some product links, where warranted, to show exactly what I’m talking about:
A Snap-Off Razor Knife
Absolutely critical. I mean – NOT negotiable! There’s a nice snap-off razor knife pictured here. And even more, you want to have plenty of extra blades as well. With each piece of paper you hang, you’ll want to use a brand new blade tip, which means you “snap off” the old one with pliers before you start trimming the new wallpaper section. If you try to trim wallpaper with a dull razor blade – you will quickly become unhappy. It won’t go well.
A Wallpaper Tray
If you buy wallpaper that’s pre-pasted, you’ll need to soak it for some period of time in water using a wallpaper tray; this is a must-have as well. The amount of time you soak the paper will be specified by the wallpaper manufacturer; it’s important to look at the instructions that come with your wallpaper closely.
A Wallpaper Trim Guide
When getting ready to razor-cut your applied wallpaper, you need to have a precise wallpaper trim guide in hand. This is also critical. This is the edge you’ll be following with the snap-off razor knife to achieve the clean cut you must attain every single time.
A Wallpaper Table
This might or might not be necessary depending on your work area. I made all of my cuts and let the paste set up right on my carpet. But – that’s because I knew I would be replacing the carpet afterwards. Getting a dedicated table for this provides a clean and convenient workspace. You want to stay as organized and meticulous as possible with this project.
Wallpaper Paste
If you purchase wallpaper that’s not pre-pasted, you’ll need wallpaper paste along with a paste brush for the application.
Additional General Items for Wallpapering
Some other tools & supplies you’ll want to have in anticipation of your wallpaper day:
- A Ladder
- A very sharp pair of Scissors
- Piers
- Paper Towels
- A Bucket & large Sponge
And Perhaps the Most Important Item Needed for Wallpapering
Hot coffee to stay focused. The choice of mug is completely optional.
Installing the Shadow Box Wallpaper
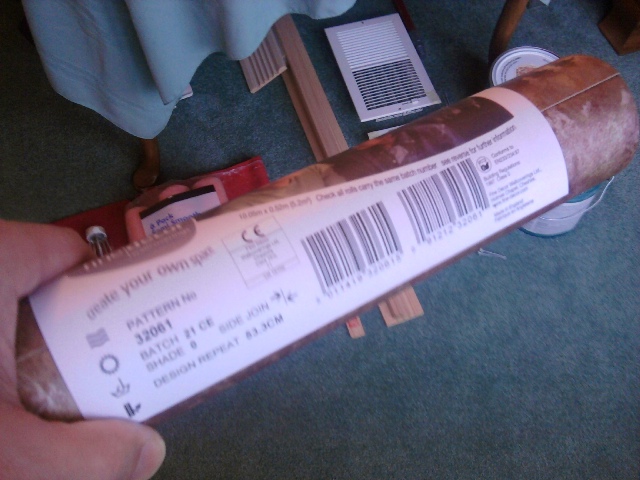
The very first thing I do every time I receive a wallpaper delivery, before even leaving the hardware store if possible, is check that the lot numbers are exactly the same for every roll. If the lot numbers are different – you may have color-matching issues at the seams. The lot number will be printed on the label; give this a careful validation:
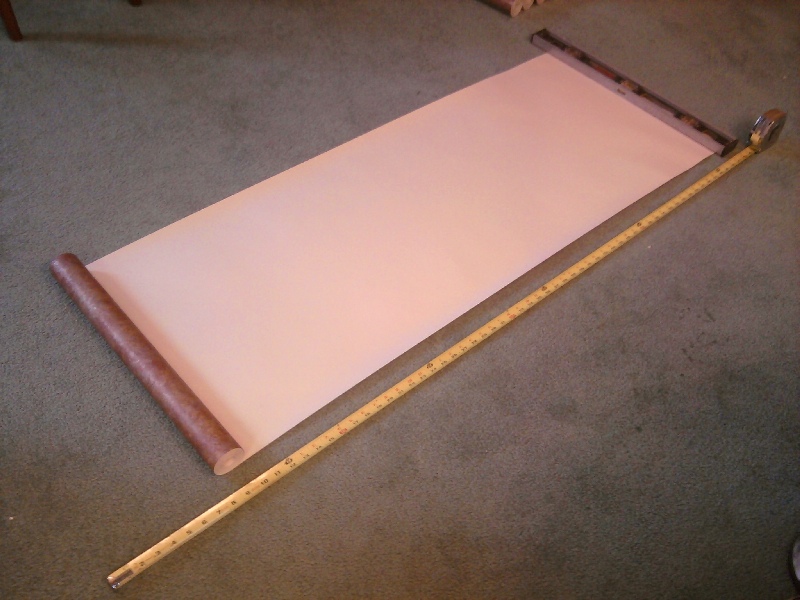
Every wallpaper piece is measured carefully as I work through each wall frame – and I try to add about 3-4 inches of waste on the top and bottom for trimming. Not too much more than that, as it can get a little sloppy if there’s too much to trim.
While I show this measurement (and make this cut) on the carpet below – keep in mind, I’m planning to replace the carpet so I’m not terribly worried about it. If you need a wallpapering table to protect your floor, be sure to get one in advance!
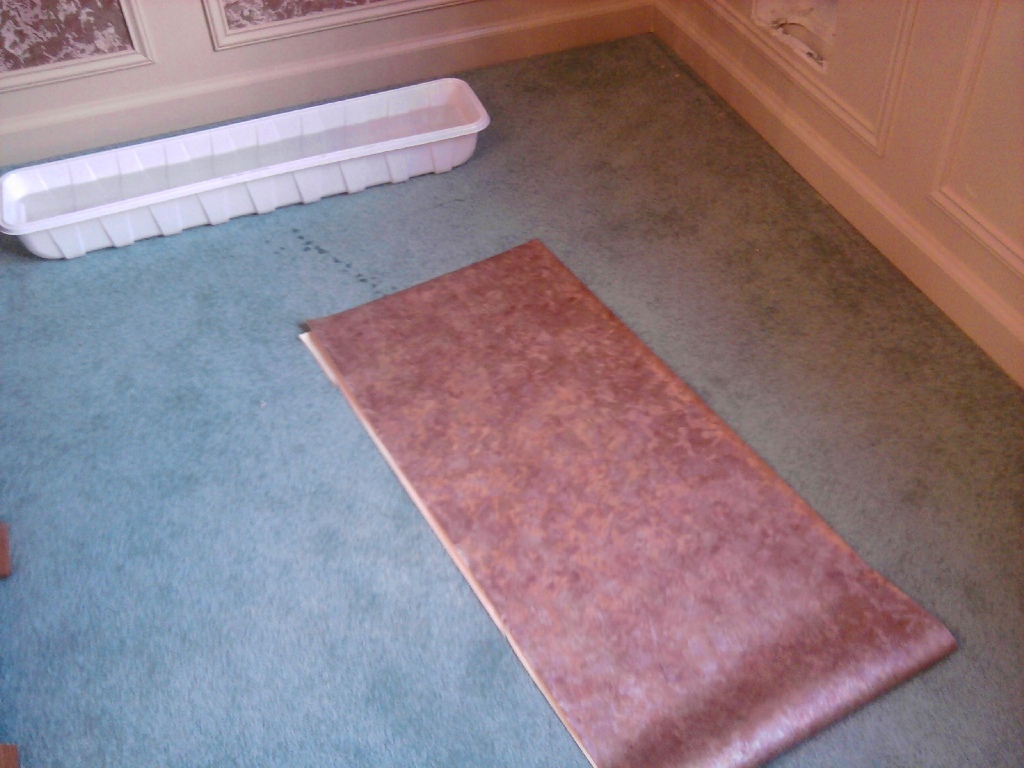
Each wallpaper piece is soaked for the time specified in the manufacturer’s instructions (on the label with the lot number usually) using the wallpaper tray as shown. When removing the paper from the tray, be sure every part of the backing is indeed wet.
Folding the pre-pasted areas on to themselves as shown below is called “booking,” and I usually let this sit for a couple of minutes. The paste sets up nicely by doing this…
Since I’m wallpapering within the wall frames, it actually makes my life a tiny bit easier than wallpapering an entire room; each shadow box is a truly separate area.
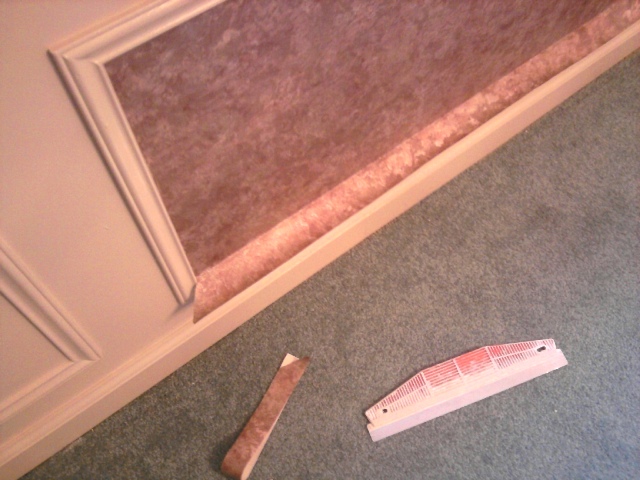
In the shot below, I’m trimming one of the lower shadow boxes.
Take a very close look at the lower left corner. Note how the bottom (untrimmed) piece of paper fits into the corner perfectly? That’s because I made what’s called a “relief cut” with my very sharp pair of scissors before using the wallpaper trim guide (also shown below) on the left side of the wall frame.
Making these relief cuts, I’ve found, is a critical technique when wallpapering to any corner.
And with this project – there are LOTS of corners…
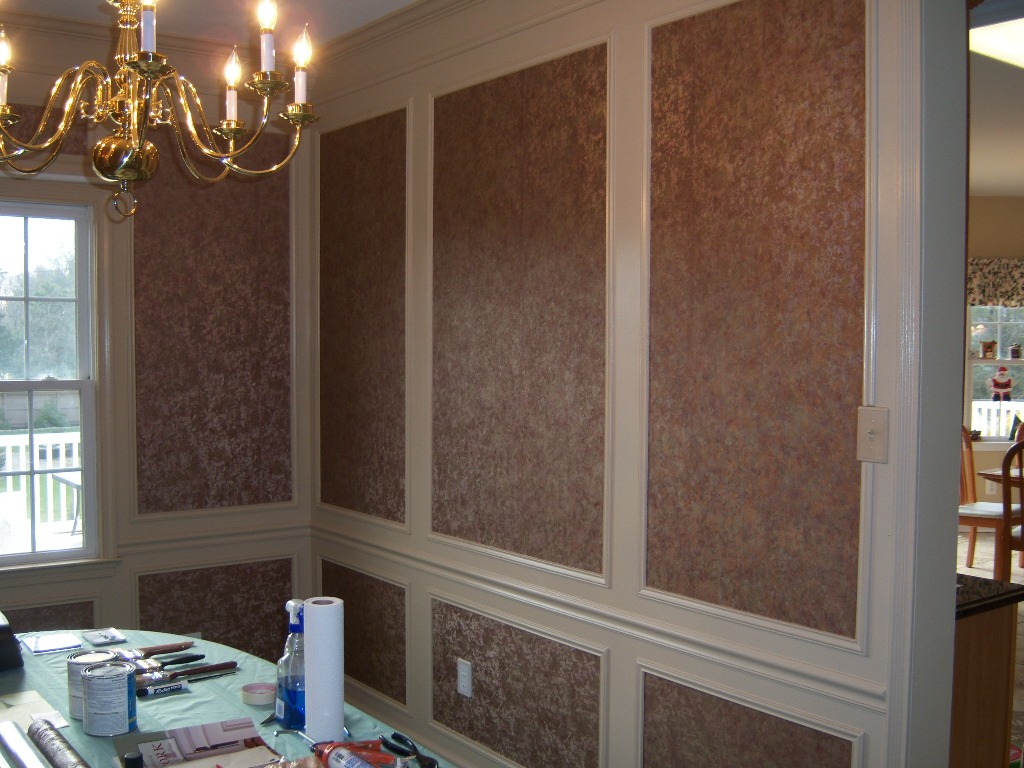
The panels are wallpapered, one after the other – and the room starts coming together…
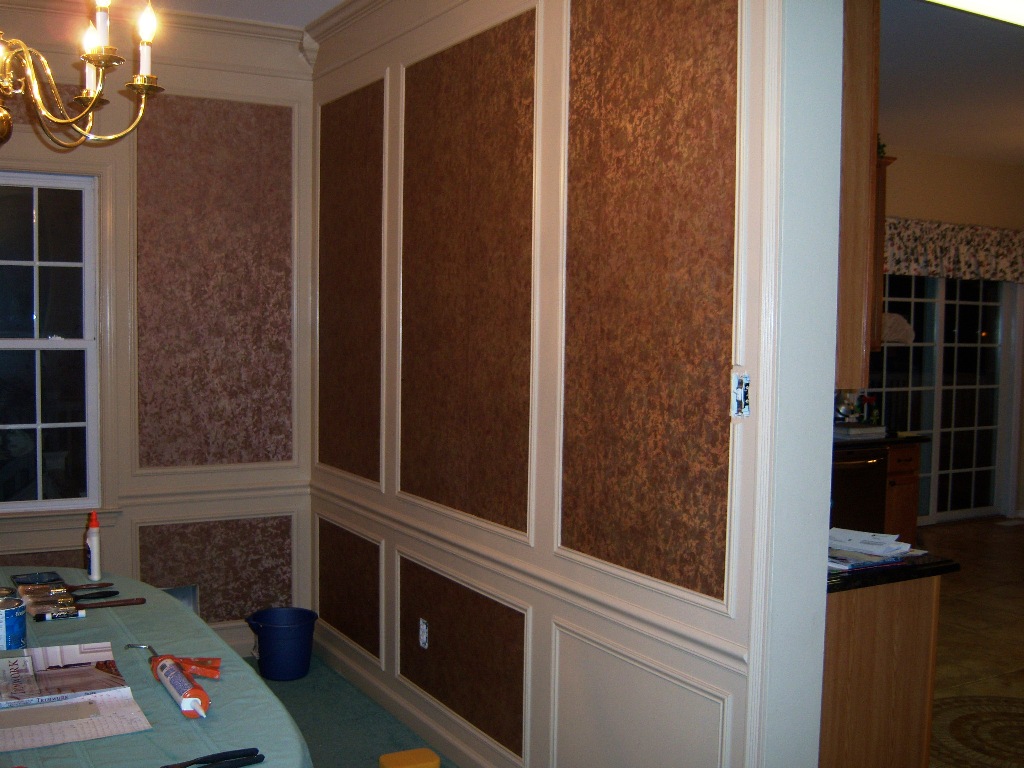
With any wallpaper project, there will be “tricky” items to deal with. Below you can see how I manage a central vacuum port. The trick here is to cleanly slice the paper right to the opening (using my scissors), knowing you’re going to subsequently piece it back together.
In some sense, this is nothing more that a “customized” seam, and when done right – it’s nearly invisible…

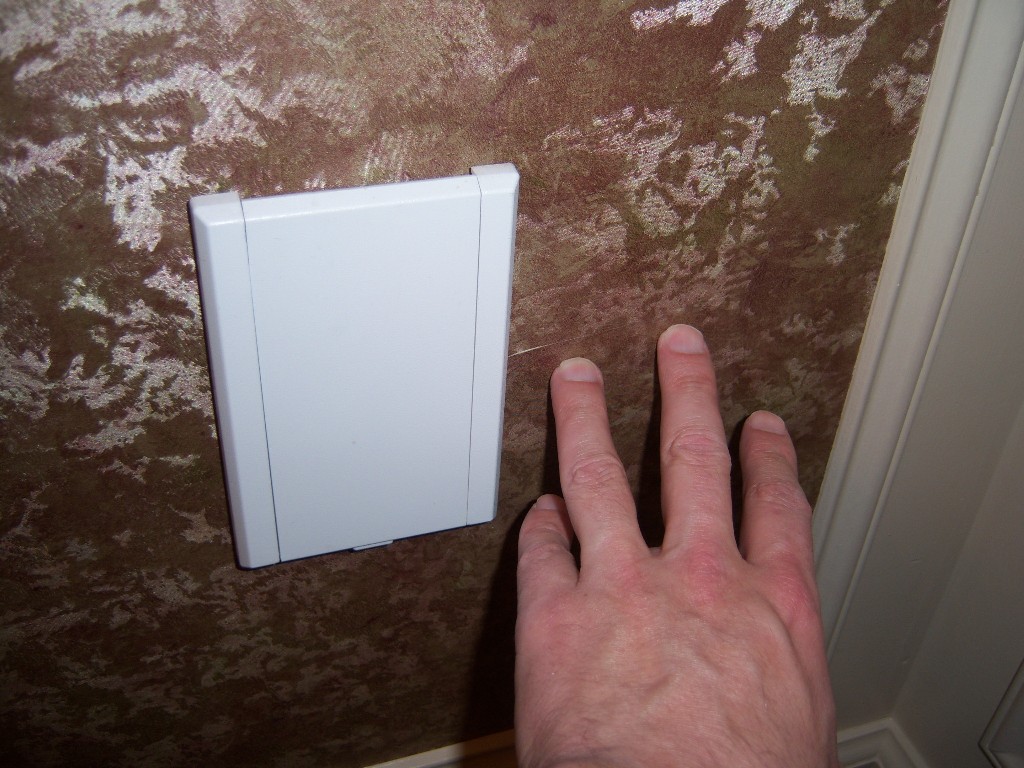
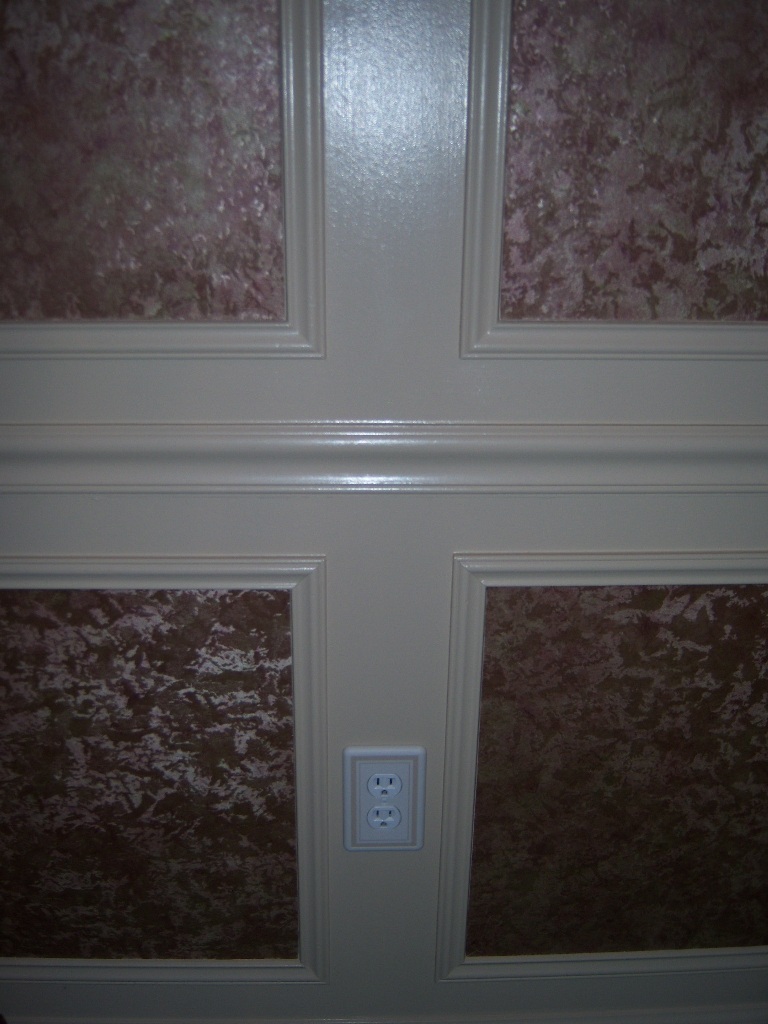
Finishing Touches – Electrical Items
Given the time I’ve invested in this project, you better believe I’m going to get the final touches just right as well! I found some outlet covers that matched the paint I used quite nicely; these were installed throughout the room.
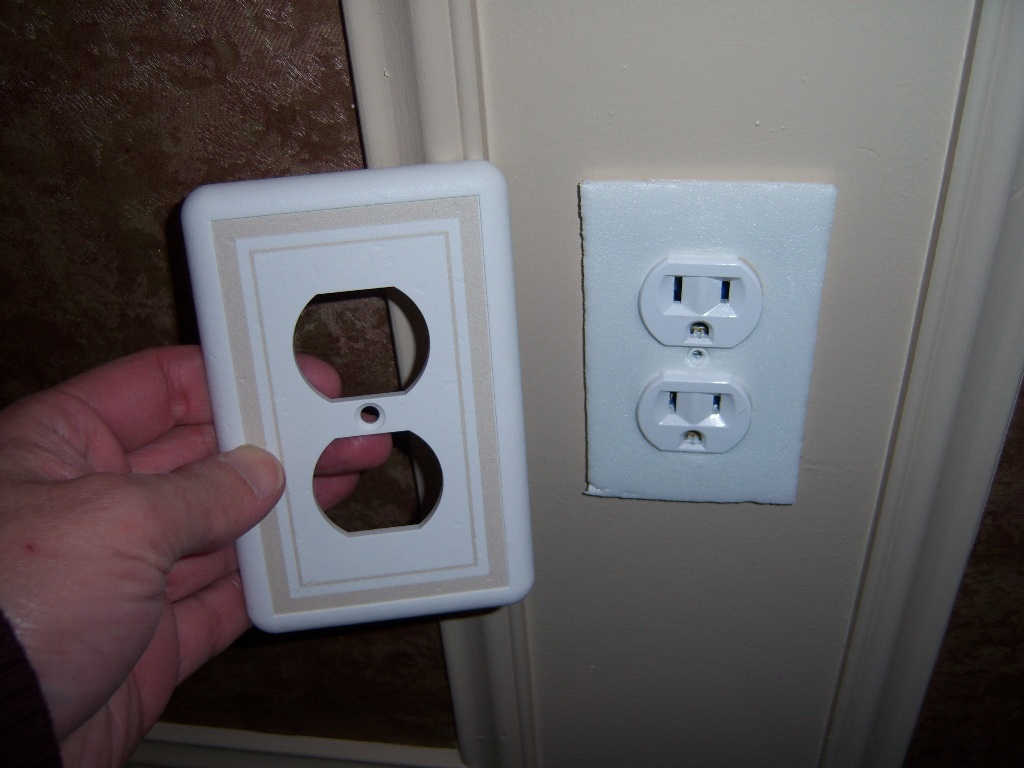
Furthermore, the switch plate cover I liked really required a different color electrical switch as well to match properly.
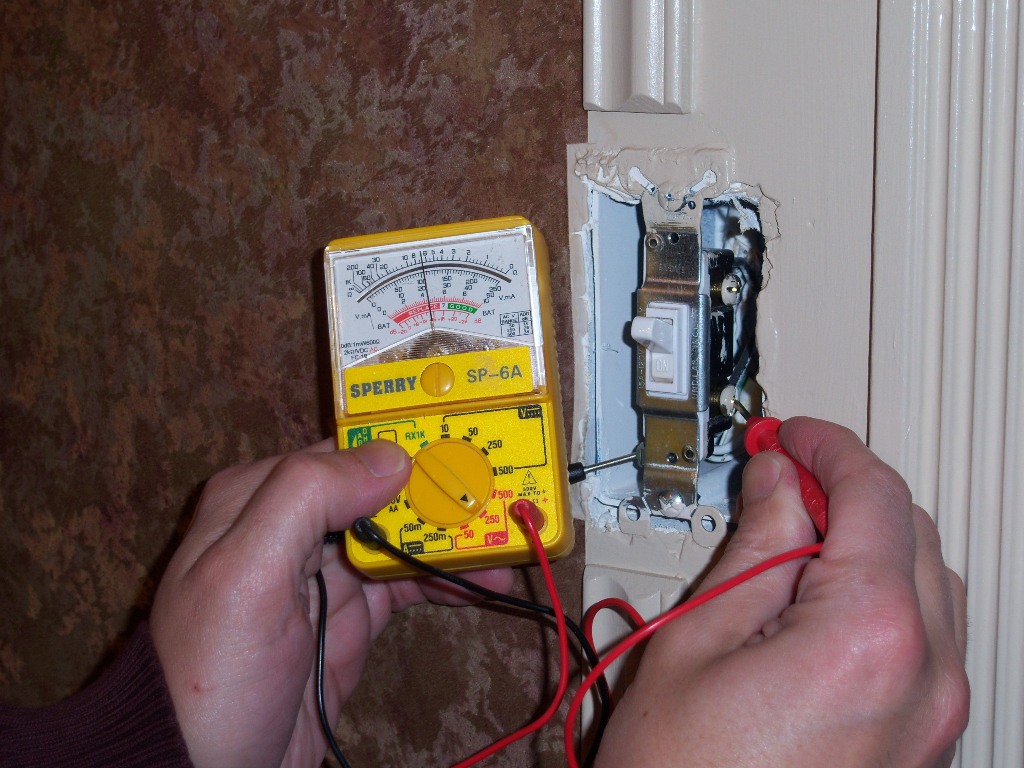
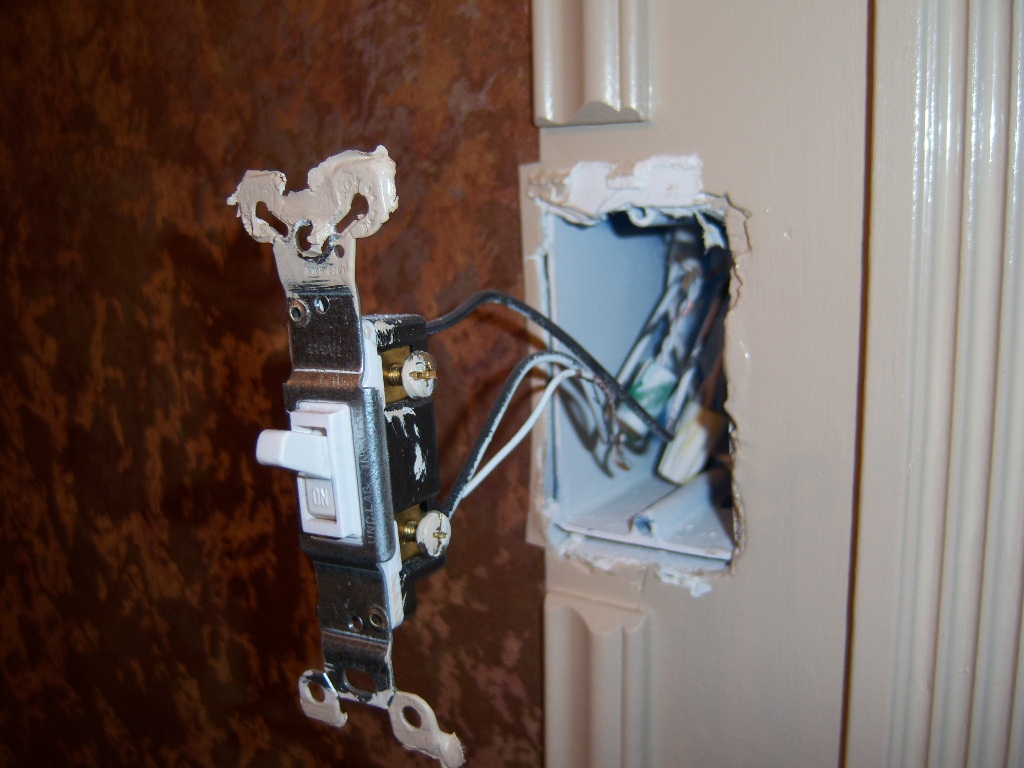
Below you can see how I validate the voltage at the switch; this which must be shut down at the breaker panel. (It’s true that if the light isn’t working – the switch should be dead, but I like to be extremely anal-retentive when it comes to electricity.)
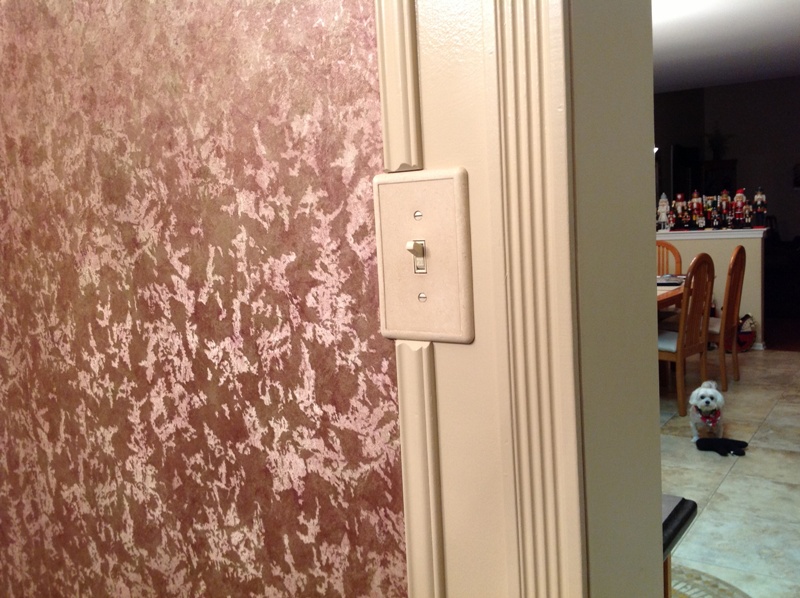
The Final Trim Work & Wallpaper
While I still need to replace the dining room carpet with a hardwood floor (which is next on-deck), this is where I get to declare the “trim work” and “wallpaper” portion of this renovation as being DONE!
Some additional shots of the room from various vantage points…
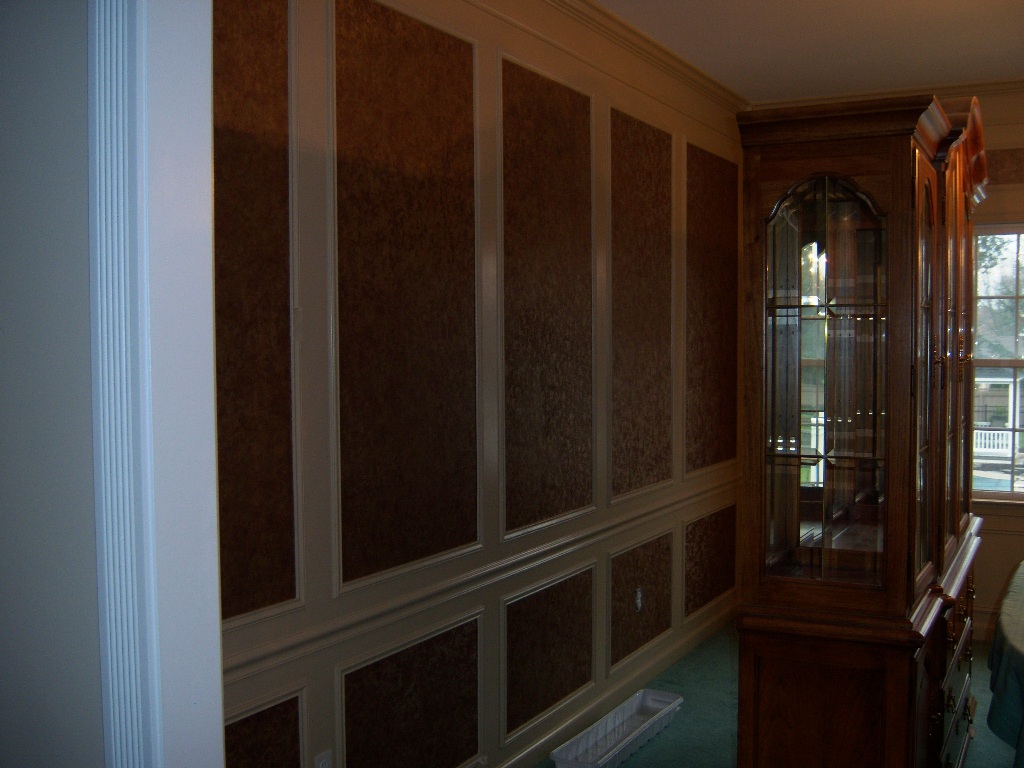
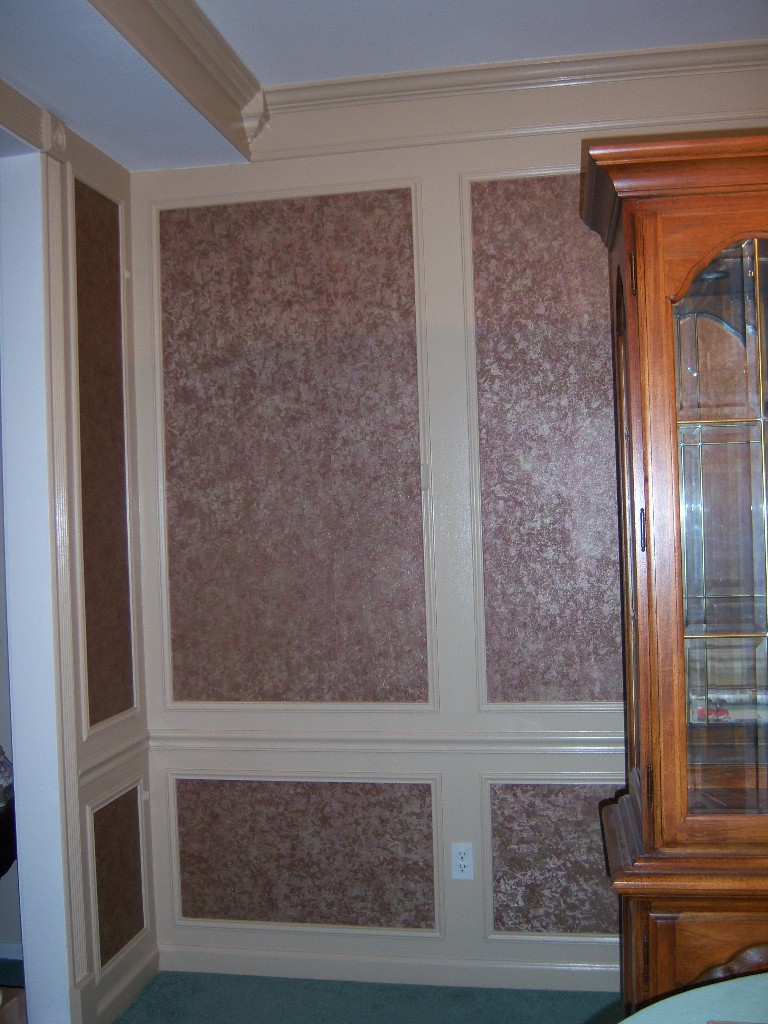
Overall – this has been a great project and I’m really happy with the outcome. It took longer than I expected, but overall we’re now looking forward to getting that floor in, putting the room back together and eventually having some friends over for dinner.
And I “sort of” made my Christmas deadline by a few hours. Well, kind of… Right?
Need Professional Help From a Local Contractor?
Related Posts
- Dressing up an Archway with Fluted Casing and Rosettes
- Trim Work Design Tips: From Casing to Crown Molding
- Hall and Stairway Trim Work: Low Maintenance Shadow Boxes
- How to Visualize Deck and Landscape Design Ideas
- Building a Removable Wood Fence Section and Gate
- Designing the Perfect Deck
- Drywall Repair for my Dining Room Ceiling

That was really a great kind of design and it is truly impressive. The idea of putting Wallpaper in shadow boxes is beautiful and I hope I can do this in my own dining room. Thanks for the wonderful ideas.
Thanks, Nicholle – If you do, would love to see some pictures! Working on the hardwood flooring now – this room is really getting there…
Another well done project Mark – I’m sure you could probably do wonders on our little box on stilts here in Australia! Also have to agree Xmas and Halloween don’t quite get together, but hey, sometimes you have to go with the flow :)