I started my full-house rehab 5 years ago; it was supposed to be a 3-year plan.
We’ll complete all the inside stuff this year, finally. Because… life intercedes as it does! But this rehab plan included 3 bathrooms. Two full baths and a powder room – and the demolition took us to the studs in two of the bathrooms and to the sub-floor in all three. Which brings me to the topic of this article – my ‘adventures’ with both Schluter [DITRA] and Cement Board under the new tile floors.
How were these to work with? What material (Schluter vs. Cement Board) did I find worked best? And what would I do if I had another dozen-or-so bathrooms to rehab??
Bathroom Sub-Floor 1 – Schluter DITRA & Mortar Bed
My Powder Room was the first of the three bathrooms I had to design, demo, and rebuild.
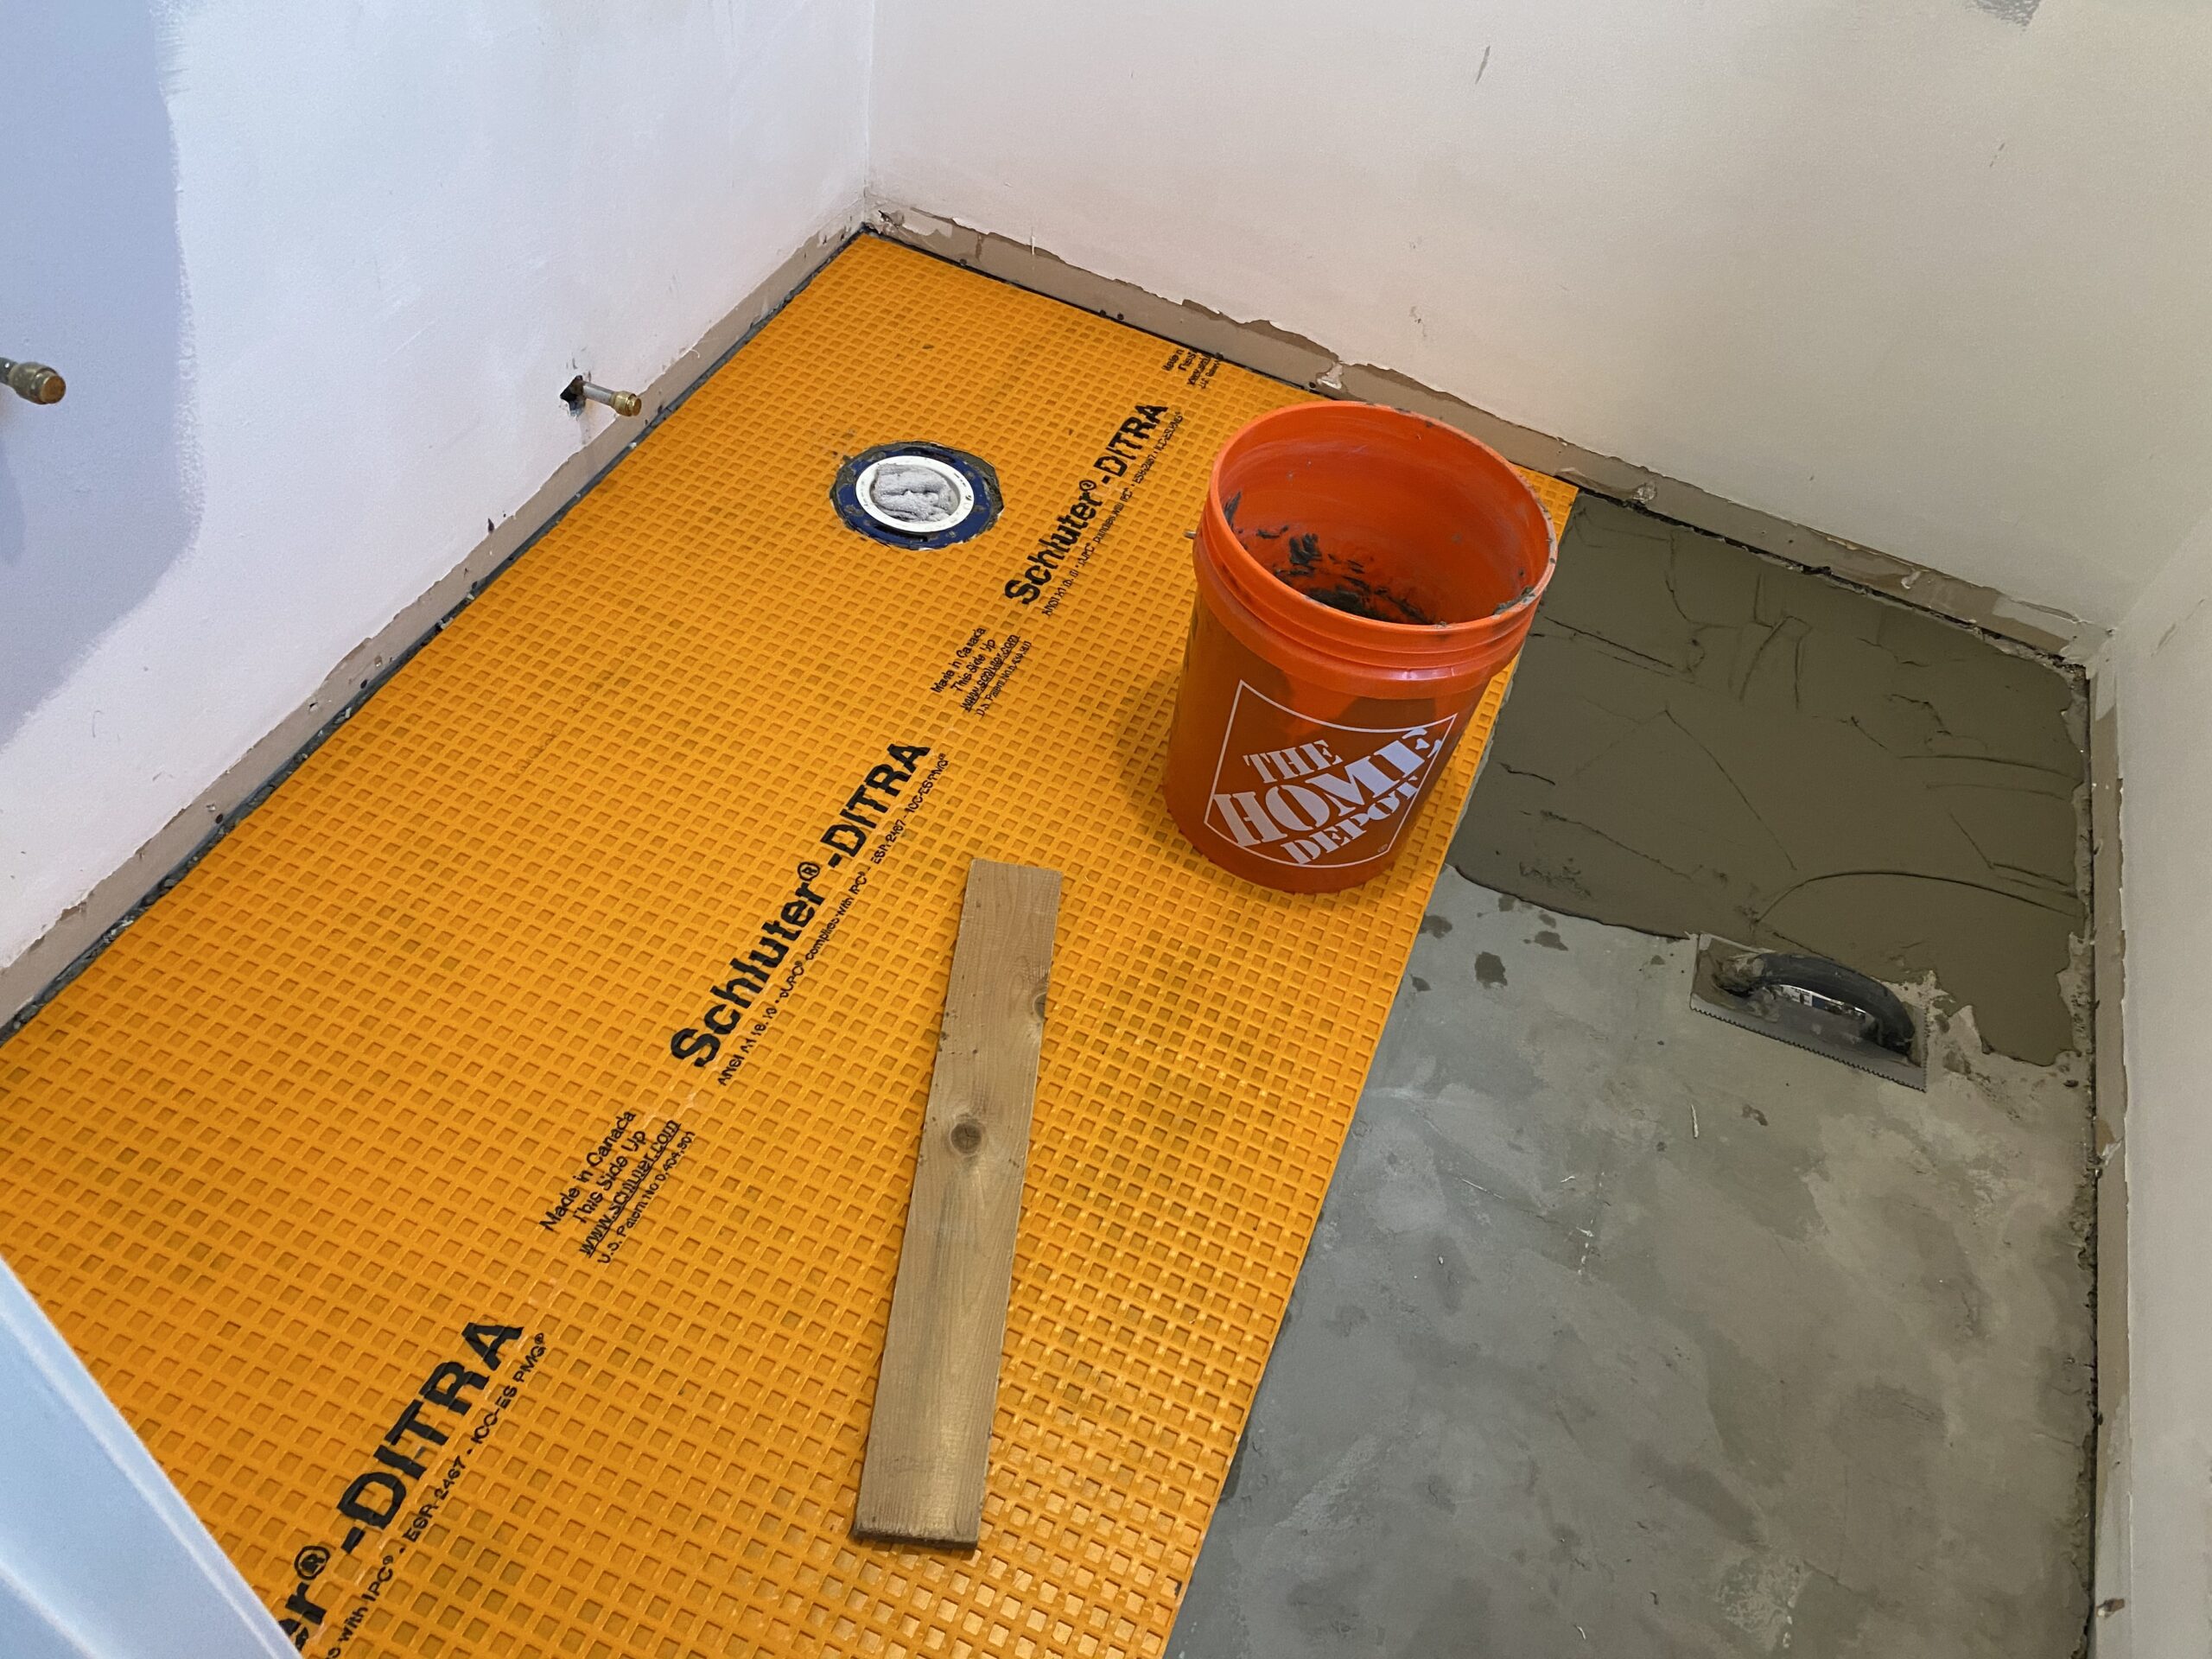
In fact, I wrote an entire article on this one – you can have a look right here if you want. But for now – note in the images just above and below: I applied Schluter DITRA (the orange, waffle-textured, plastic sheet) over an existing mortar bed.
I did this because I wanted to ‘test’ the Schluter installation – get a sense of how it was to work with. And I did this in what I viewed as the lowest risk of all three bathrooms…
The existing mortar bed would have been fine all by itself.
It had been there for two decades prior, with no problems at all. And I knew there was a minimal chance of water problems in this bathroom – as there was nothing but a small vanity and a toilet. Plus, I had full visibility and access from the basement below if I ever needed it.
So again, this was the lowest risk bath to start with, in my view. And this is where I could install the Schluter simply to ‘test’ working with it.
Working with Schluter Ditra
There’s no question, Ditra can form a 100% water-impenetrable seal.
It was a little hard to work with simply because you have to apply thin set below, then work with filling the ‘waffles’ on top while also applying mortar for the base of your tiles above. It all makes perfect sense, of course – to get an ultimate waterproof barrier.
In essence, you end up with mortar-sandwiched plastic above your sub-floor (which was a mortar bed over plywood for me in this case) – and thin set mortar below your tile. So more work? Yes. Worth it?? I think yes, definitely. Especially in bathrooms that are used every day, multiple times each day, for showers and baths – like my Master Bathroom, which is now 100% Schluter: Ditra and Kerdi both. We’ll get to that – as that was my final bathroom rehab.
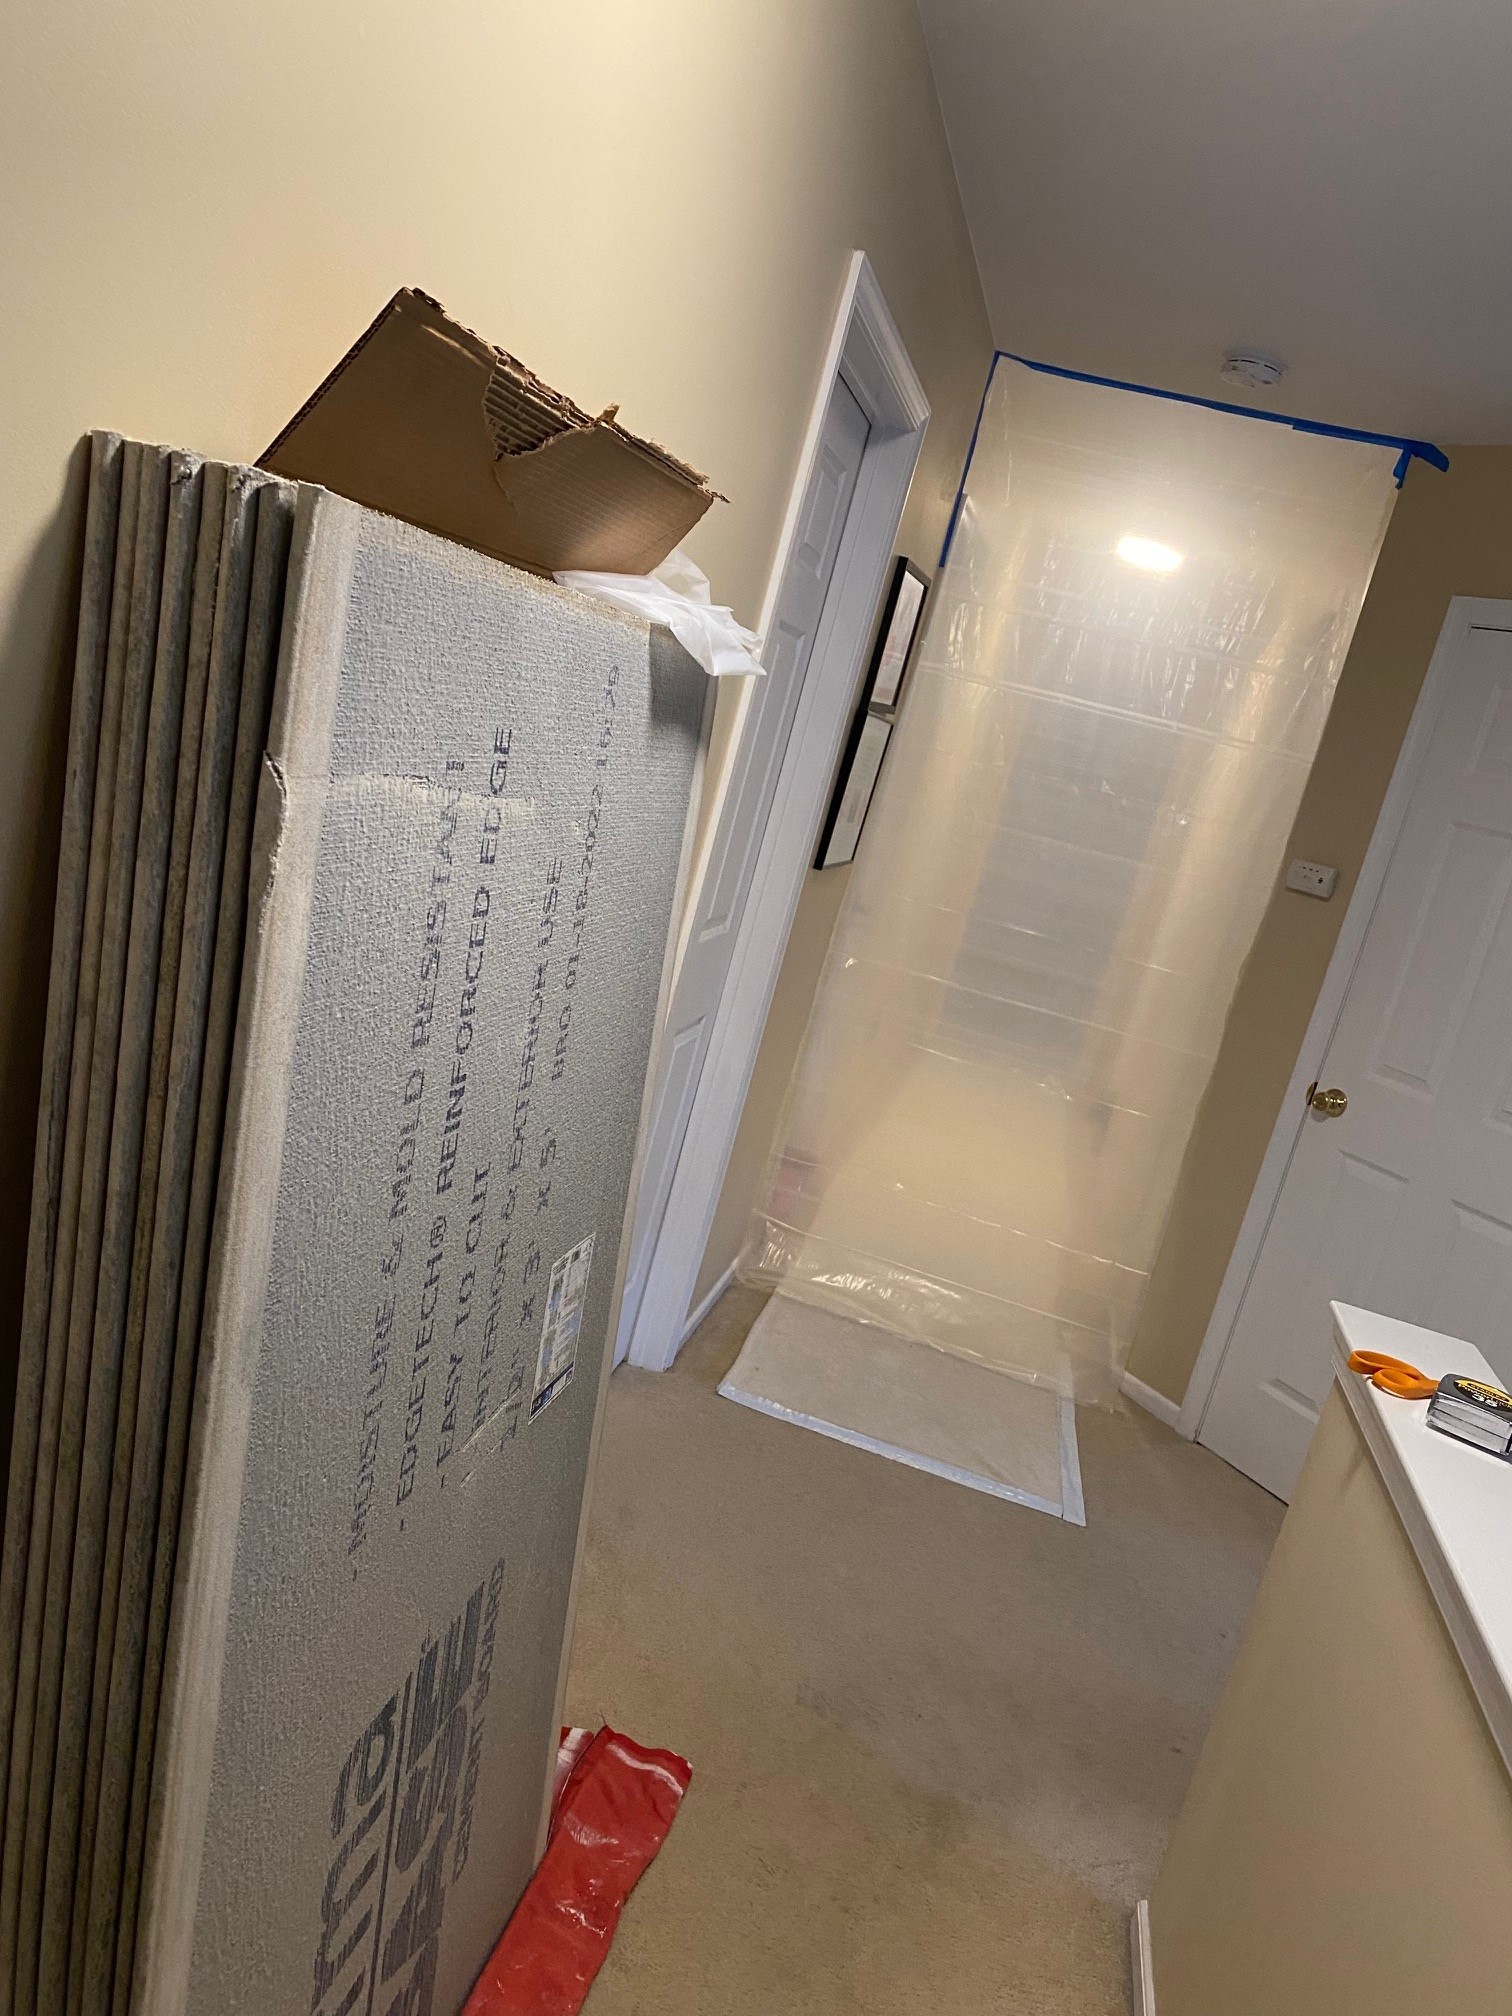
Bathroom Sub-Floor 2: Cement Board
Why did I use Cement Board in my guest bathroom?
Two Reasons – the first being that my plywood sub-floor was damaged.
This was initially the kids bathroom, and it got a huge amount of use. There was a slow, insidious water problem that had rotted out the plywood in an area near the bath tub and shower – you can see it in the following photo…
I repaired the plywood, but still wanted an extra layer of ‘solidity,’ even after making those repairs.
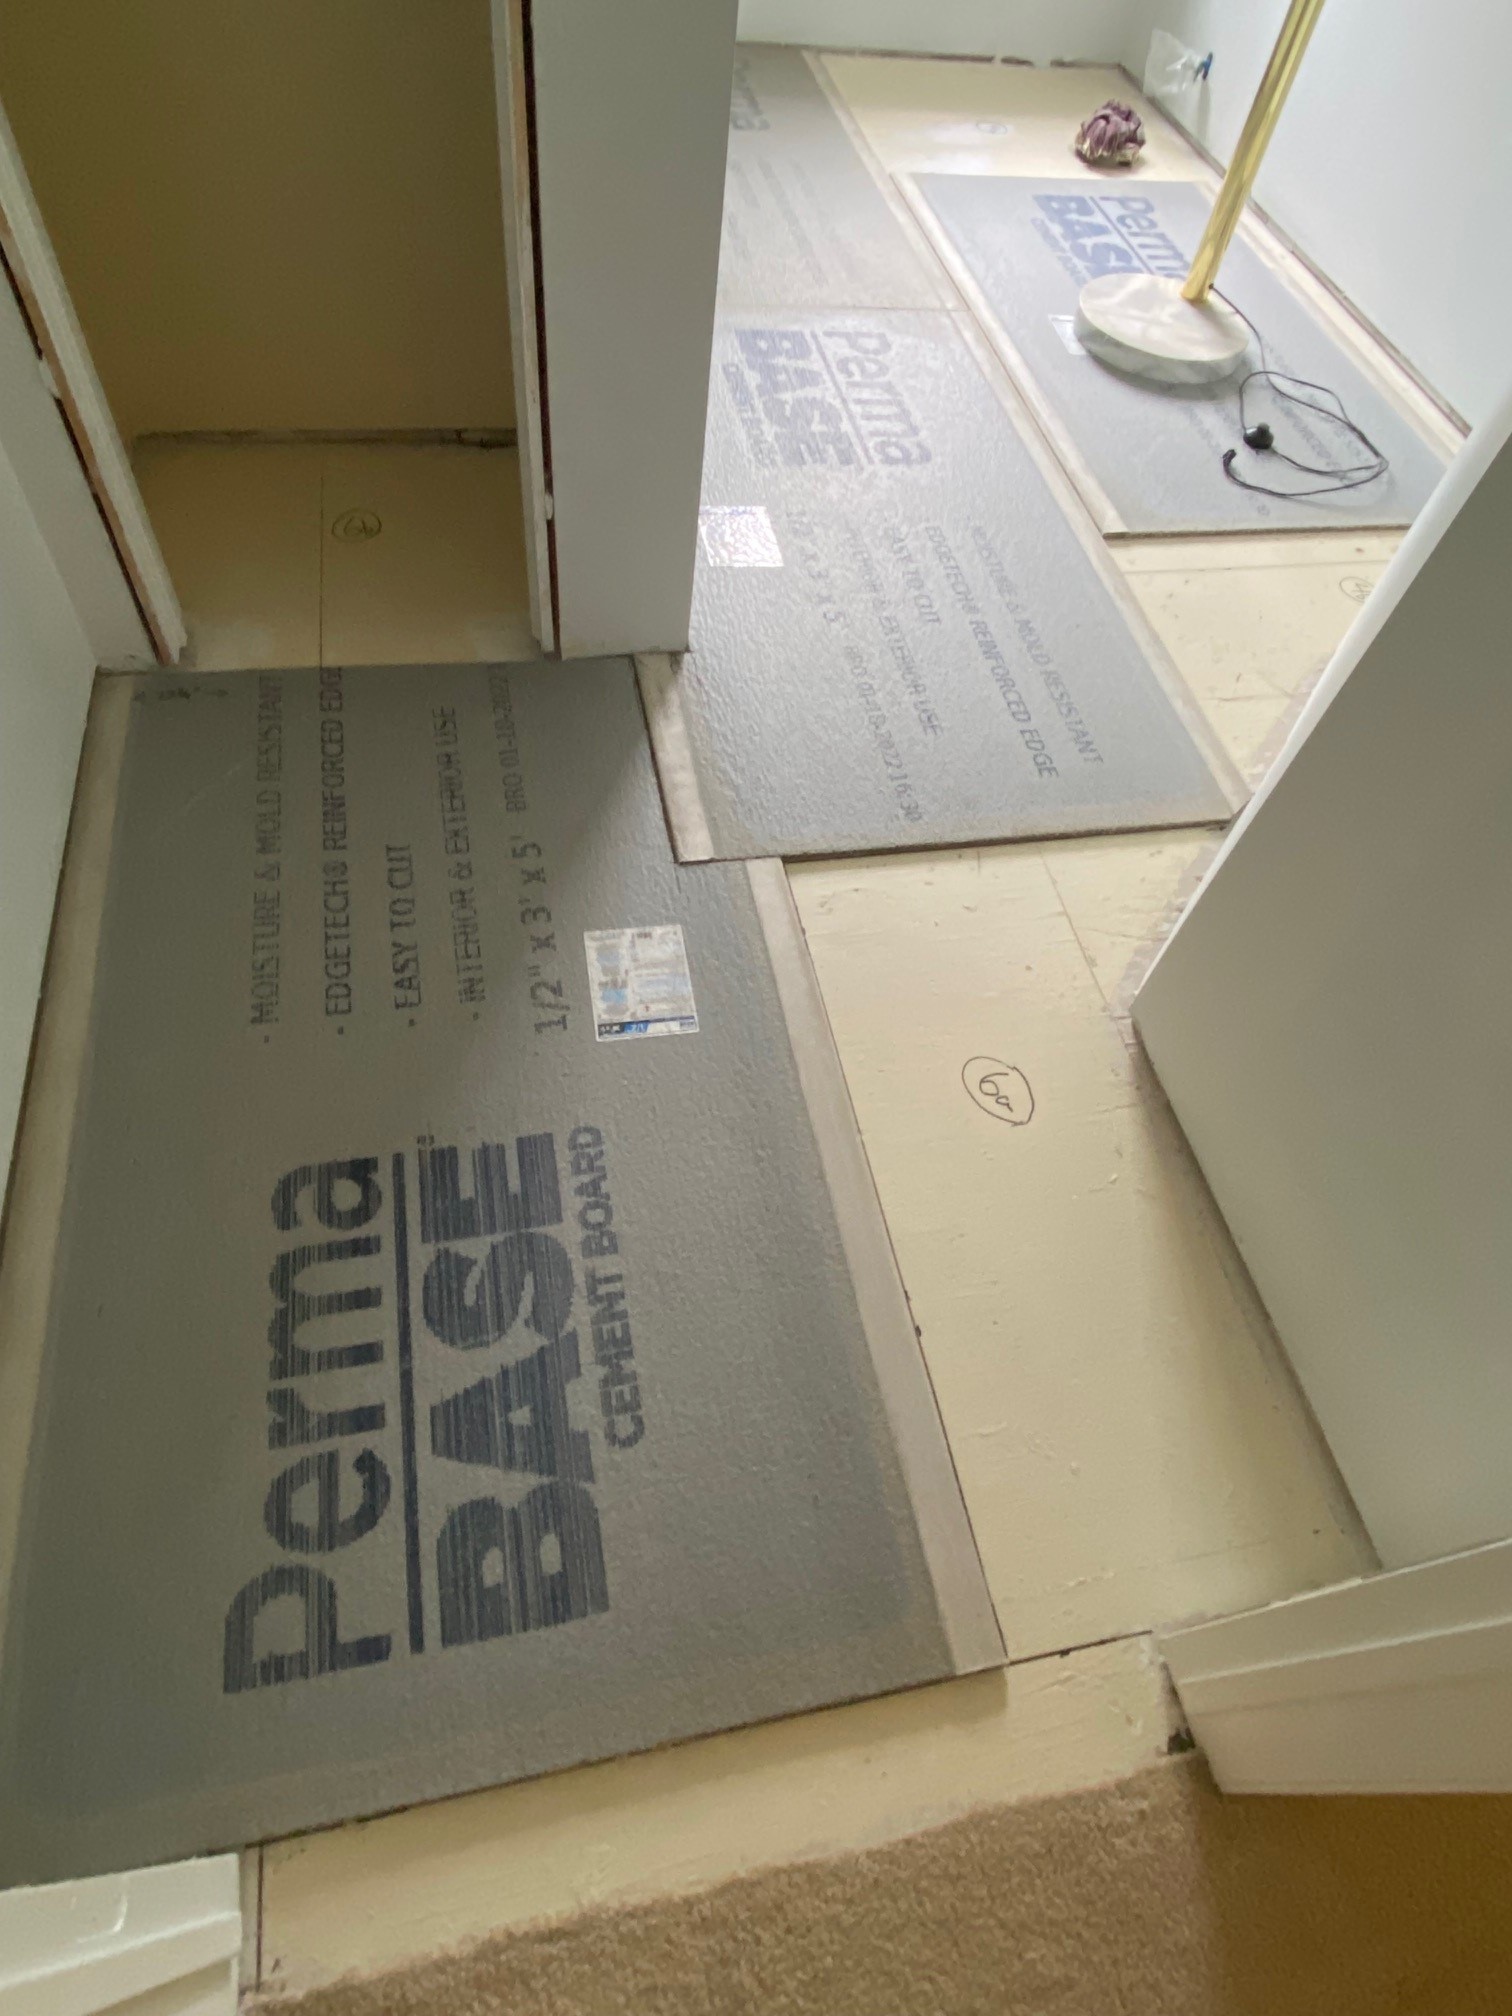
And I found the cement boards to be a natural ‘leveling assistant’ too – because adding an extra half inch of cement composite to a plywood sub-floor in large 3-foot by 5-foot sheets, naturally adds strength and leveling!
The second reason I used Cement Board in this bathroom?
Well – It was something else I wanted to try. Yup – just that simple. :)
Working with Cement Board
These boards were great to work with. They really strengthened and leveled that floor – and it was a LARGE area, as you can see.
A few things to be aware of though:
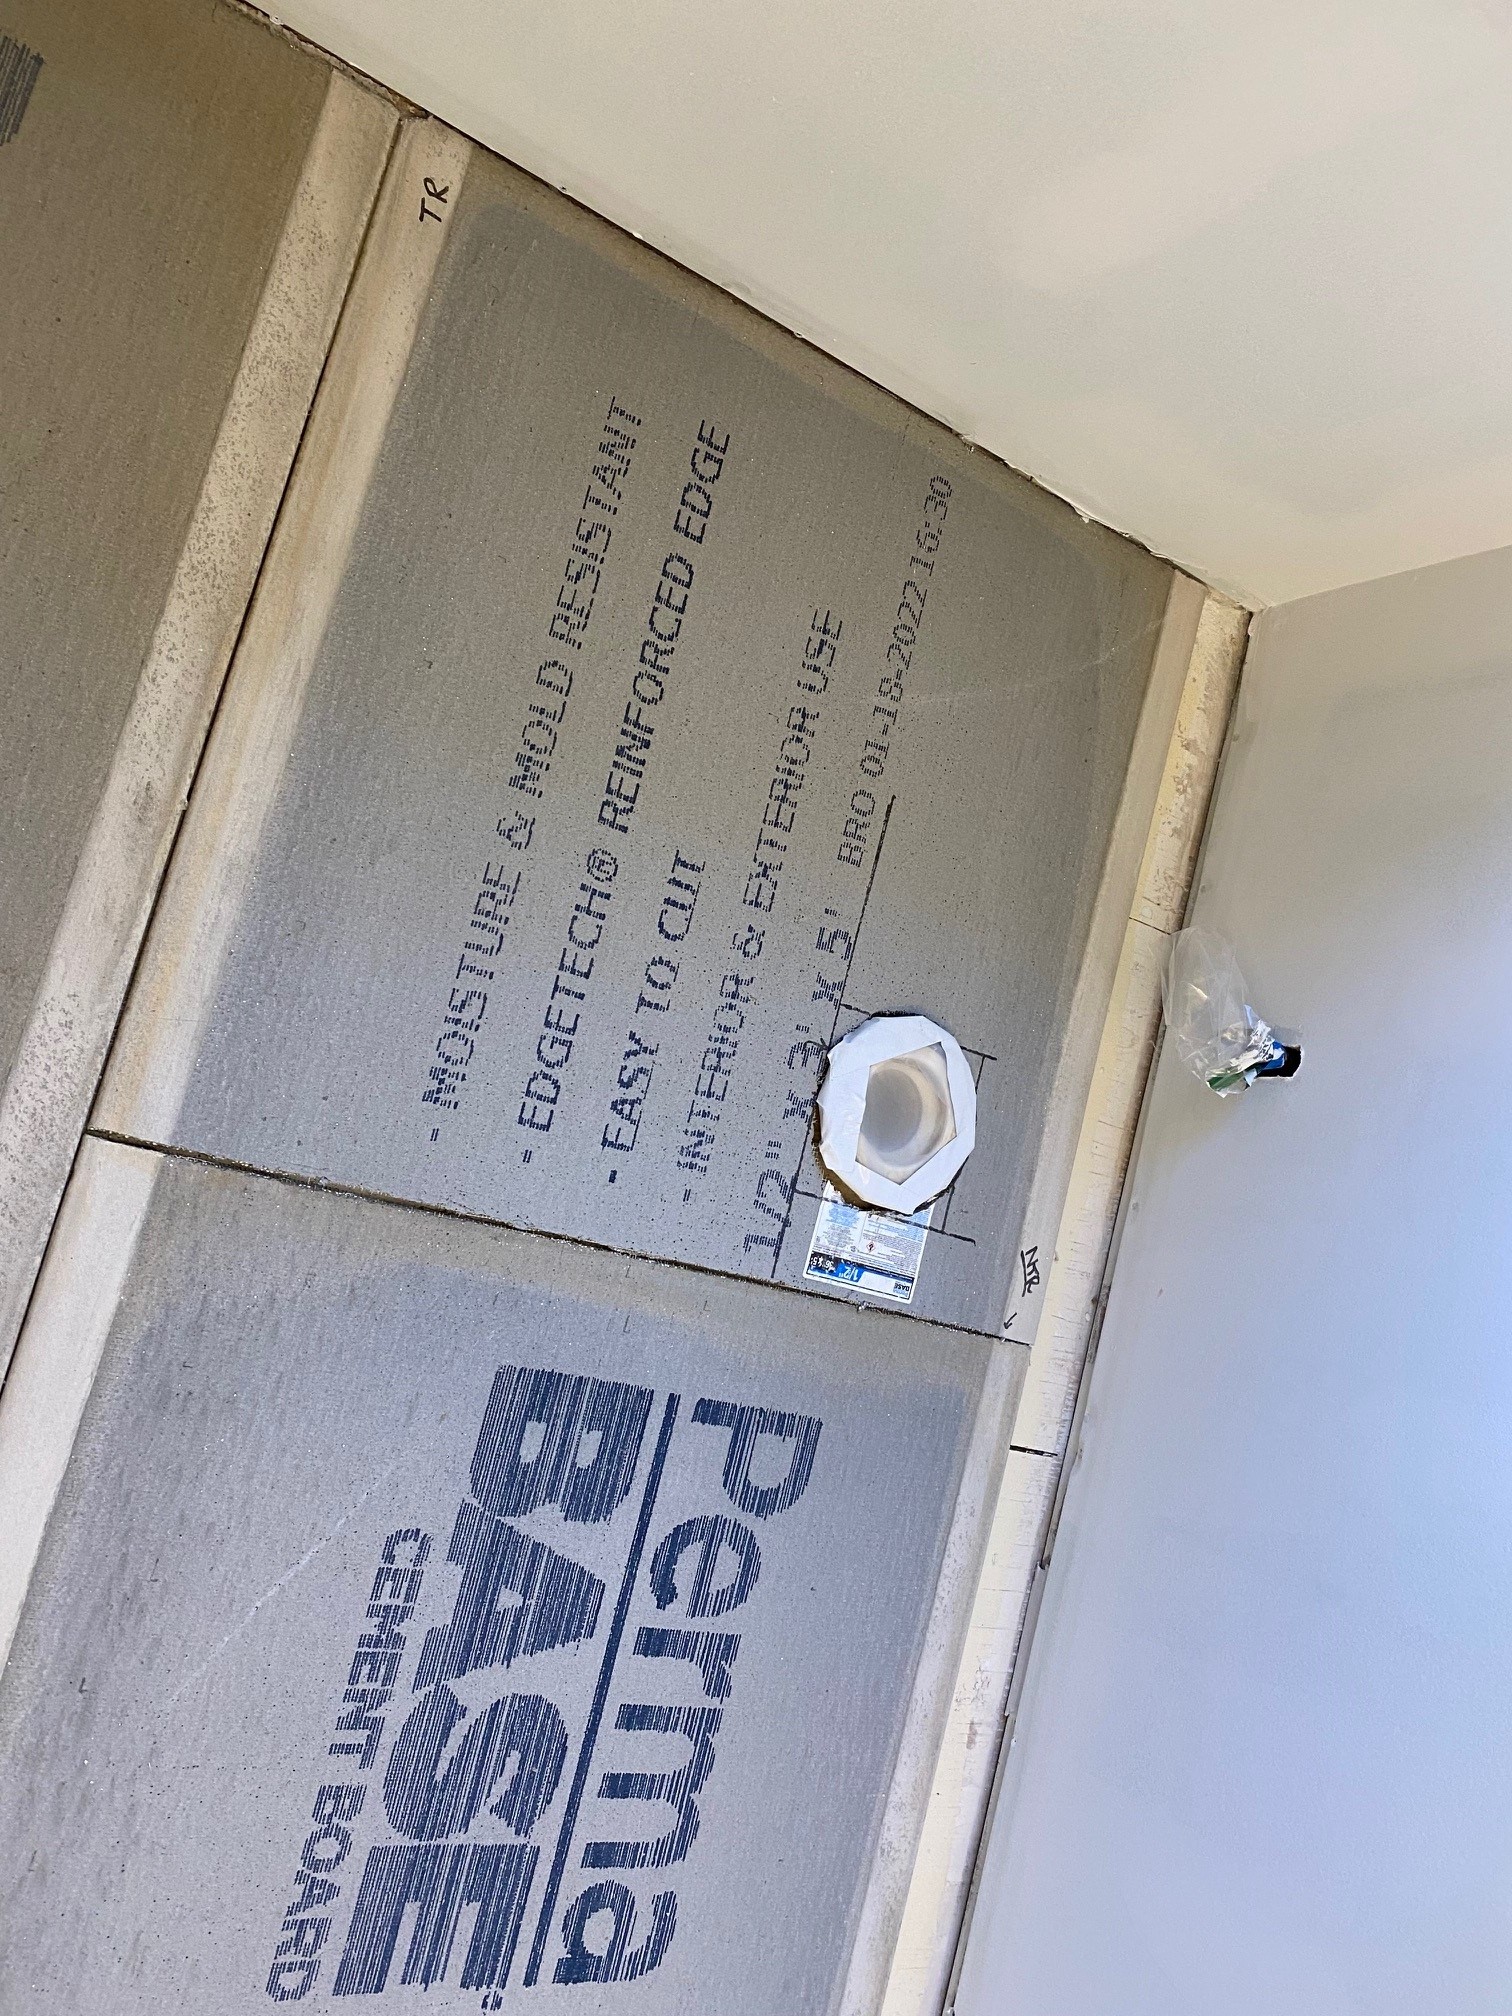
1) You’re going to screw everything down quite excessively using cement board screws – these boards will not be floating in any way. If you look carefully at the shot that follows, you’ll get a sense of the screw density when you zoom. So added strength? Yes.

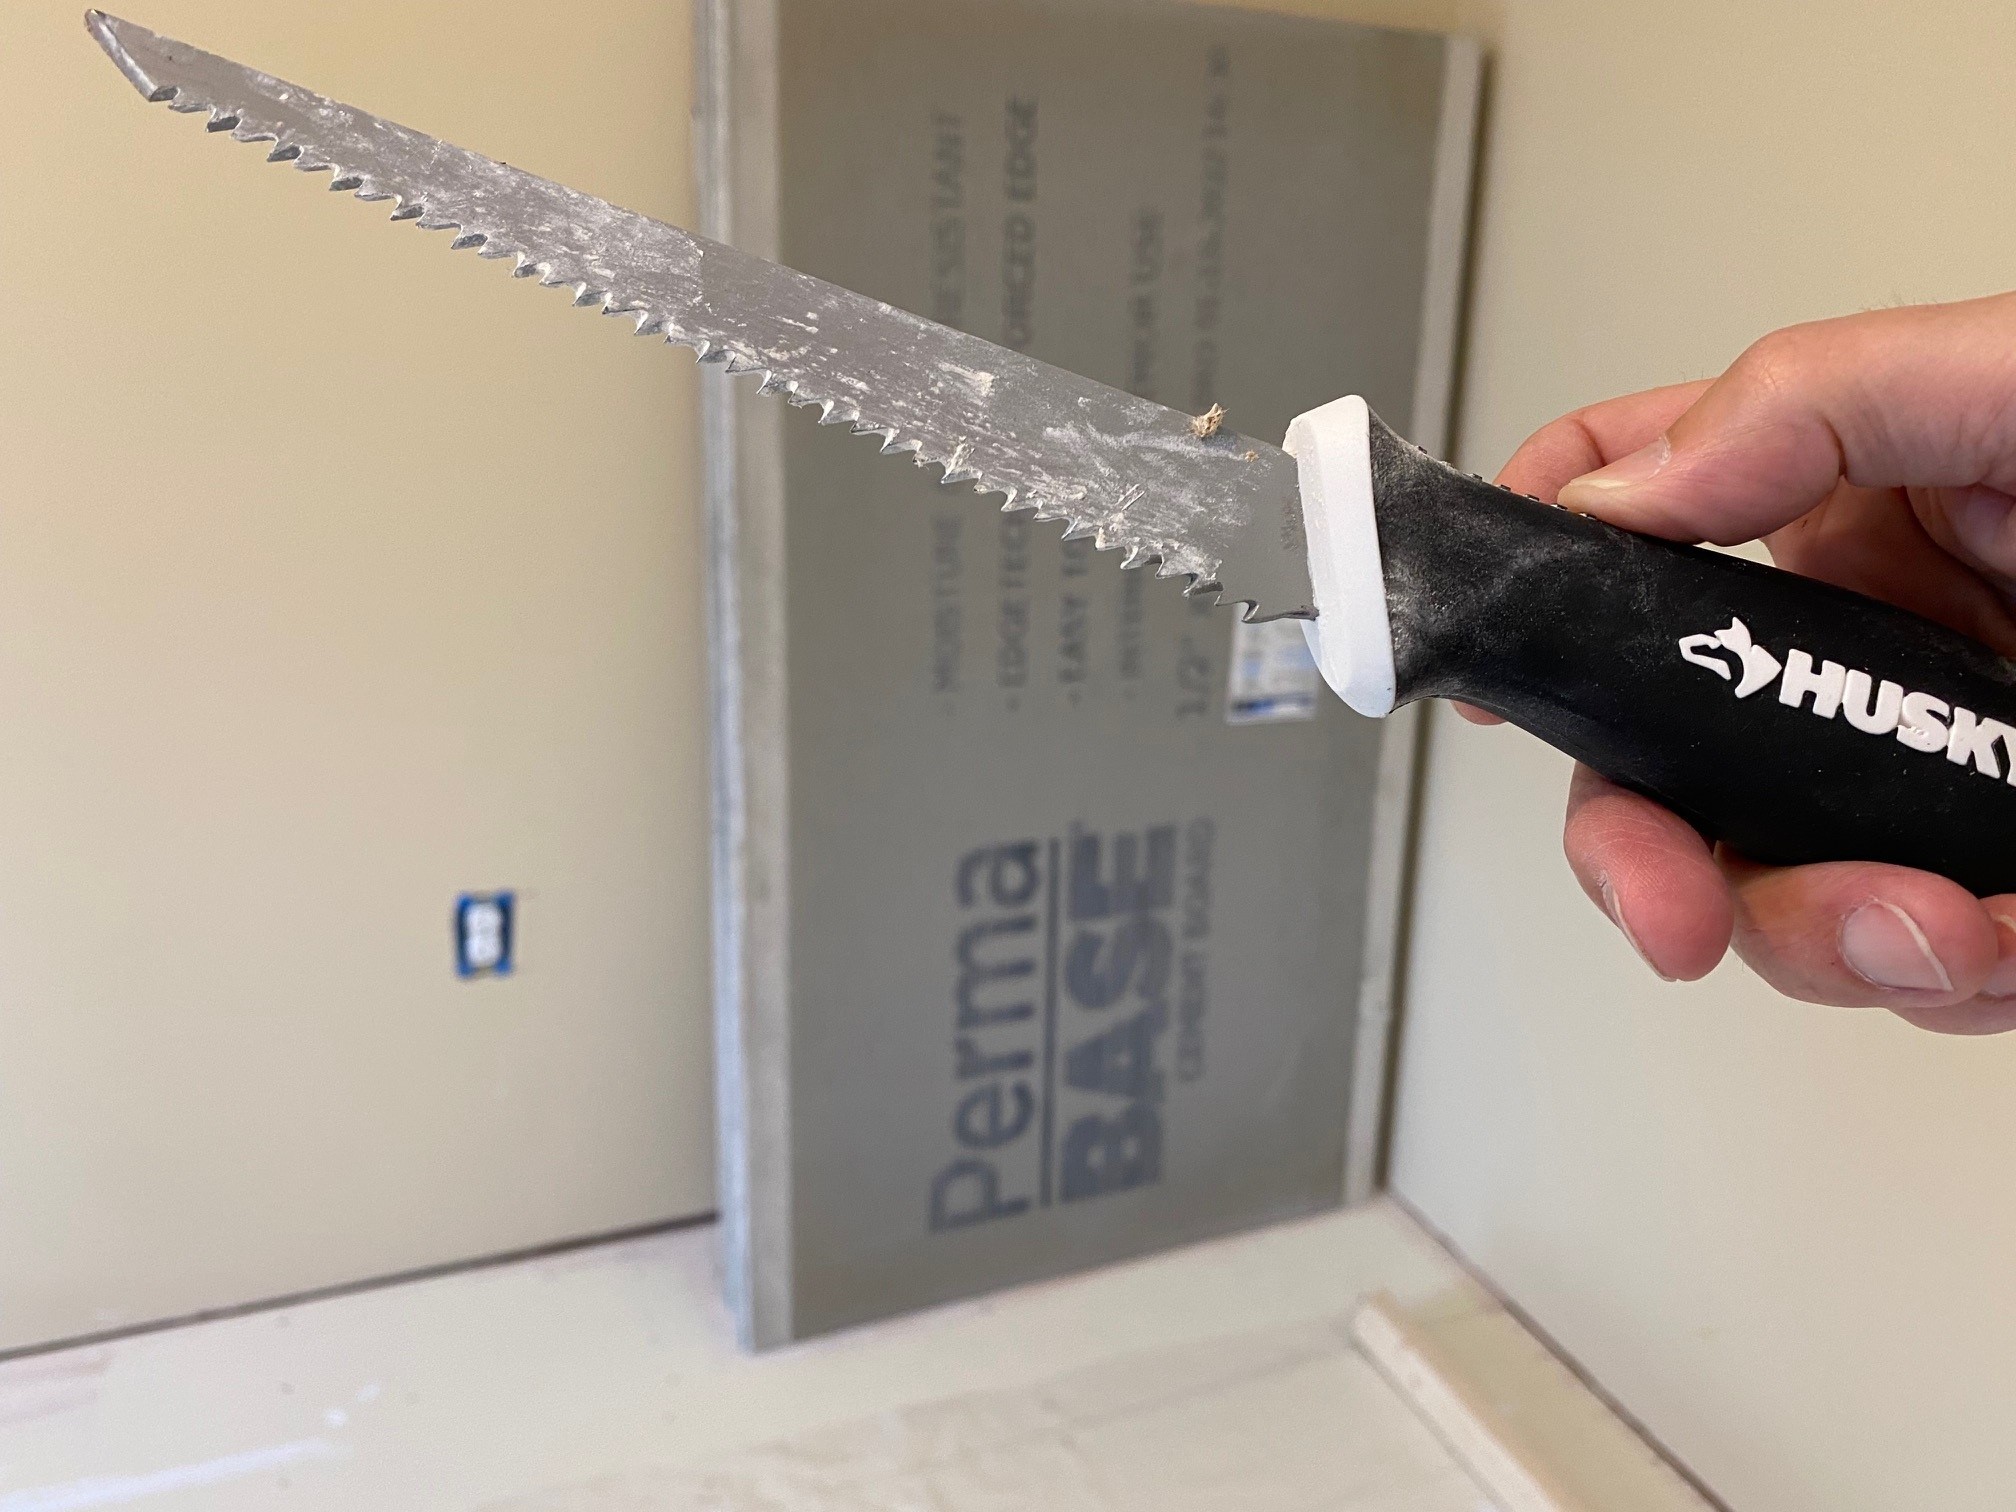
2) A new key hole saw and a sharp razor knife will be your best friends when working with these boards. You ‘score and snap’ (with the razor knife, a long metal straight edge, and your knee) and you leverage that keyhole saw for notches and cuts like the circular hole for the toilet flange. These are all very low cost items, and I just added Amazon links for each of them – so be sure to buy high-quality; it’s well-worth the few extra dollars to make your life easier.
I’d go so far to say that these boards were actually fun to work with!
3) Be very aware though, that if you’re changing the height of your sub-floor by half an inch – you may need to engineer for that. Everything in the bathroom will be impacted – just a little bit. It may be no issue for most things, but it definitely can be. So think about this carefully as you’re planning. And if you want a very tangible example, read about what happened in my Master Bath [my final bathroom rehab] with the shower drain… coming up in a few paragraphs.
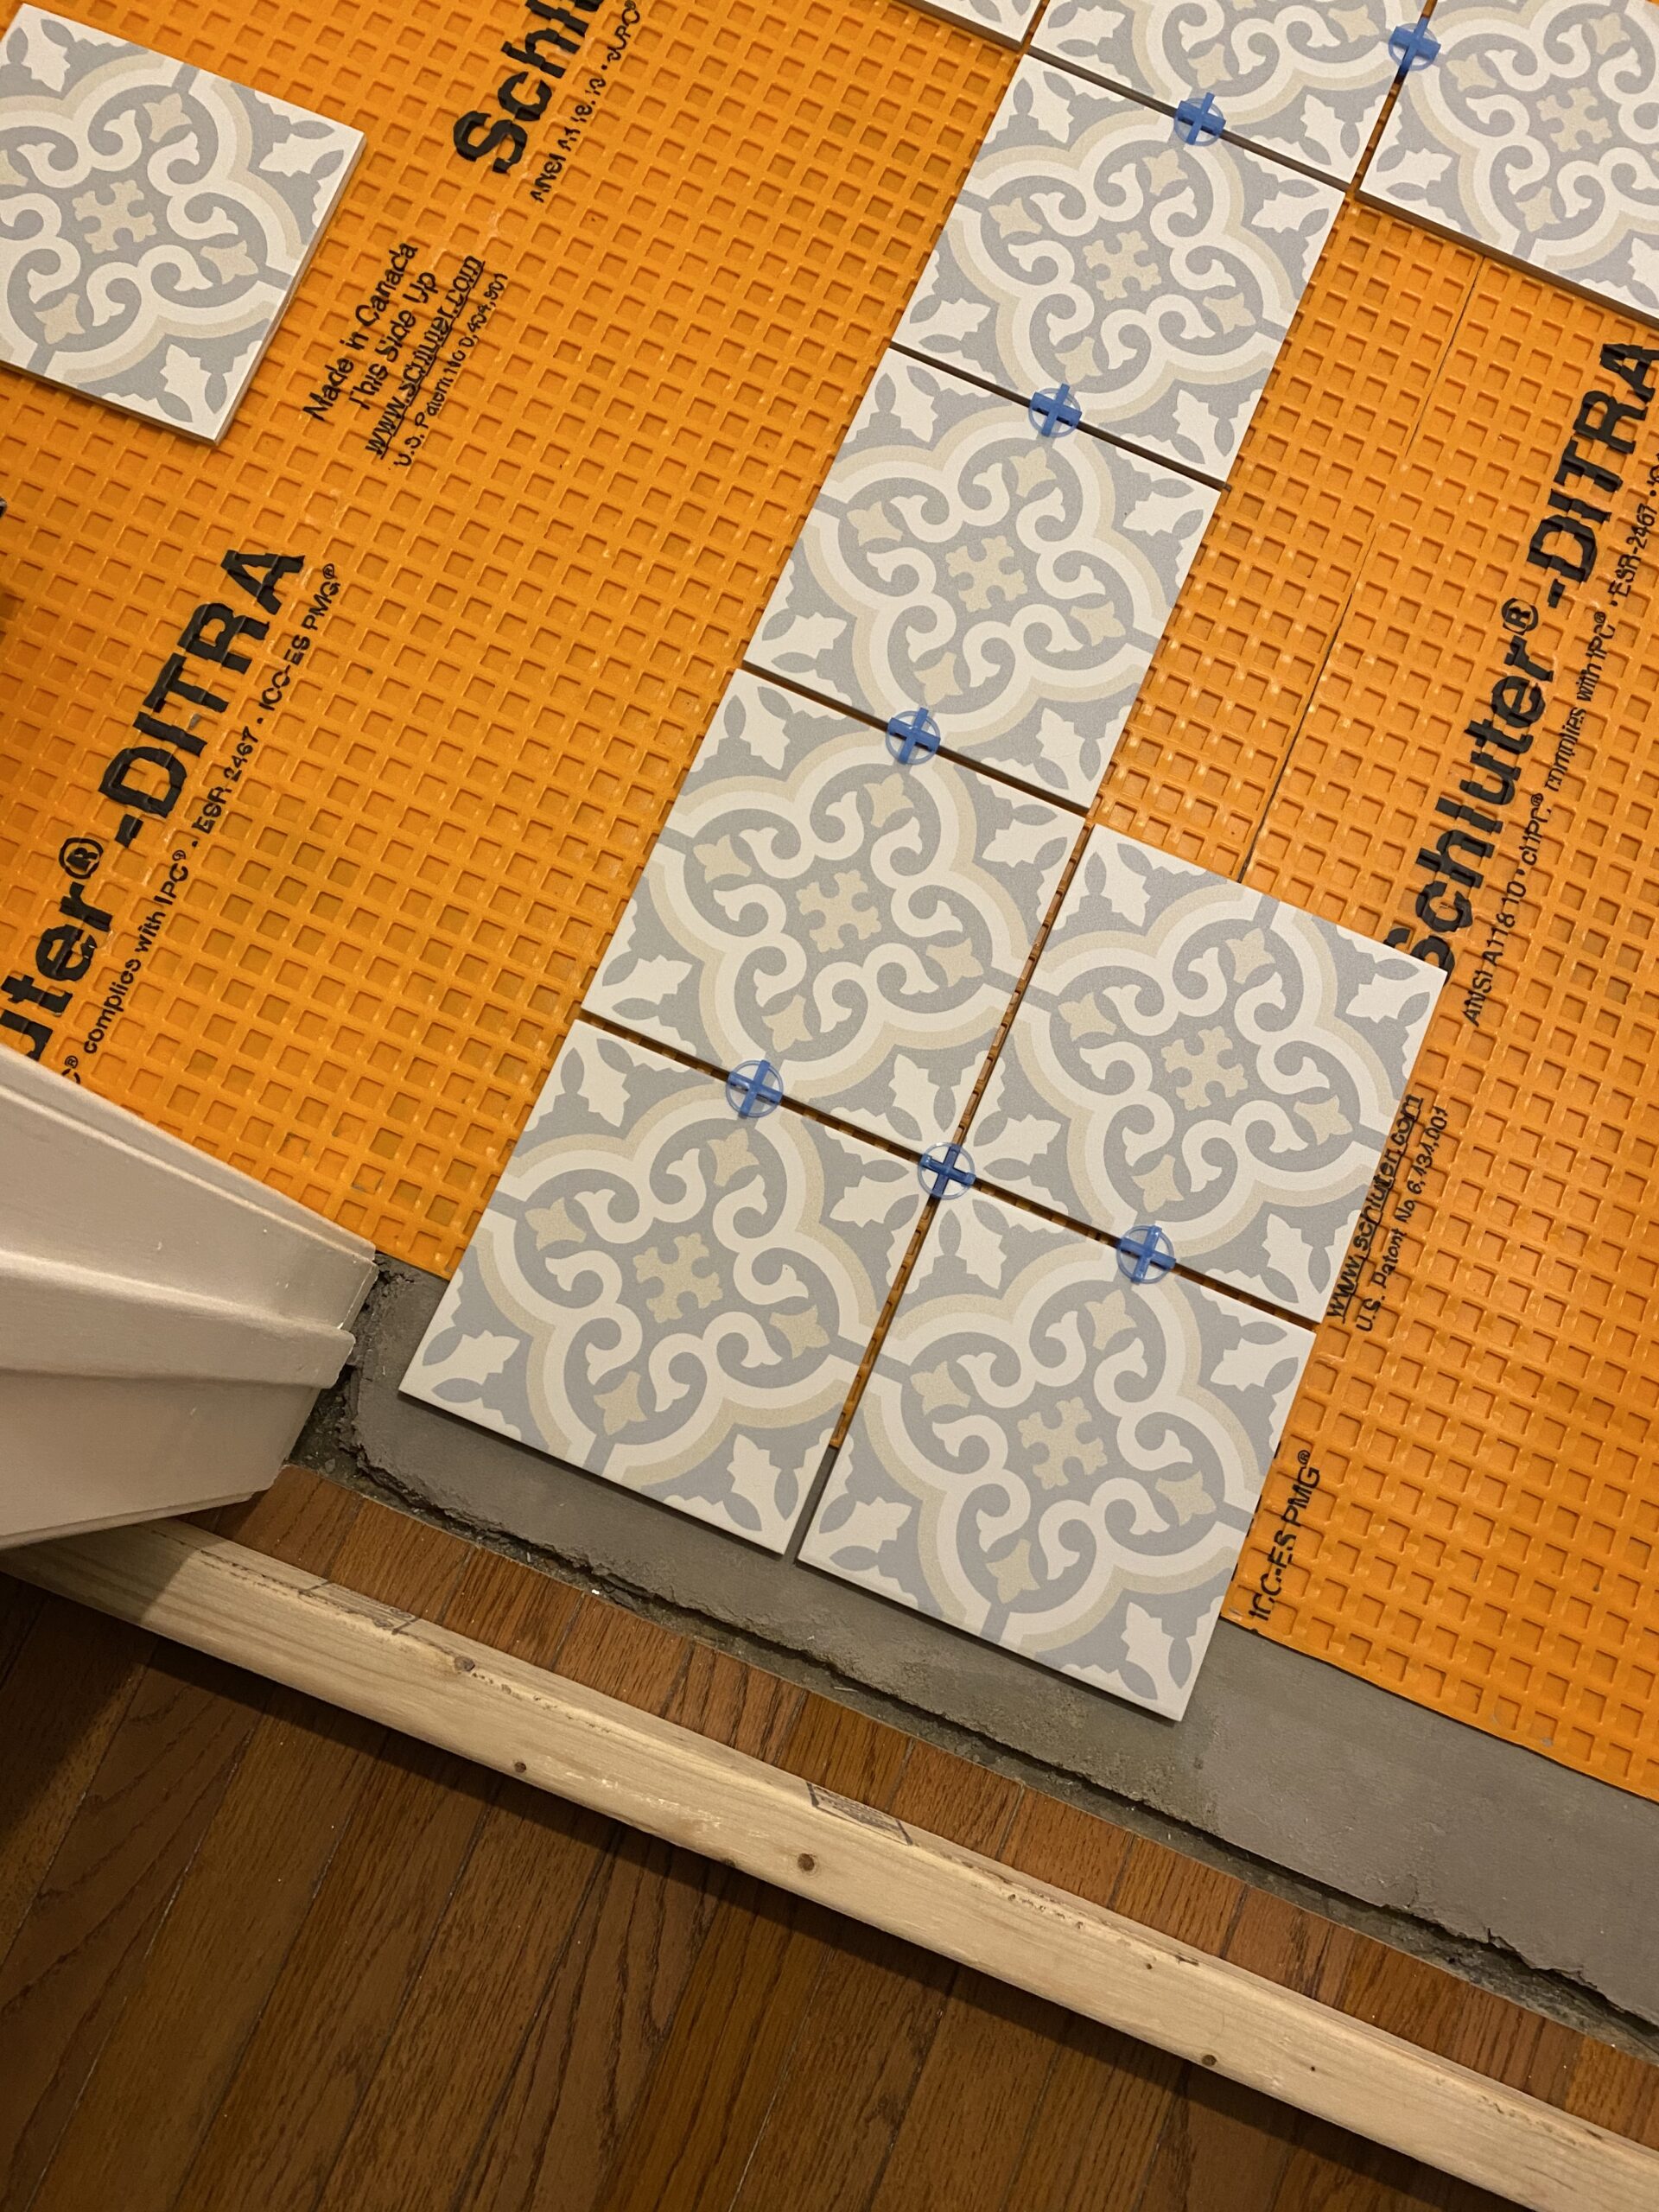
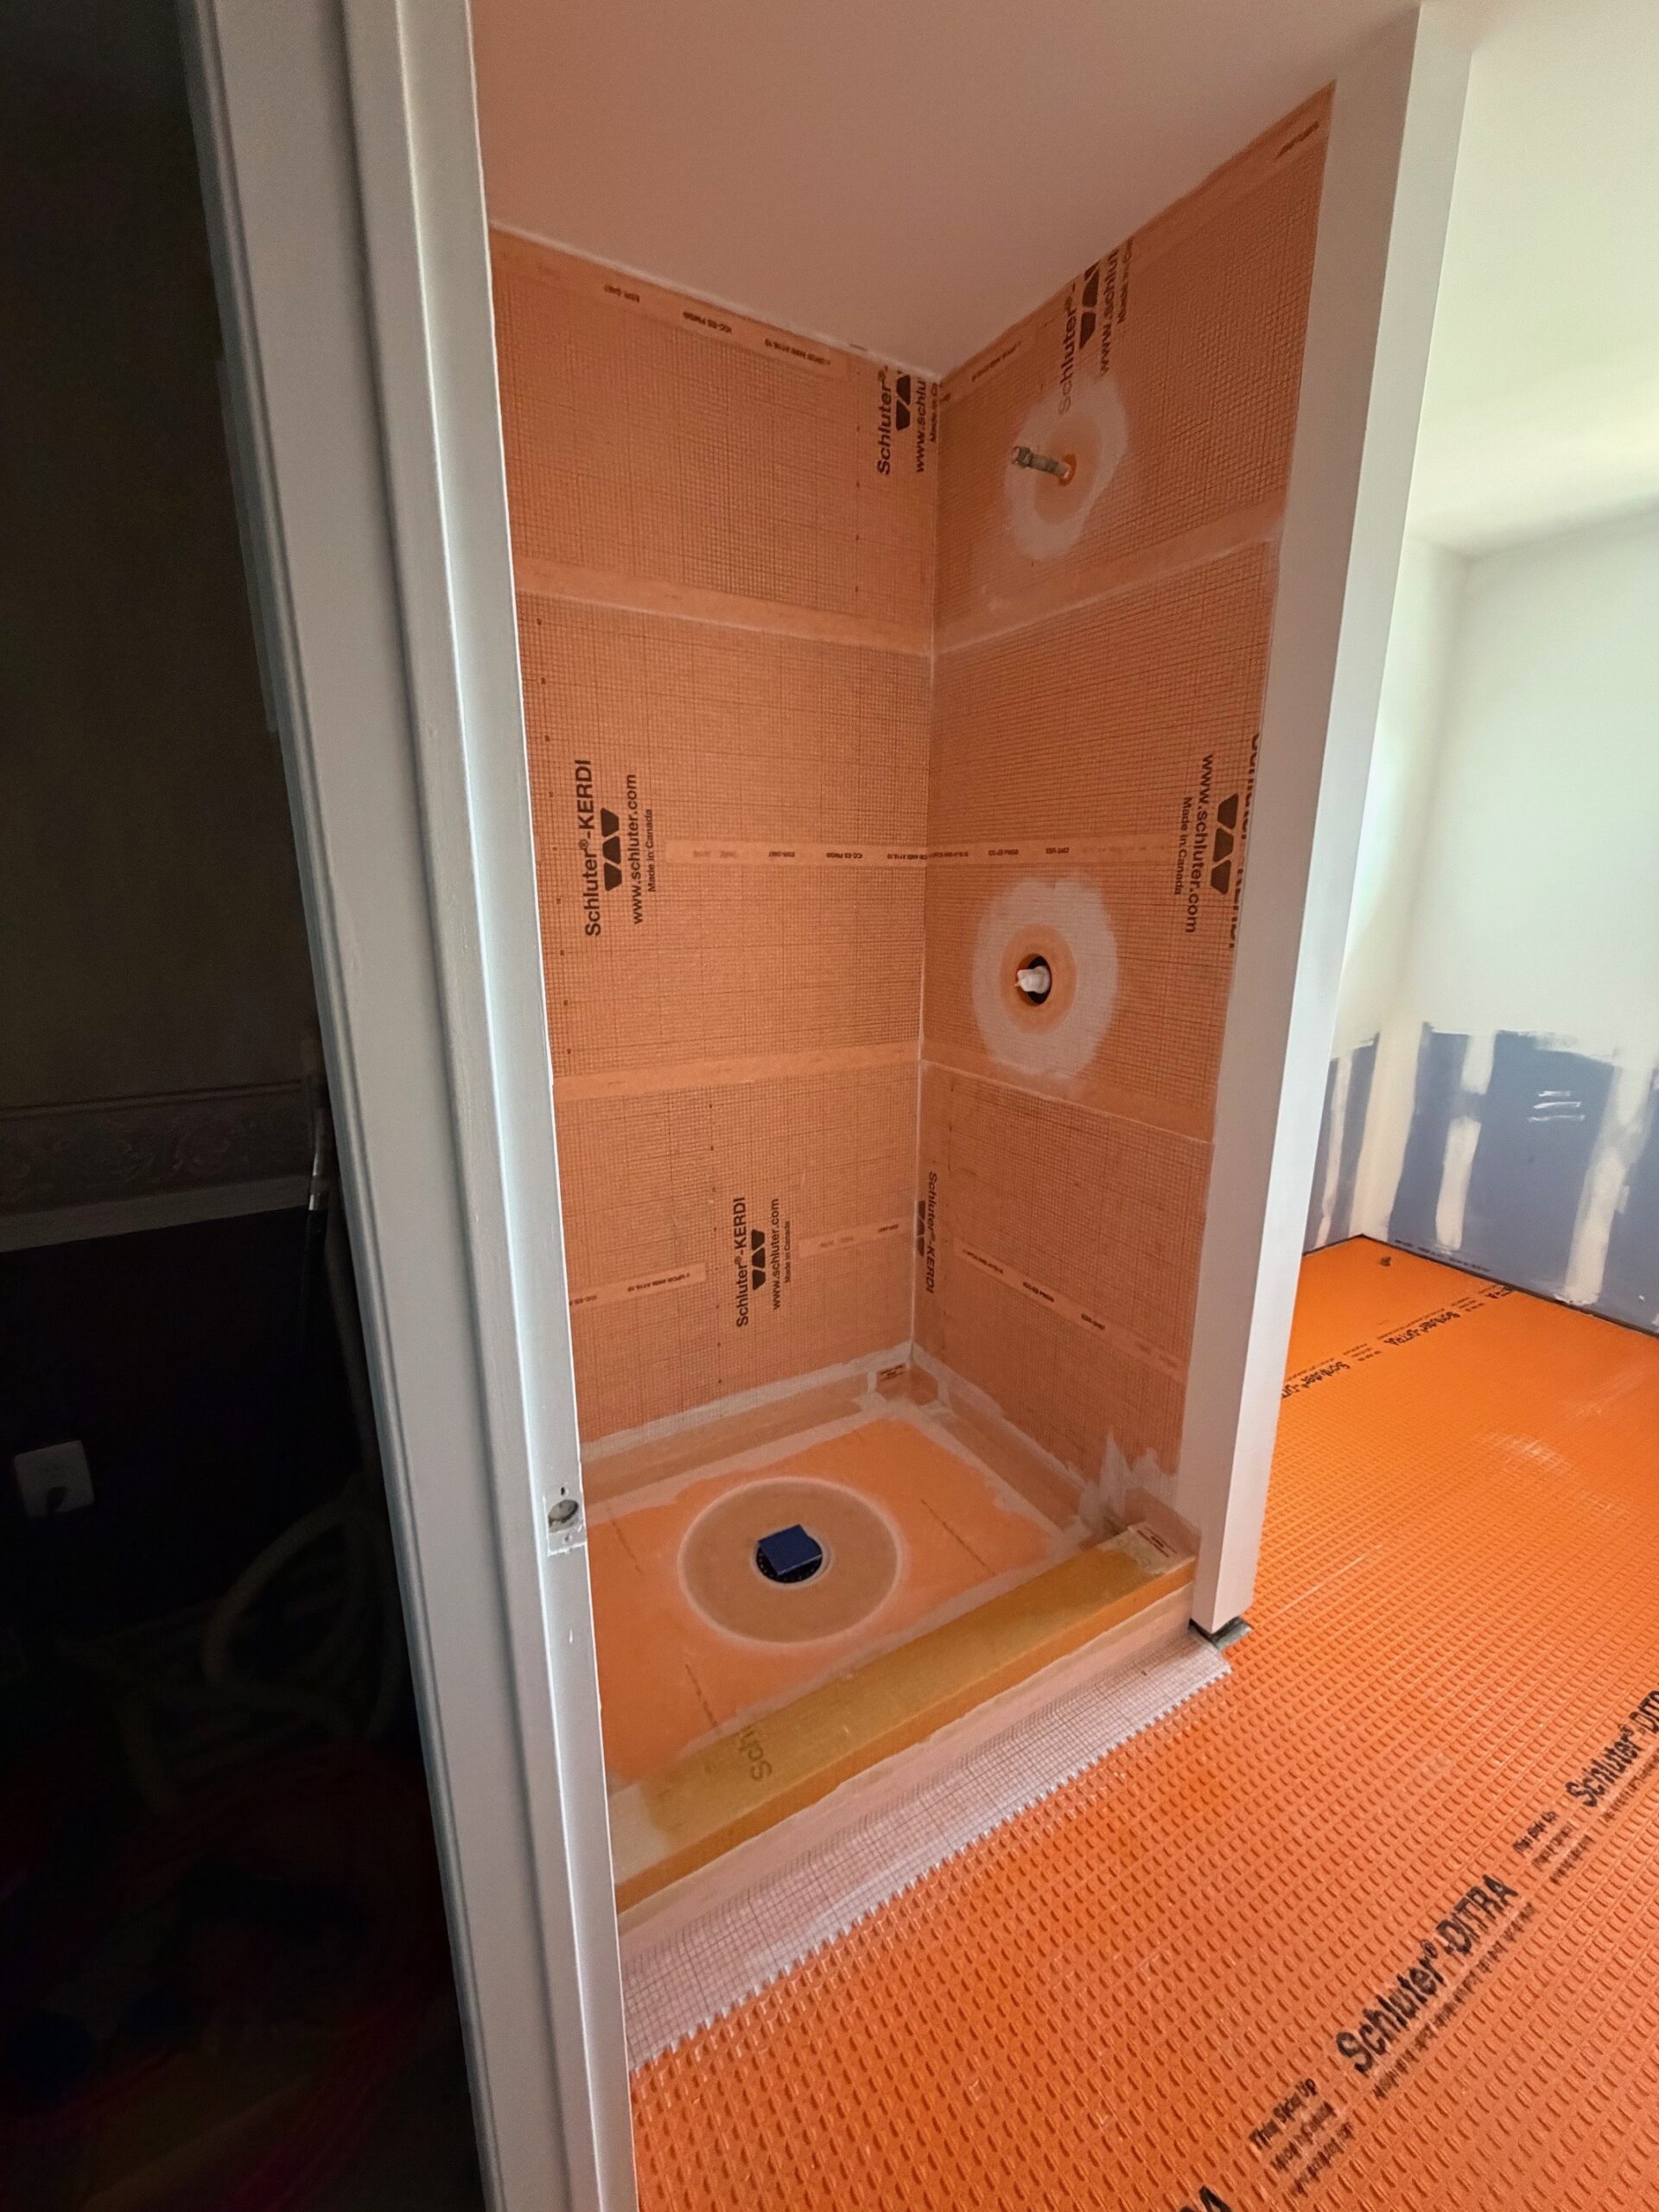
Bathroom Rehab 3: Strictly Schluter
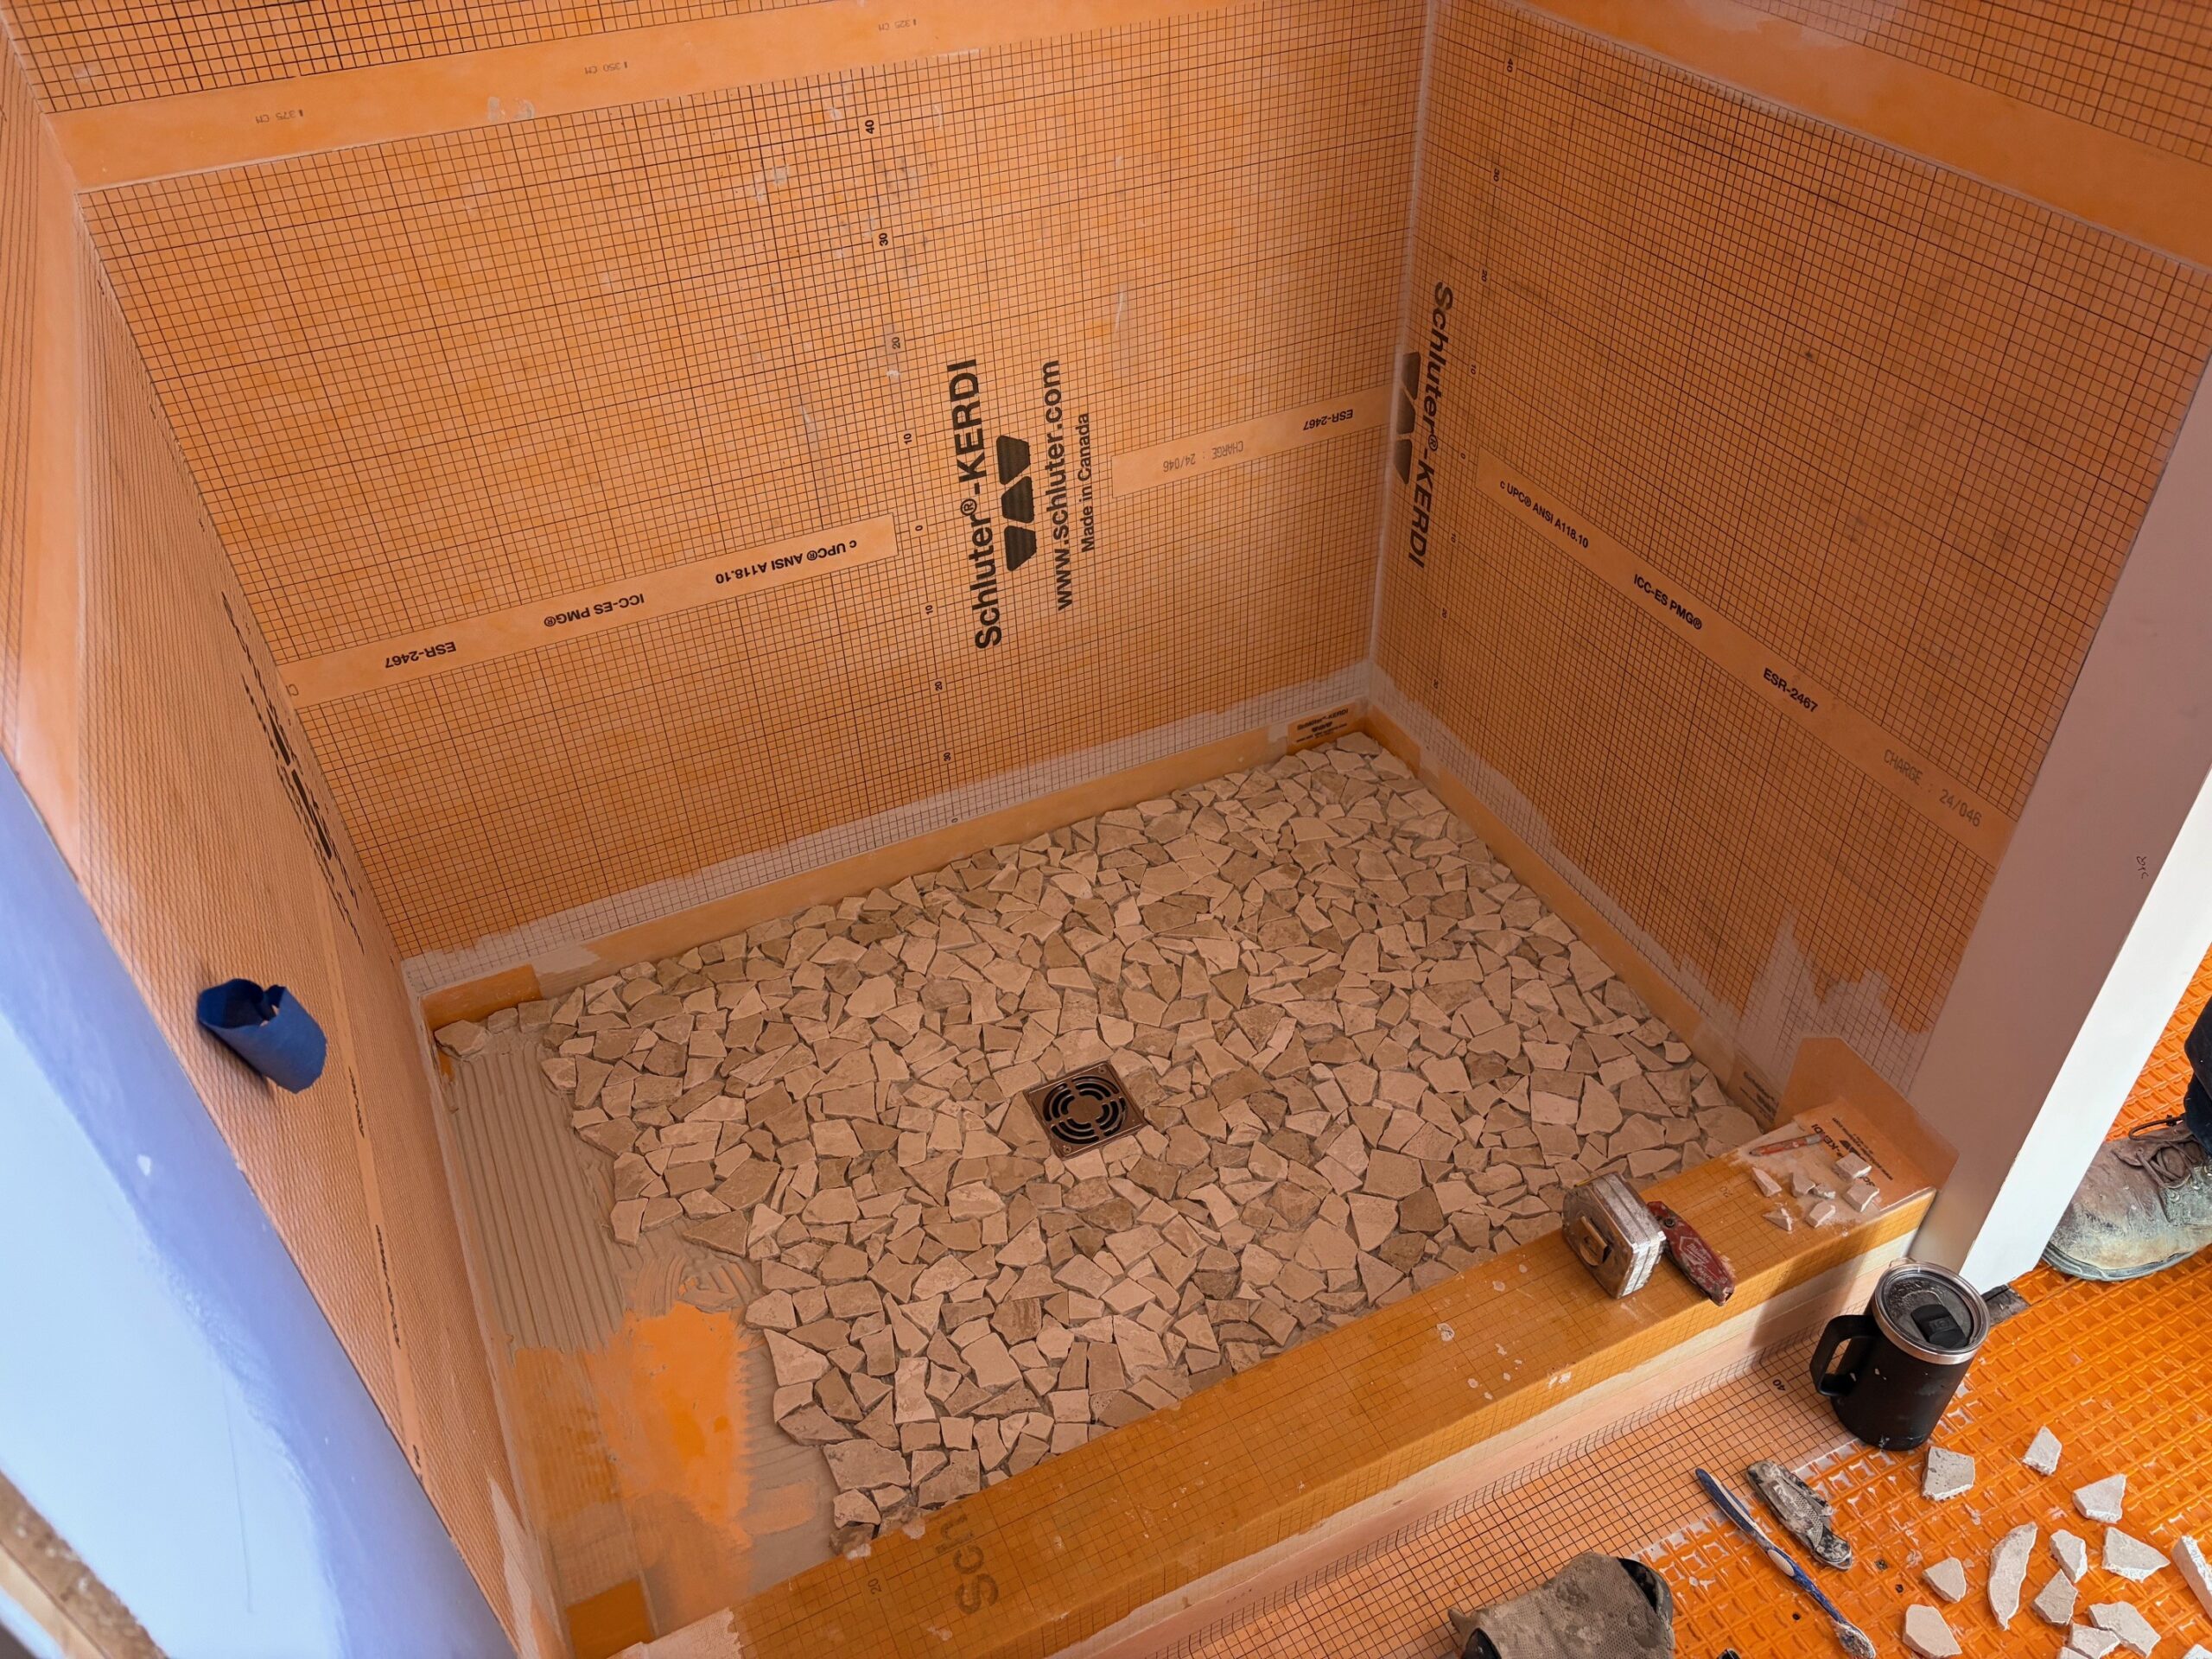
This bathroom was rehabbed with 100% Schluter – both DITRA for the floor and KERDI for the shower walls.
(You can see both as marked in the photos below, and I assure you this article is NOT intended to be an advertisement for Schluter products!!)
But by this point, I had enough experience to know what I wanted.
And you can probably guess why we went this way here – because this is the workhorse bathroom. 2 showers every day, minimally. And it’s upstairs too. So, if this leaks? HUGE problem. It cannot leak.
We had several teams handle many parts of this bathroom rehab – I was stretched on time and simply couldn’t let this drag out for a year. Plus – it was my master bathroom. If you’ve read any of my other articles on this site, you may recall me mentioning my surprise at my wife not divorcing me with some of these LONG DURATION weekend projects. If I let this one drag on for a year – I’d definitely be pushing that to a new level!
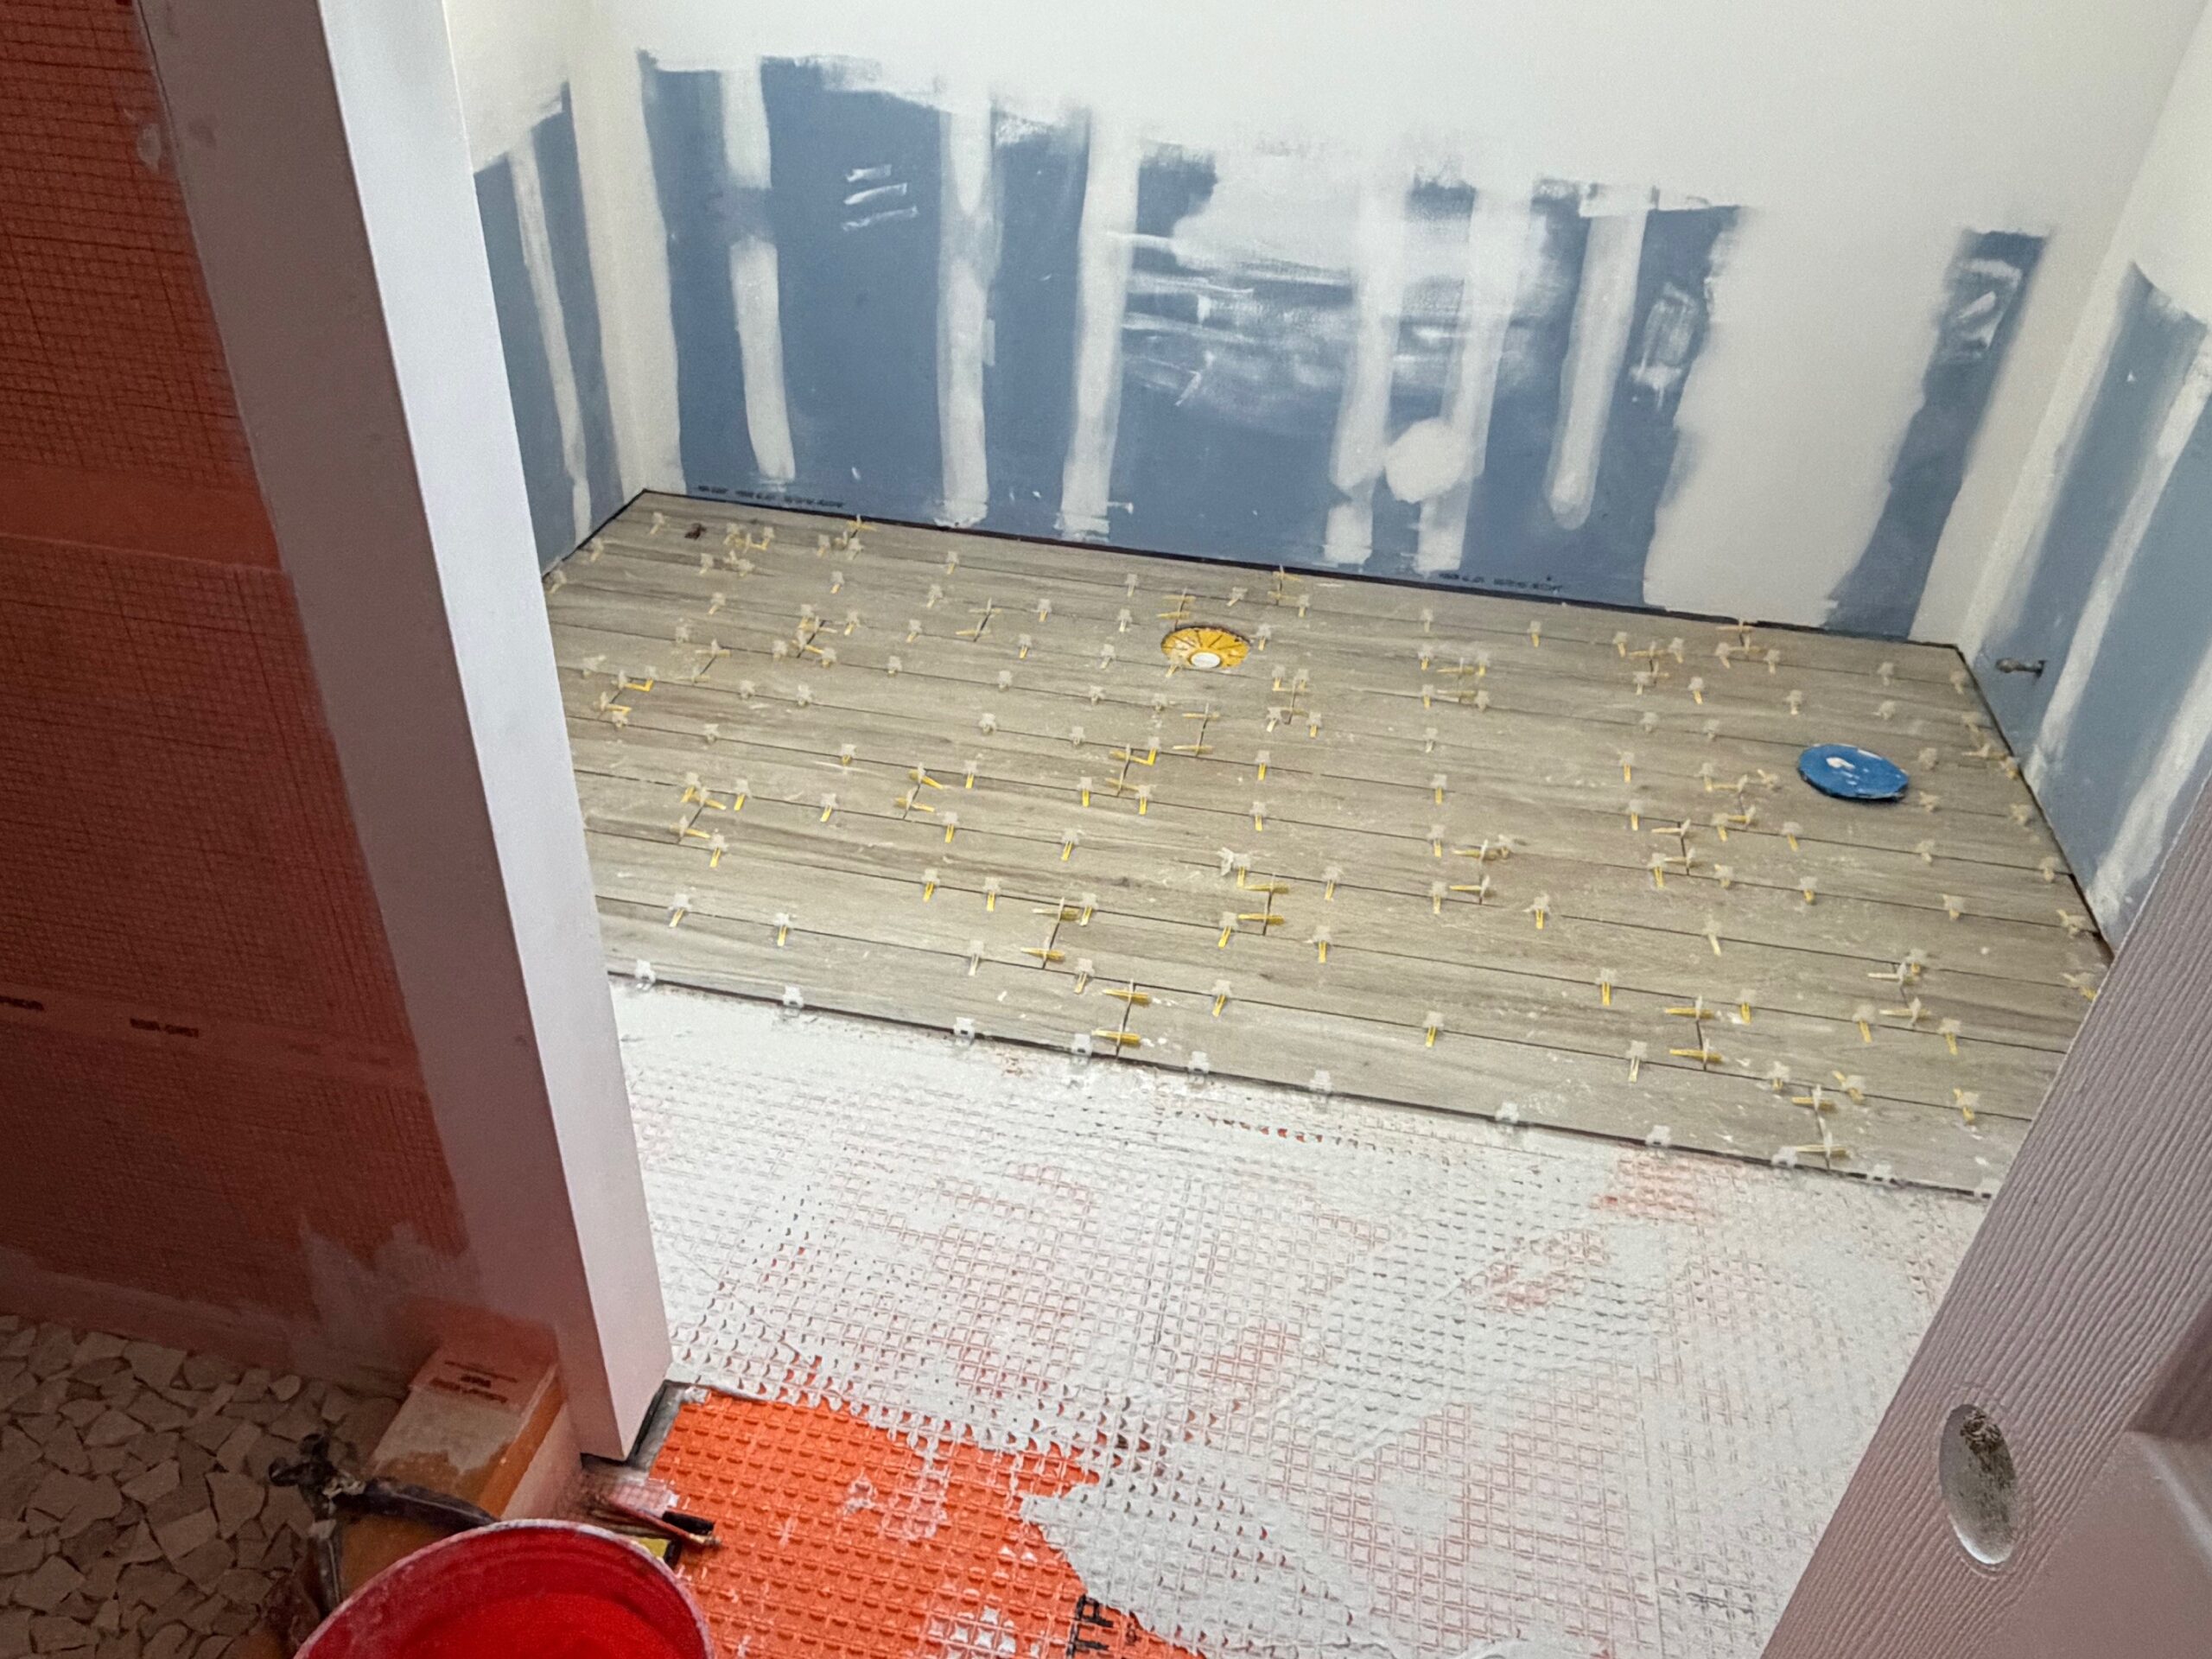
So, the Schluter and tile work in this bath went 100% to a team that does this every day, full time.
It took them more than a week… I’d say ~6.5 work days. Full time. Three guys, but usually only two on site at a time. Even in the other two baths – tiling takes a huge amount of time; I did all of the tiling in those by myself. So, if you’ve never done tiling before, anticipate this. It’s very doable and I’d also call it fun (except for grouting – which drives me crazy)… but it can be extremely time consuming.
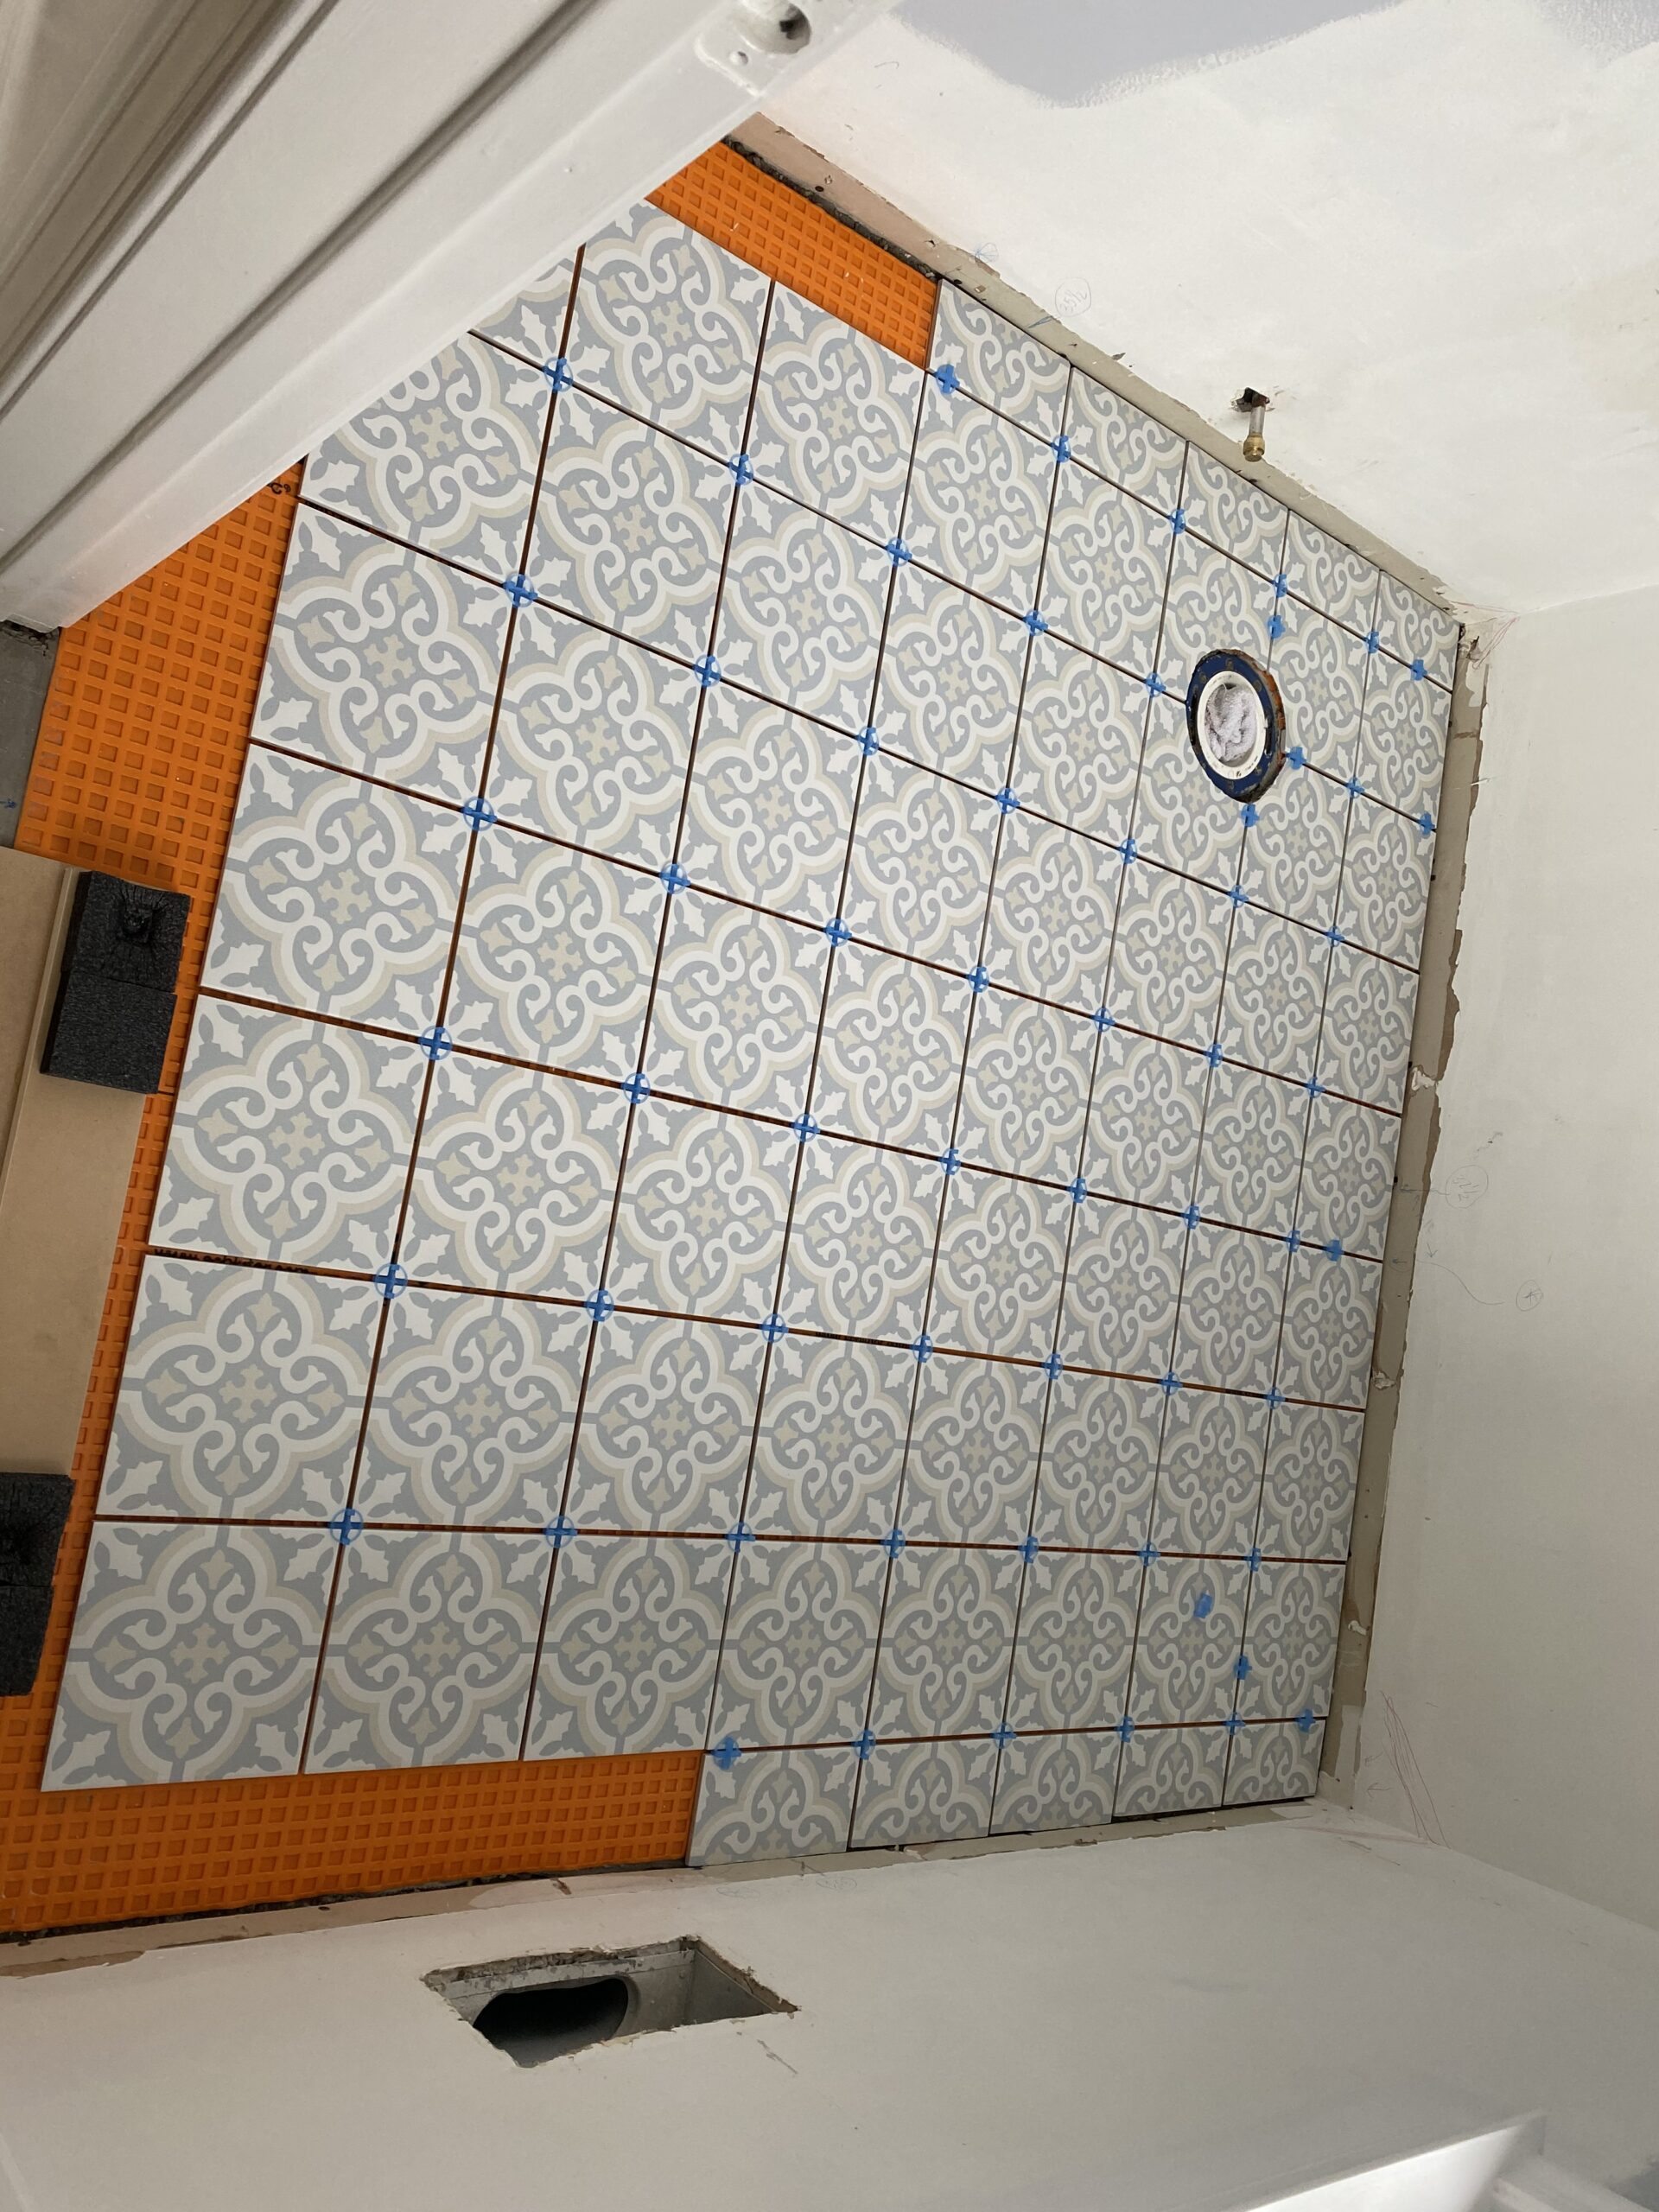
We’ve had this bathroom in full operation for about a month as I type these words, and there are no leaks. It’s wonderful.
A few final photos will now follow, and I want to point something out that, in hindsight, I don’t consider optimal:
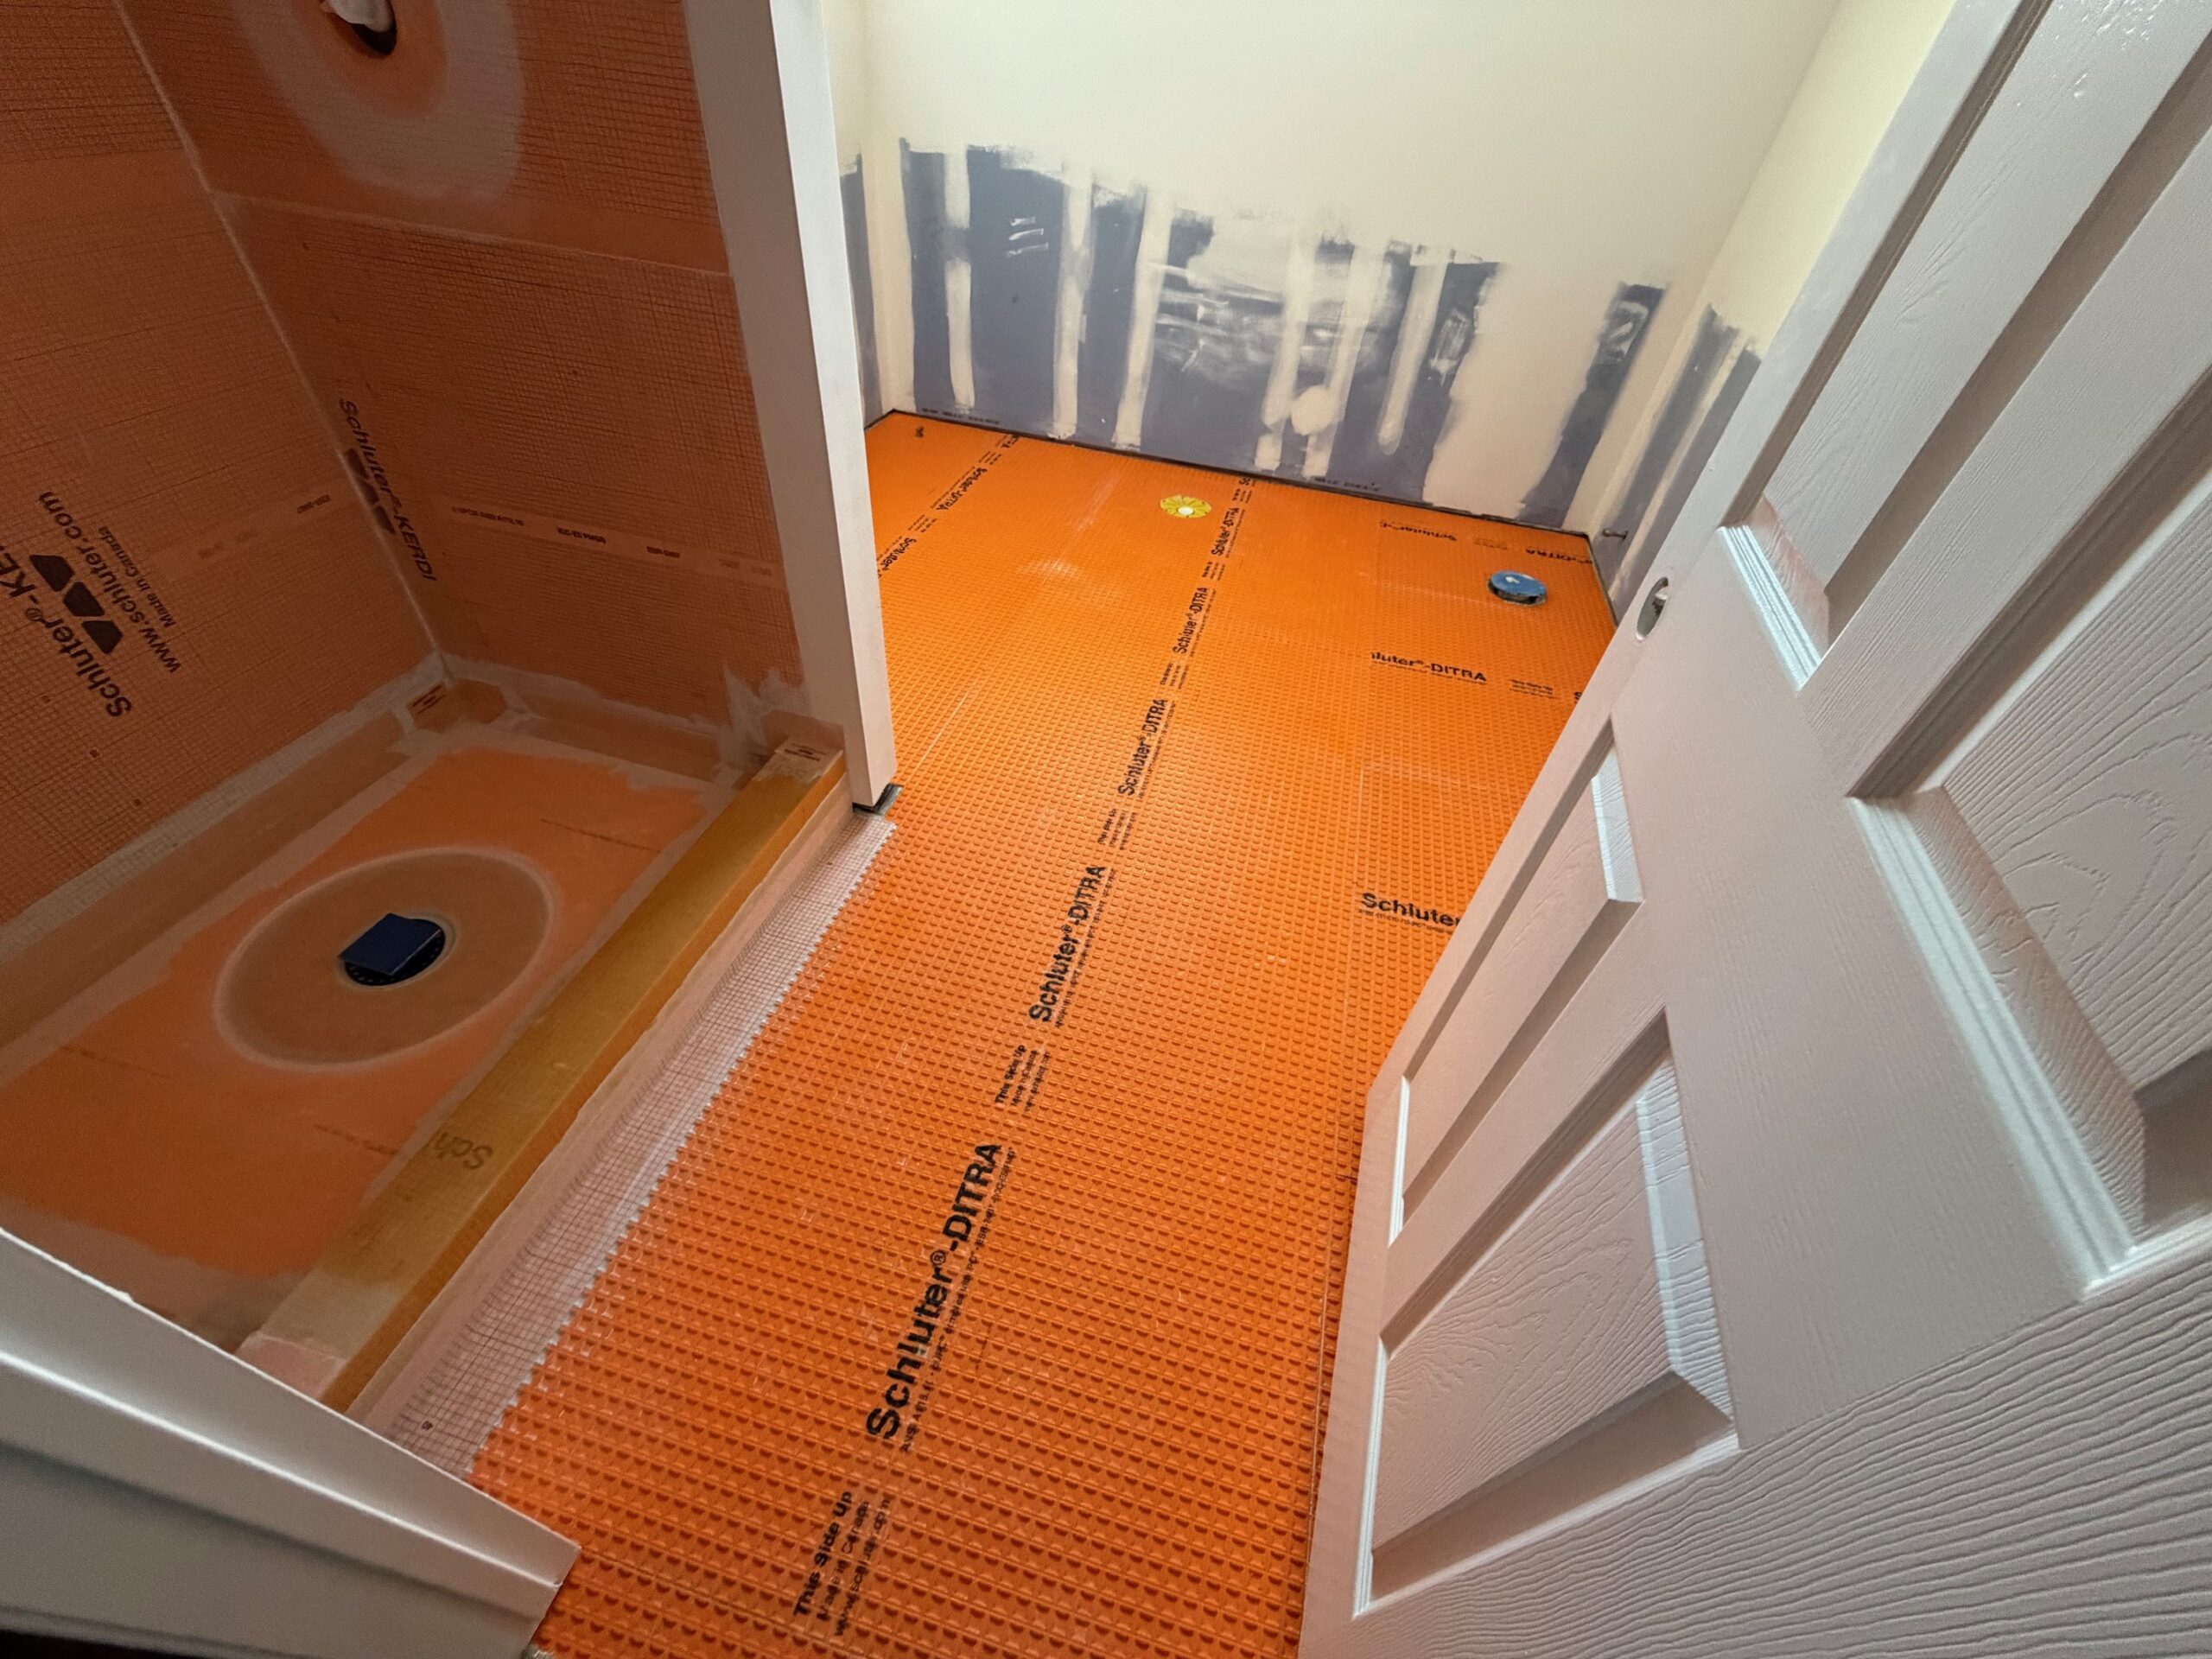
The Schluter DITRA was applied over the raw plywood sub-floor.
The plywood was in nice shape, unlike my guest bathroom rehab.
But if I had all the time in the world, and I’d done this 100% myself, I would have done the DITRA over cement board. Why? For the added strength and leveling, definitely. But also because there was originally a mortar bed in this bathroom too, as you saw in my Powder Room. And so, putting DITRA directly over the clean, healthy plywood changed the height of the sub-floor – it DROPPED, in this case, by a bit more than half an inch.
So, remember those subtle height variations I mentioned above? We had them here too – but in the opposite direction.
This caused a ‘surprise problem’ with the shower drain…
It would not mate unless we elevated the sub-floor there. (And only there.) So, this is what we did, as it’s important that your shower drain mate nicely to the PVC pipe beneath it!! So again – watch out for those height variations with the sub-floor. Plan for them in advance, best you can. They can definitely ‘bite’ you – or minimally, ‘annoy’ you.
Bath Sub-Floor Rehabs: In Summary…
Having these 3 bathroom rehabs now completed – what would I do if I had another dozen-or-so to address??
My personal opinion is this: For a low-use bathroom (like a powder room or even a rarely-used guest bathroom), cement board. Or heck – if you can salvage an existing, healthy mortar bed, that’s perfectly fine too. But for a workhorse bathroom with multiple showers/baths each day? Cement Board + Schluter DITRA. Both. And once again – be careful when making height changes to your existing sub-floor – plan carefully there.
Any other ‘fun’ experiences to share on these somewhat subtle fronts? If so, your comments below are most welcome!
And while I am -still- not divorced from years of destroying and rebuilding this house, the staircase rehab is next. So, I guess we’ll have to see how that goes!!

Leave a Reply