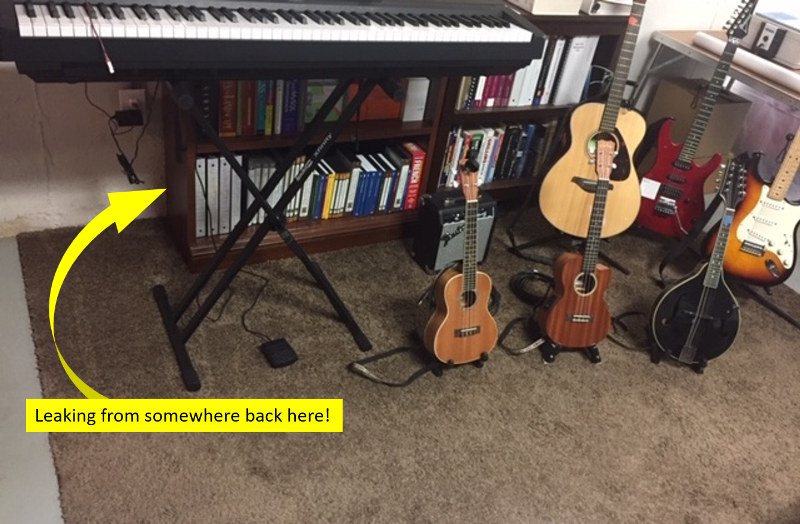
2026 Update… My basement wall started leaking water into my office – right by my guitars.
Fortunately, I spotted it quickly and it was a very slow leak. One that I could easily patch myself with hydraulic cement. But no matter how small the leak, it’s ‘a leak’ and it has to be dealt with quickly and effectively… else we start having concerns with mold growth, mold remediation and far more insidious (and expensive) damage than simply a damp carpet on a concrete slab floor. So, in hindsight really, I guess it’s wonderful that it started in a spot that I used so much.
And yes… I moved my guitars near immediately!
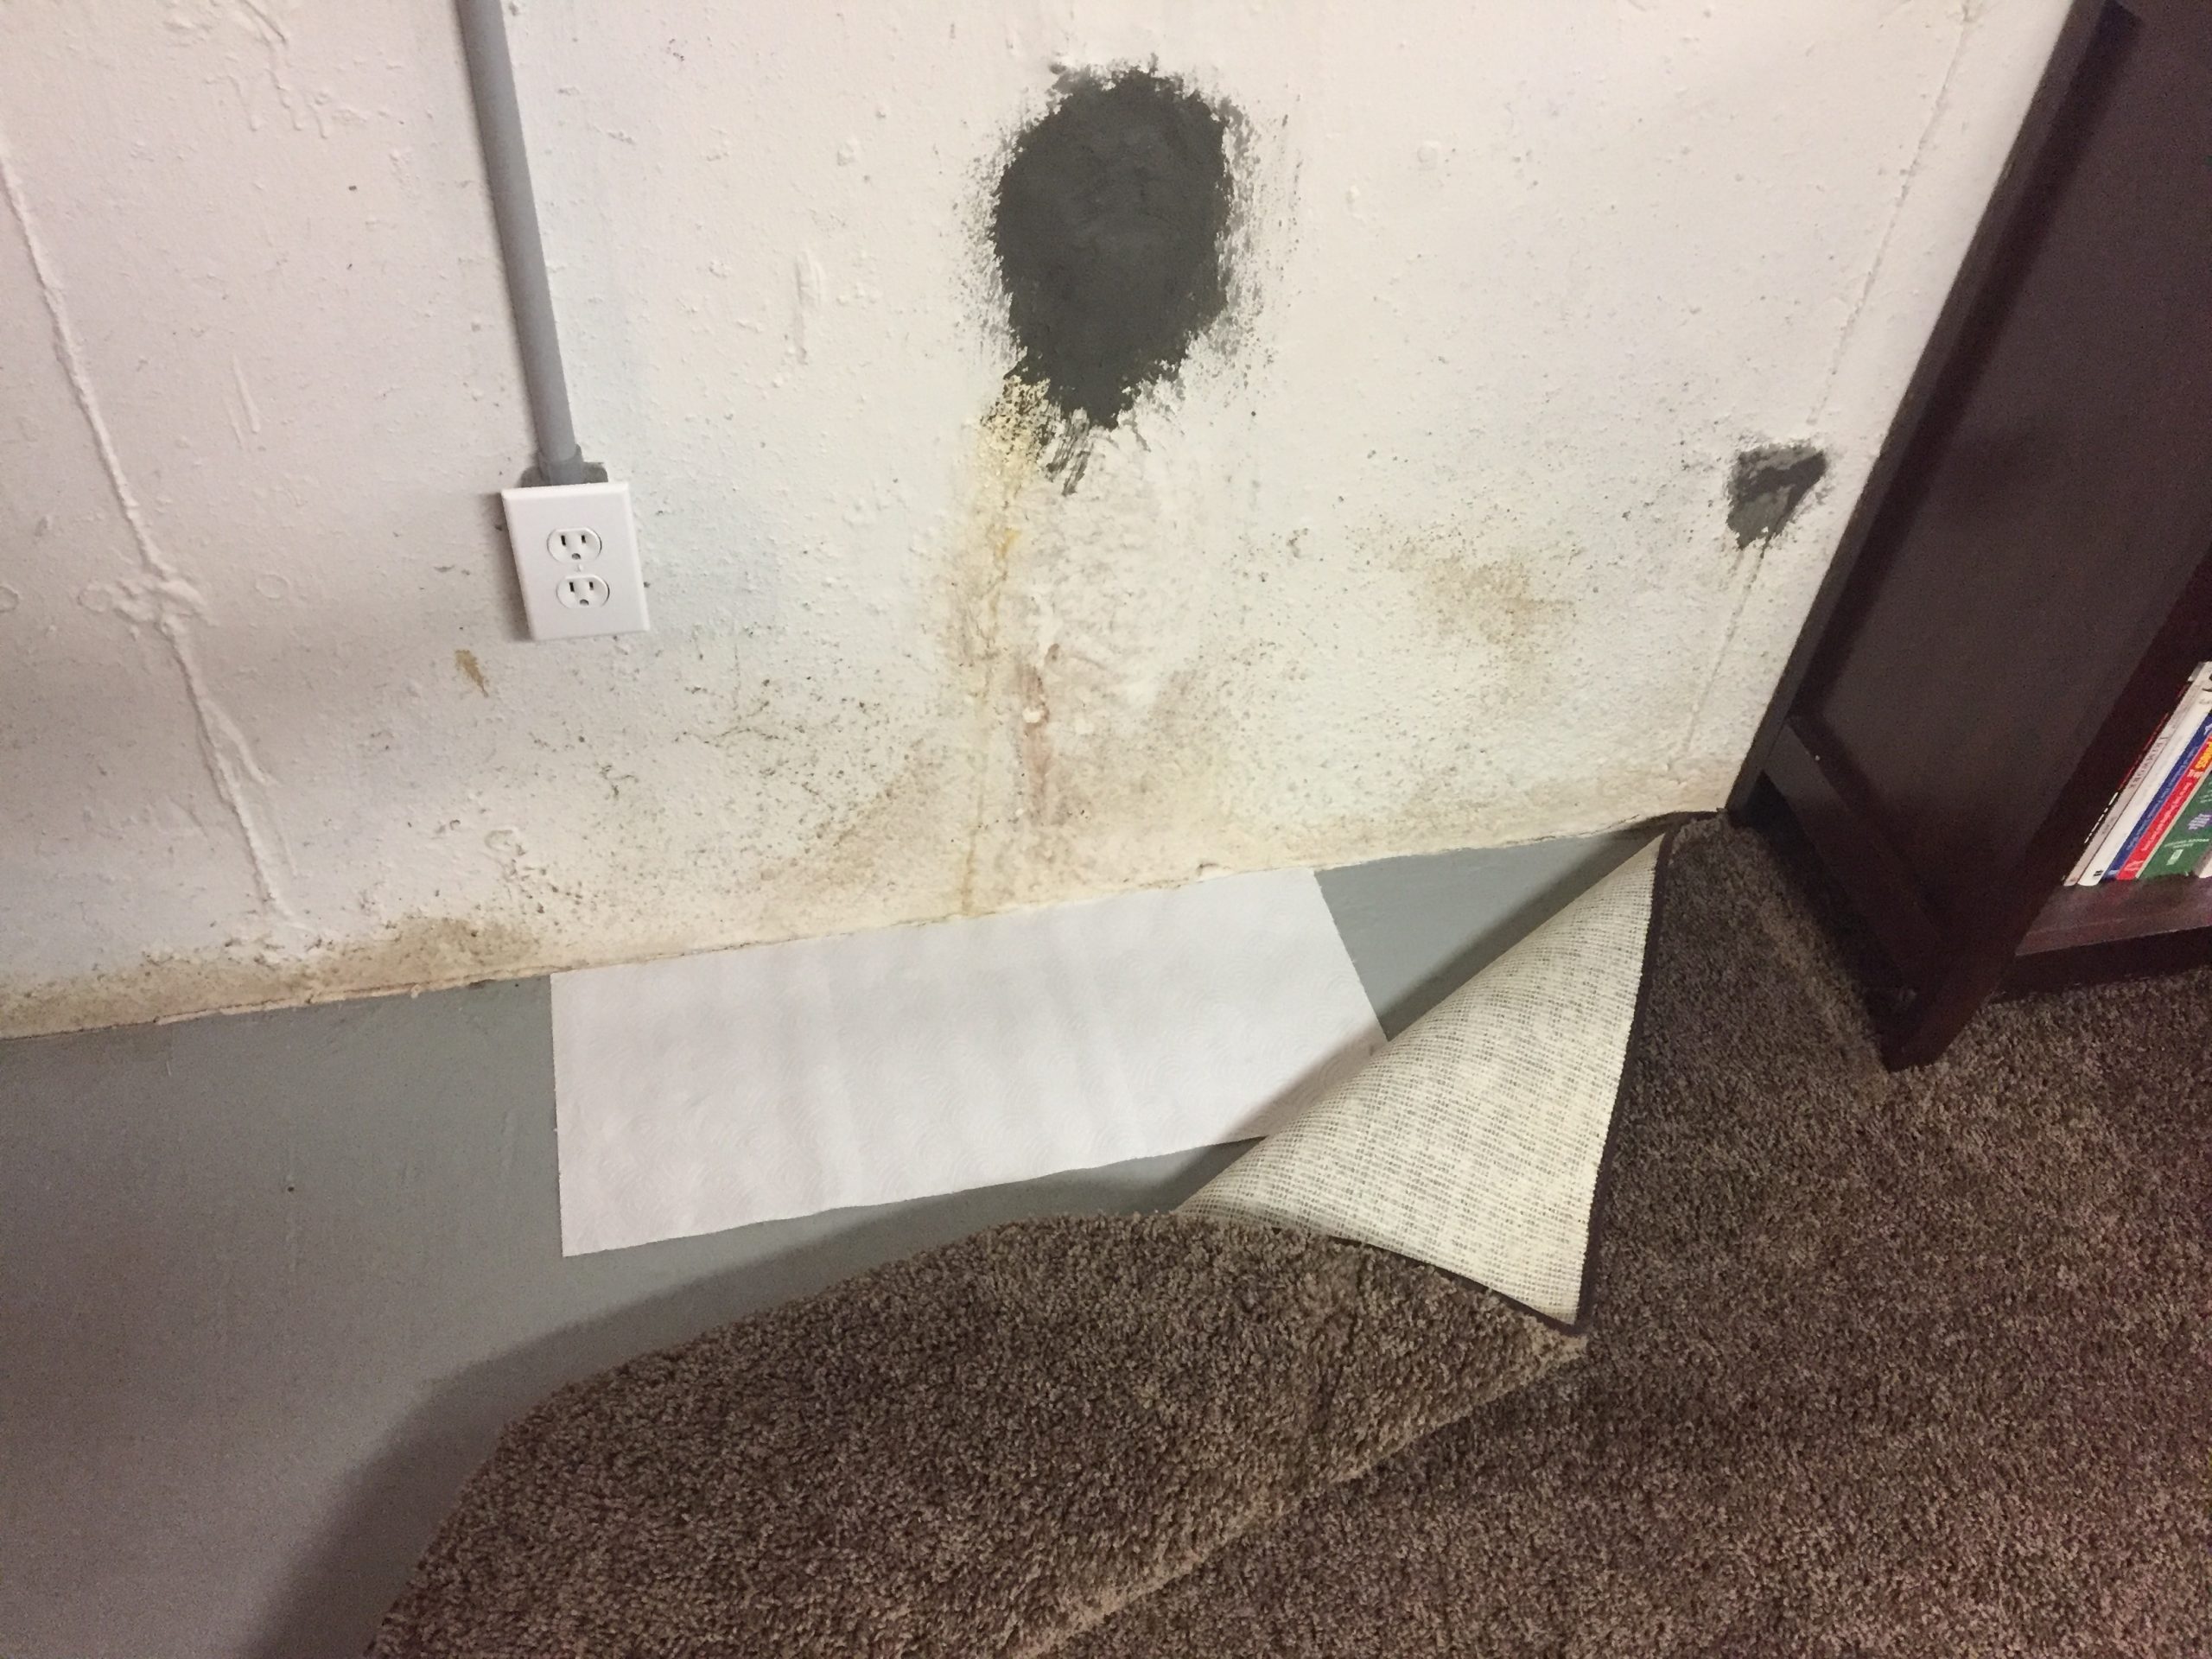
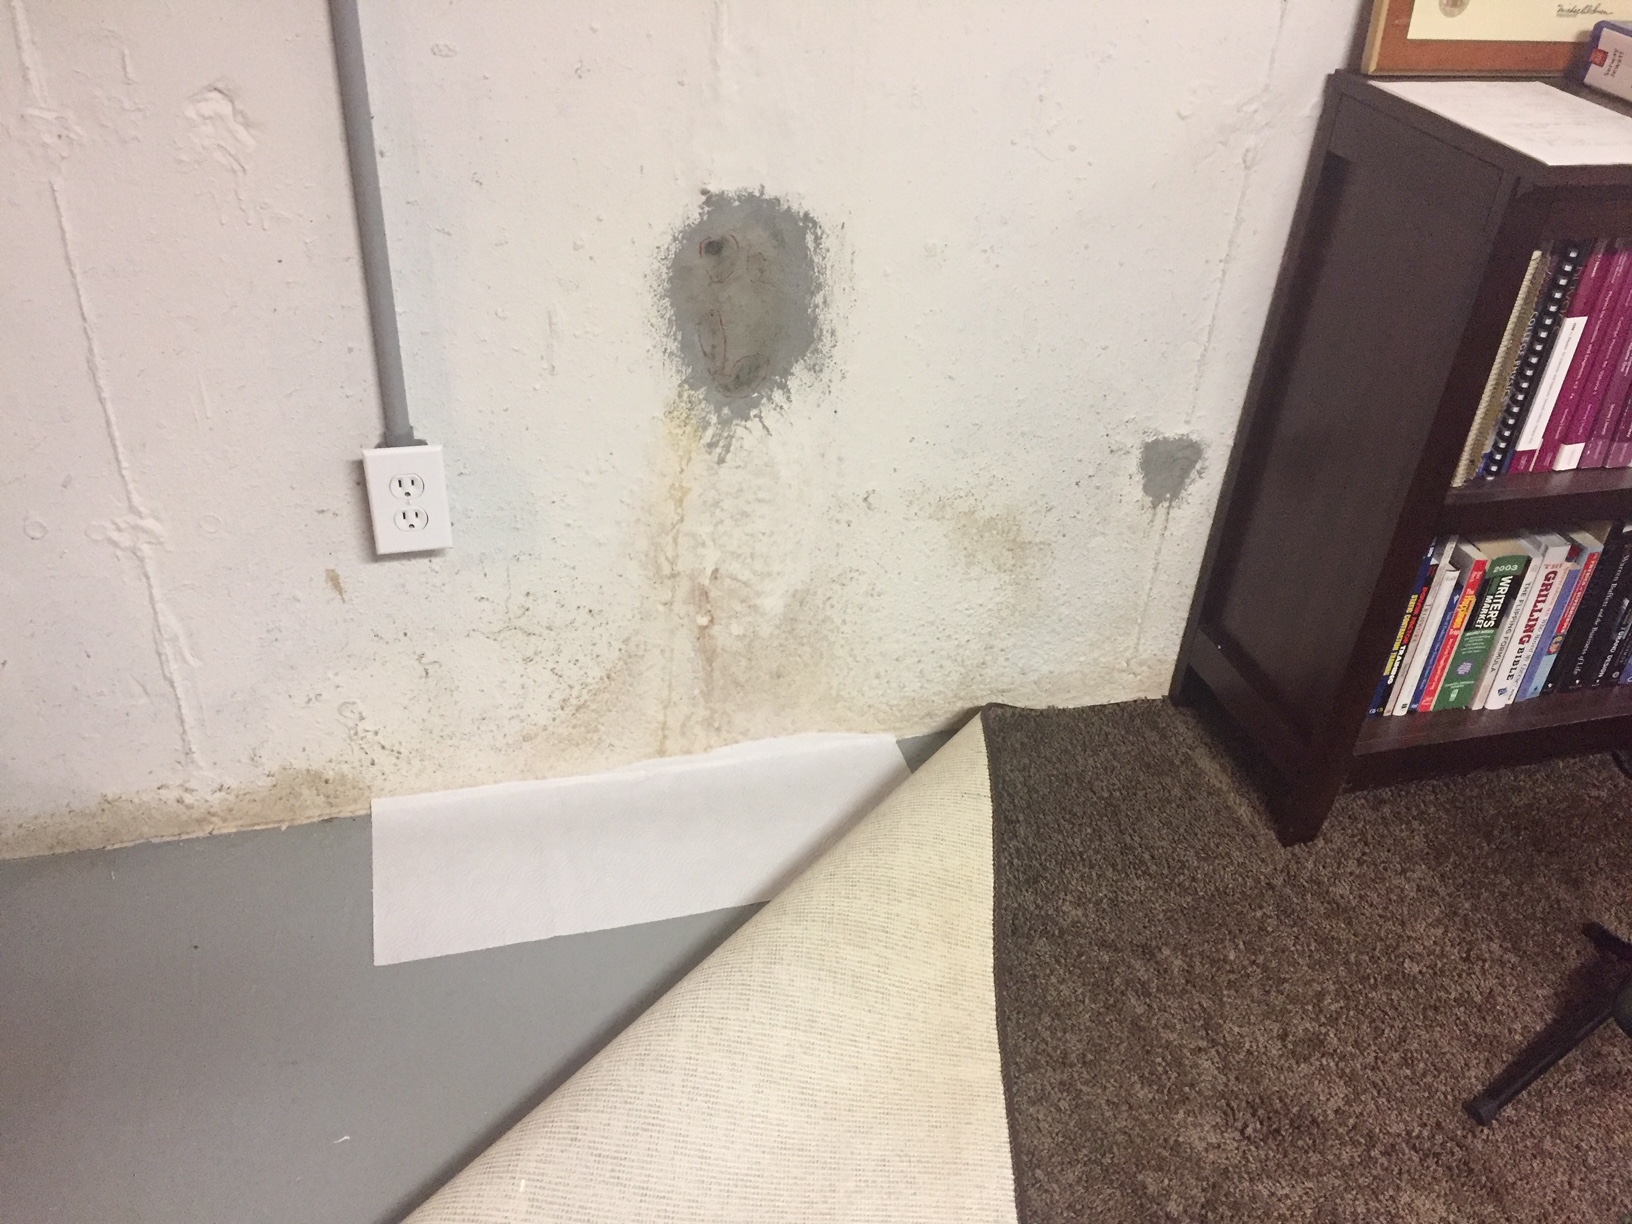
After moving everything out of the way, sure enough – the source of the leak was obvious:
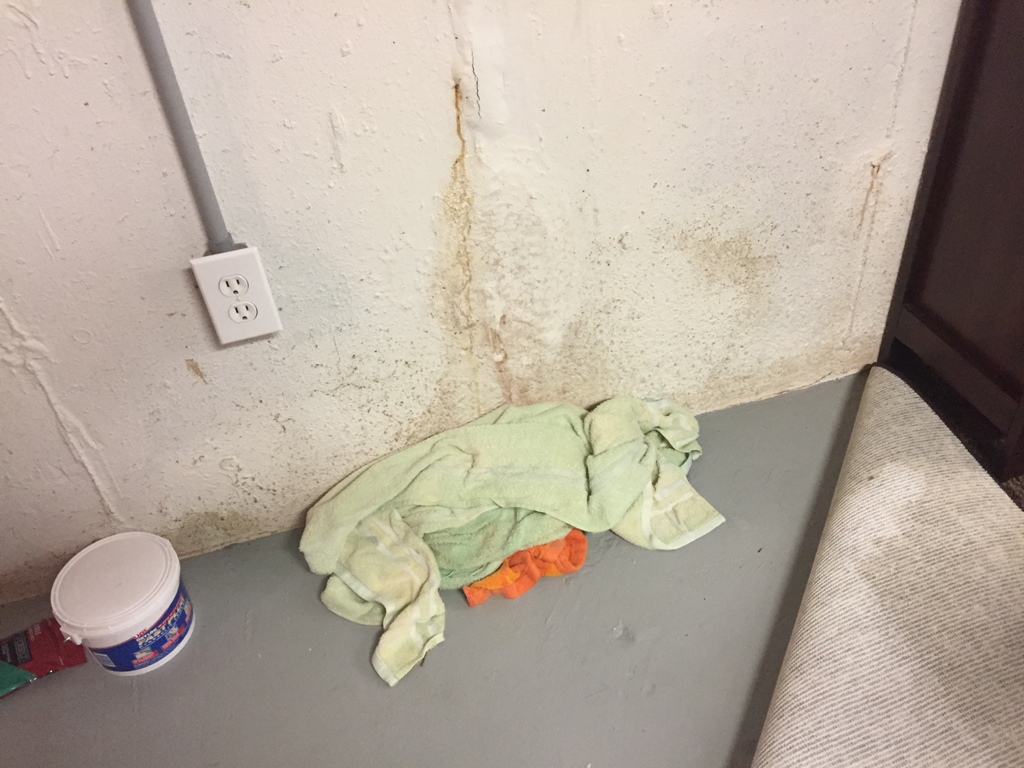
If you open the picture above, you’ll notice my basement walls are poured concrete. And with poured concrete walls, it’s necessary to have rebar reinforcement in place – so that the strength of the walls is sufficient to support the house. The rebar, in my case, takes the form (at least in part) of steel rods that pass through the wall at geometrically distributed locations.
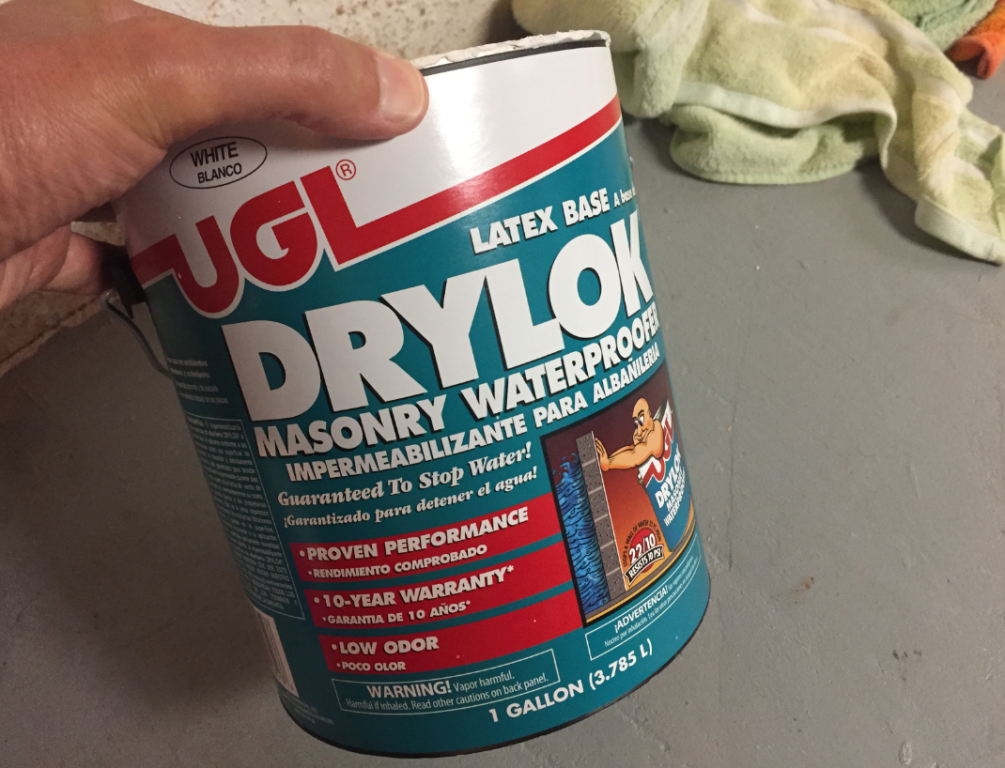
This bugged me when we moved in, as each bar seemed to provide a path that water could eventually use to gain access from the outside to the inside. So, I sealed over each rebar/concrete piercing on the inside of my basement with a 50-year silicone sealant. And I then painted the entire basement interior with white UGL Drylock as well… which is an additional water deterrent, but also looks great as a bright white outer-layer over a dim, gray basement wall. (I use Drylock outside on the foundation below the siding too – it really looks nice.)
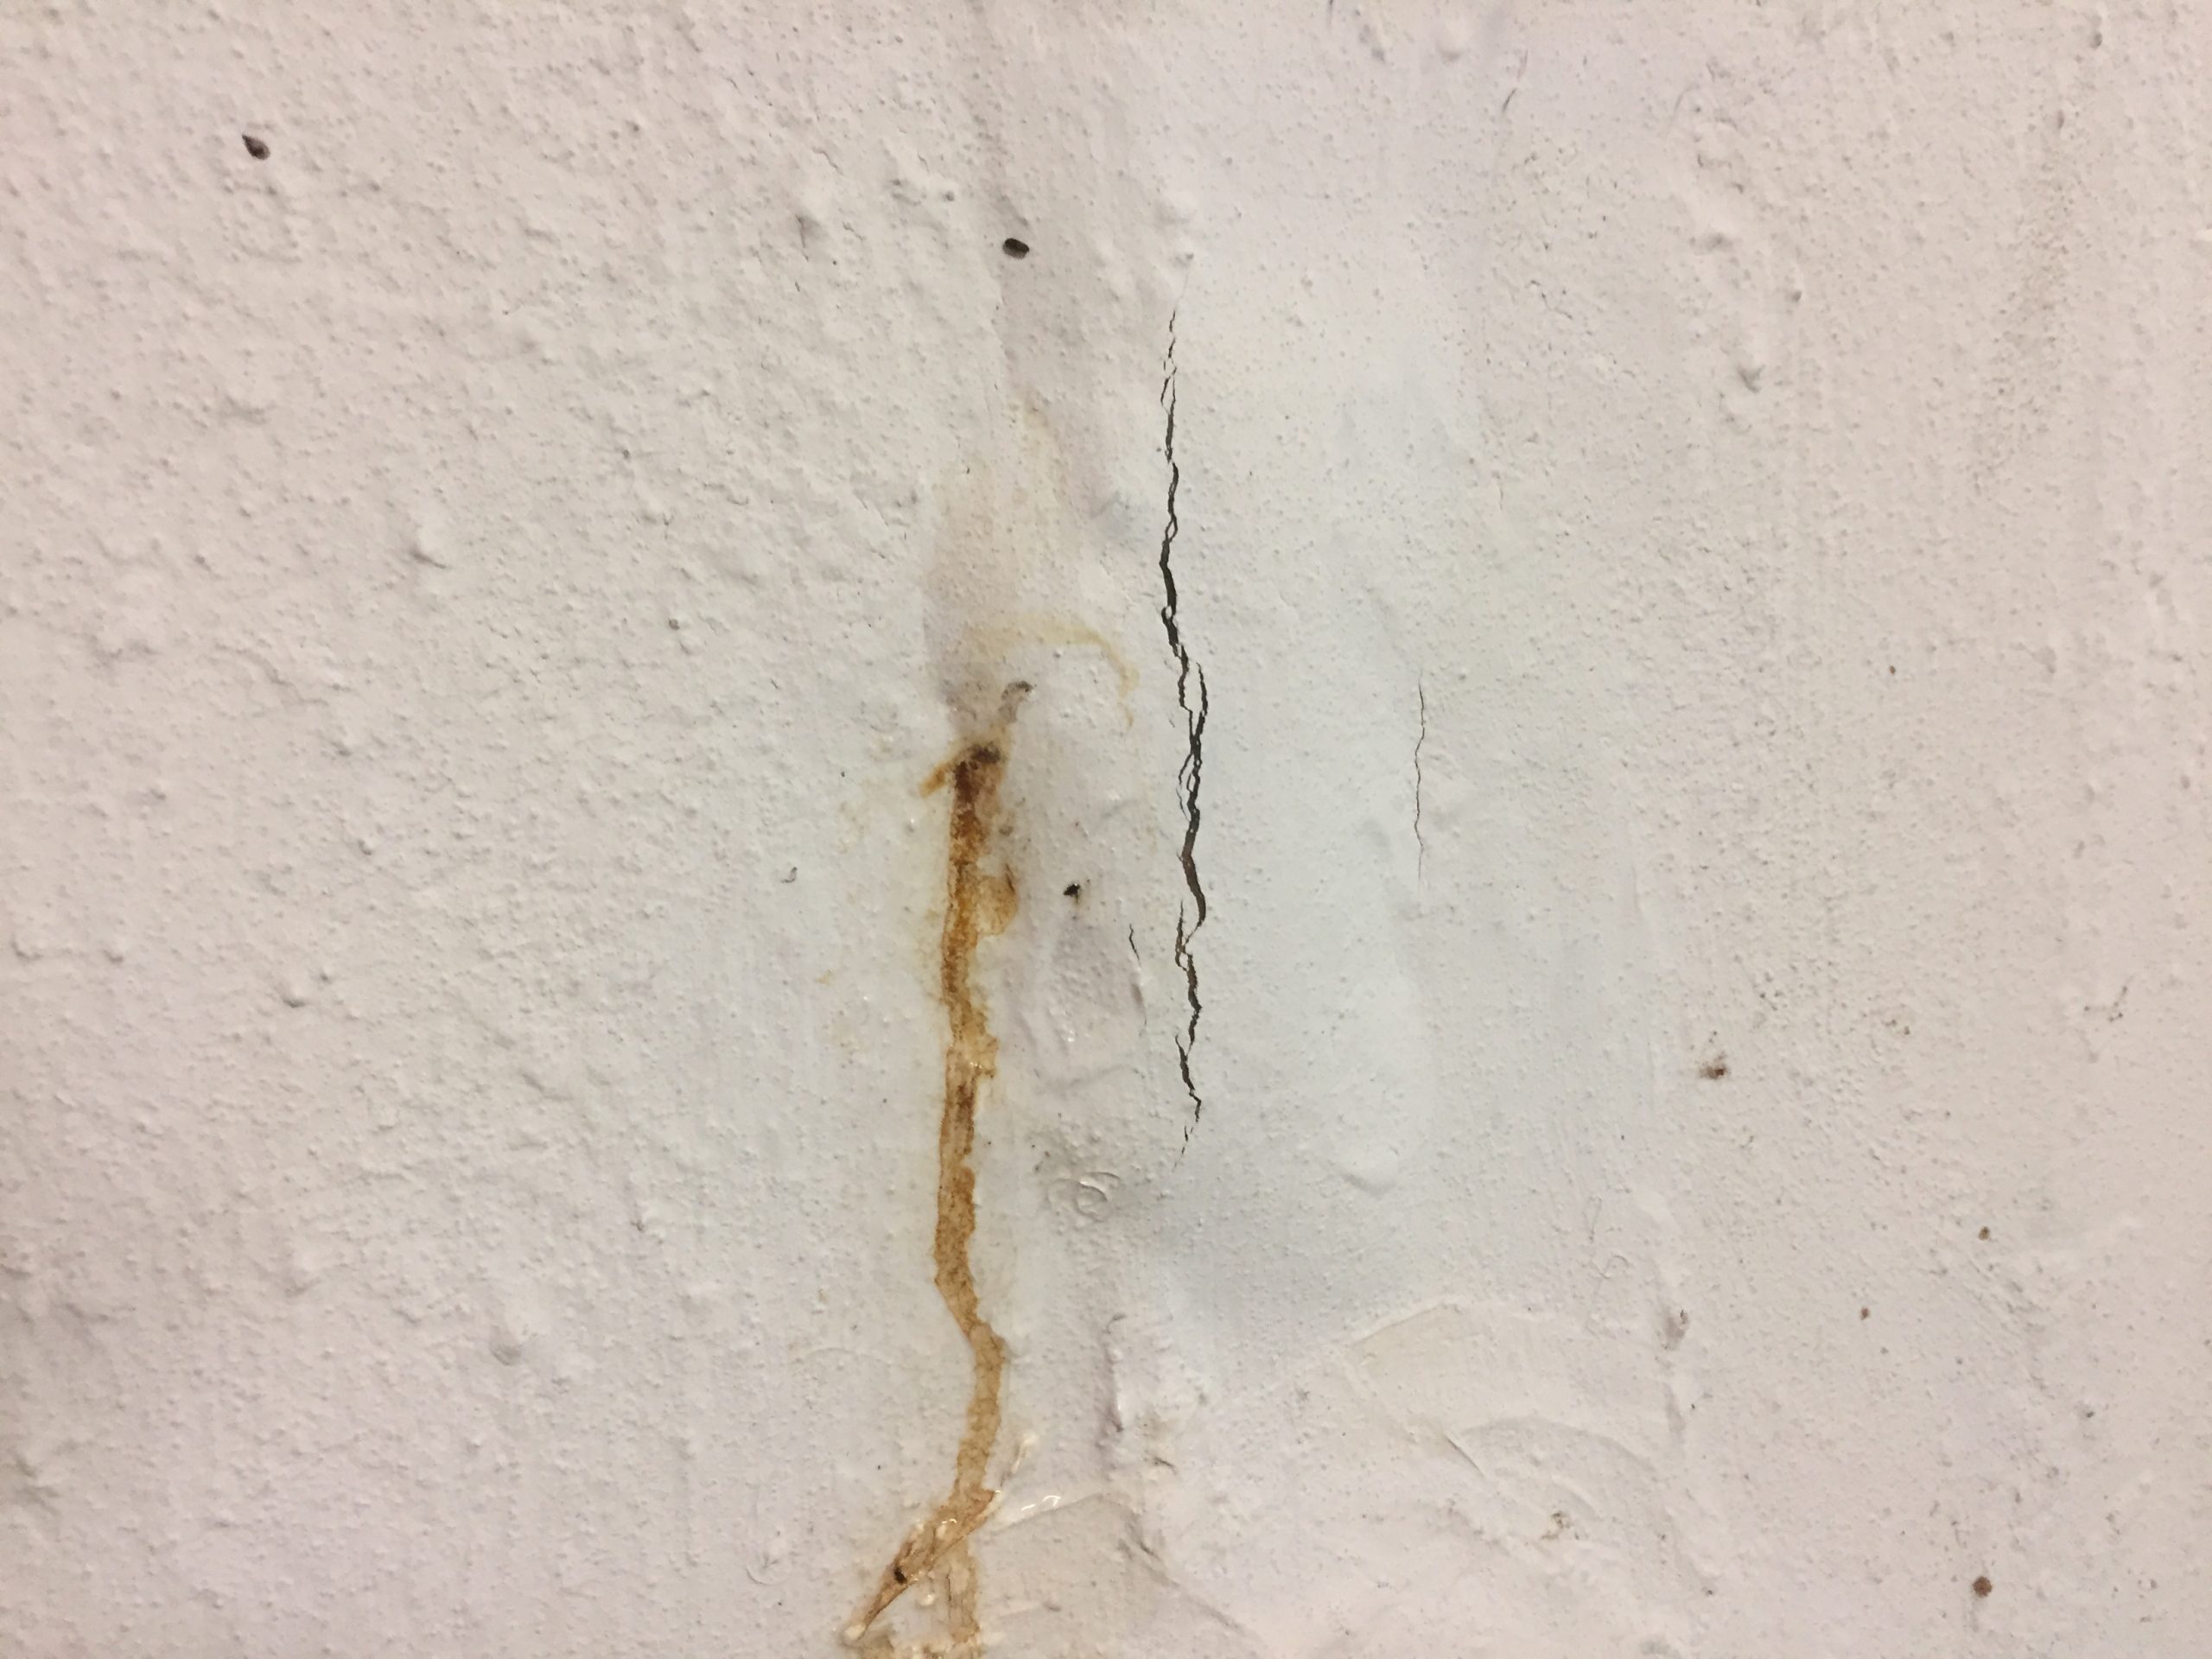
Now, that all said – zoom in on the closer-shot picture above. Note how there’s a bubble? That’s a bubble from UNDER the silicone sealant (and under the UGL Drylock) that I had applied many years prior. And yes, it’s right on top of one of the steel rebar rods.
Which, on the upside, implies to me that I had the right idea all those years ago. But if I had the chance to suggest an improvement to “1999-me,” what would that suggestion be??
It would be to use a quality Hydraulic Cement instead of a 50-year Silicone sealant.
And that’s what I’m going to do right now to repair this slow basement wall leak…
Materials & Tools for My Basement Wall Leak Repair
The materials and tools I used during this project were as follows:
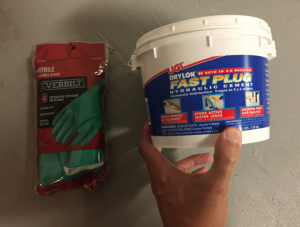
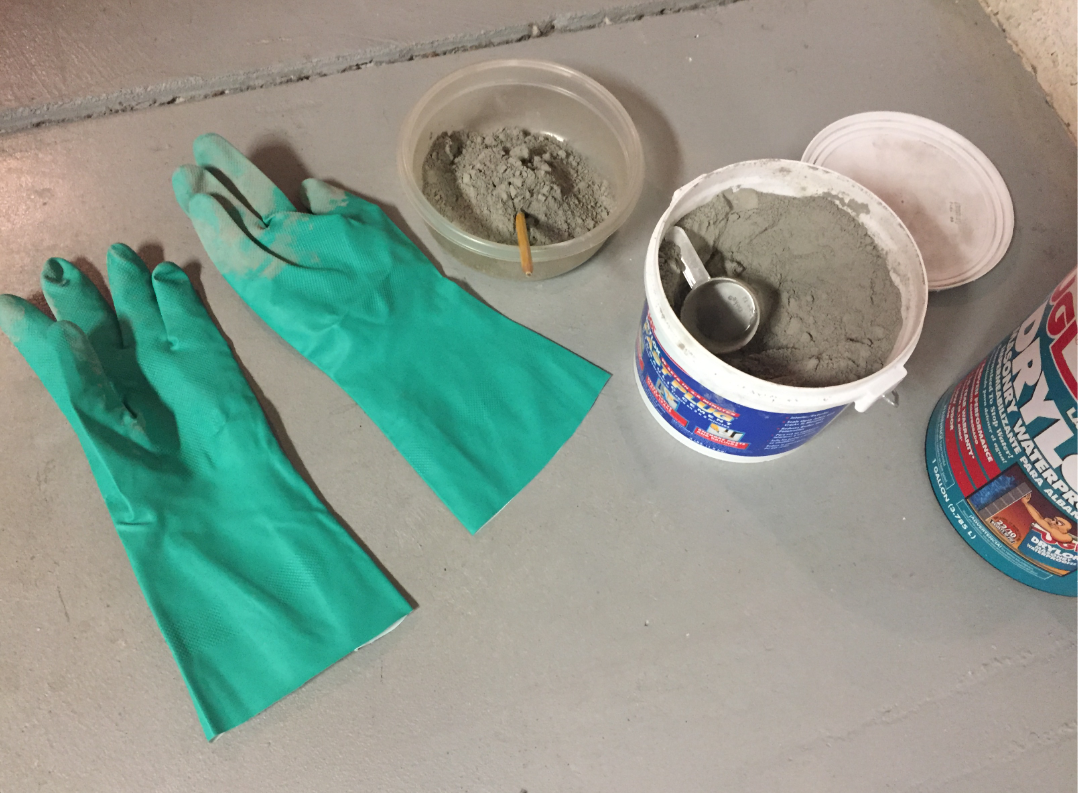
• A high-quality hydraulic cement – pictured (and Amazon-linked) below
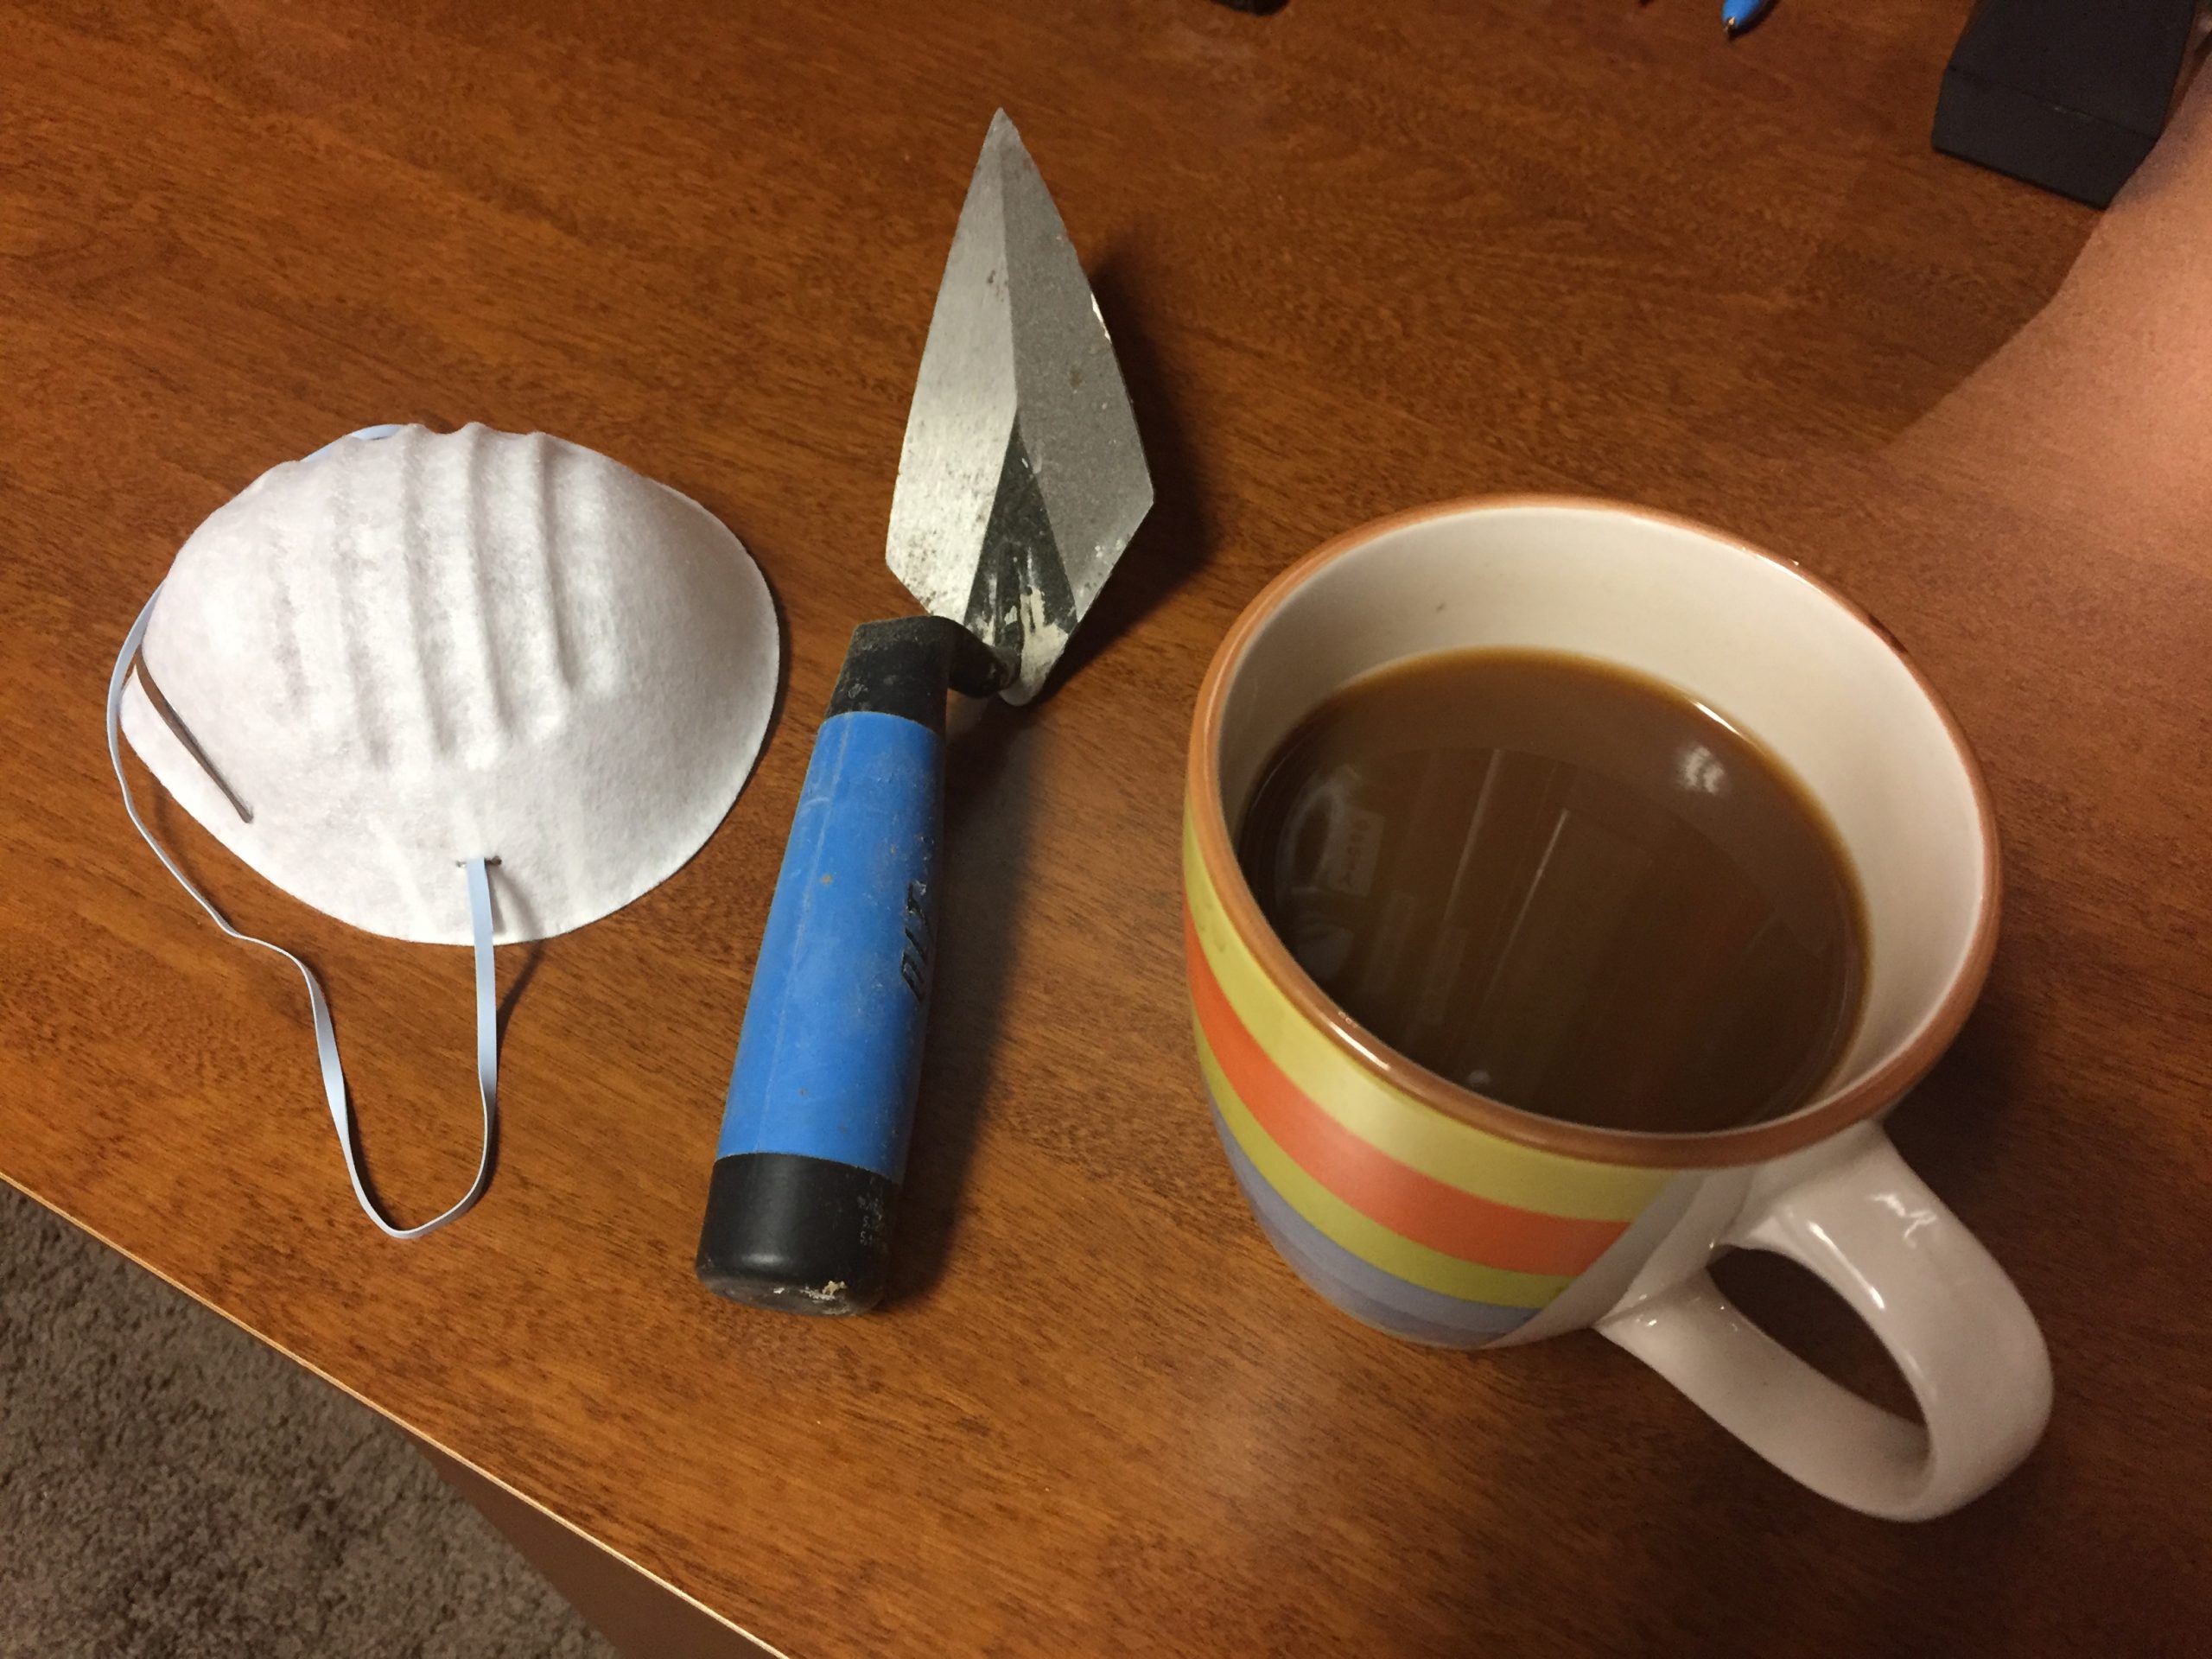
• Protective gloves: A must for handling hydraulic cement
• A protective dust mask
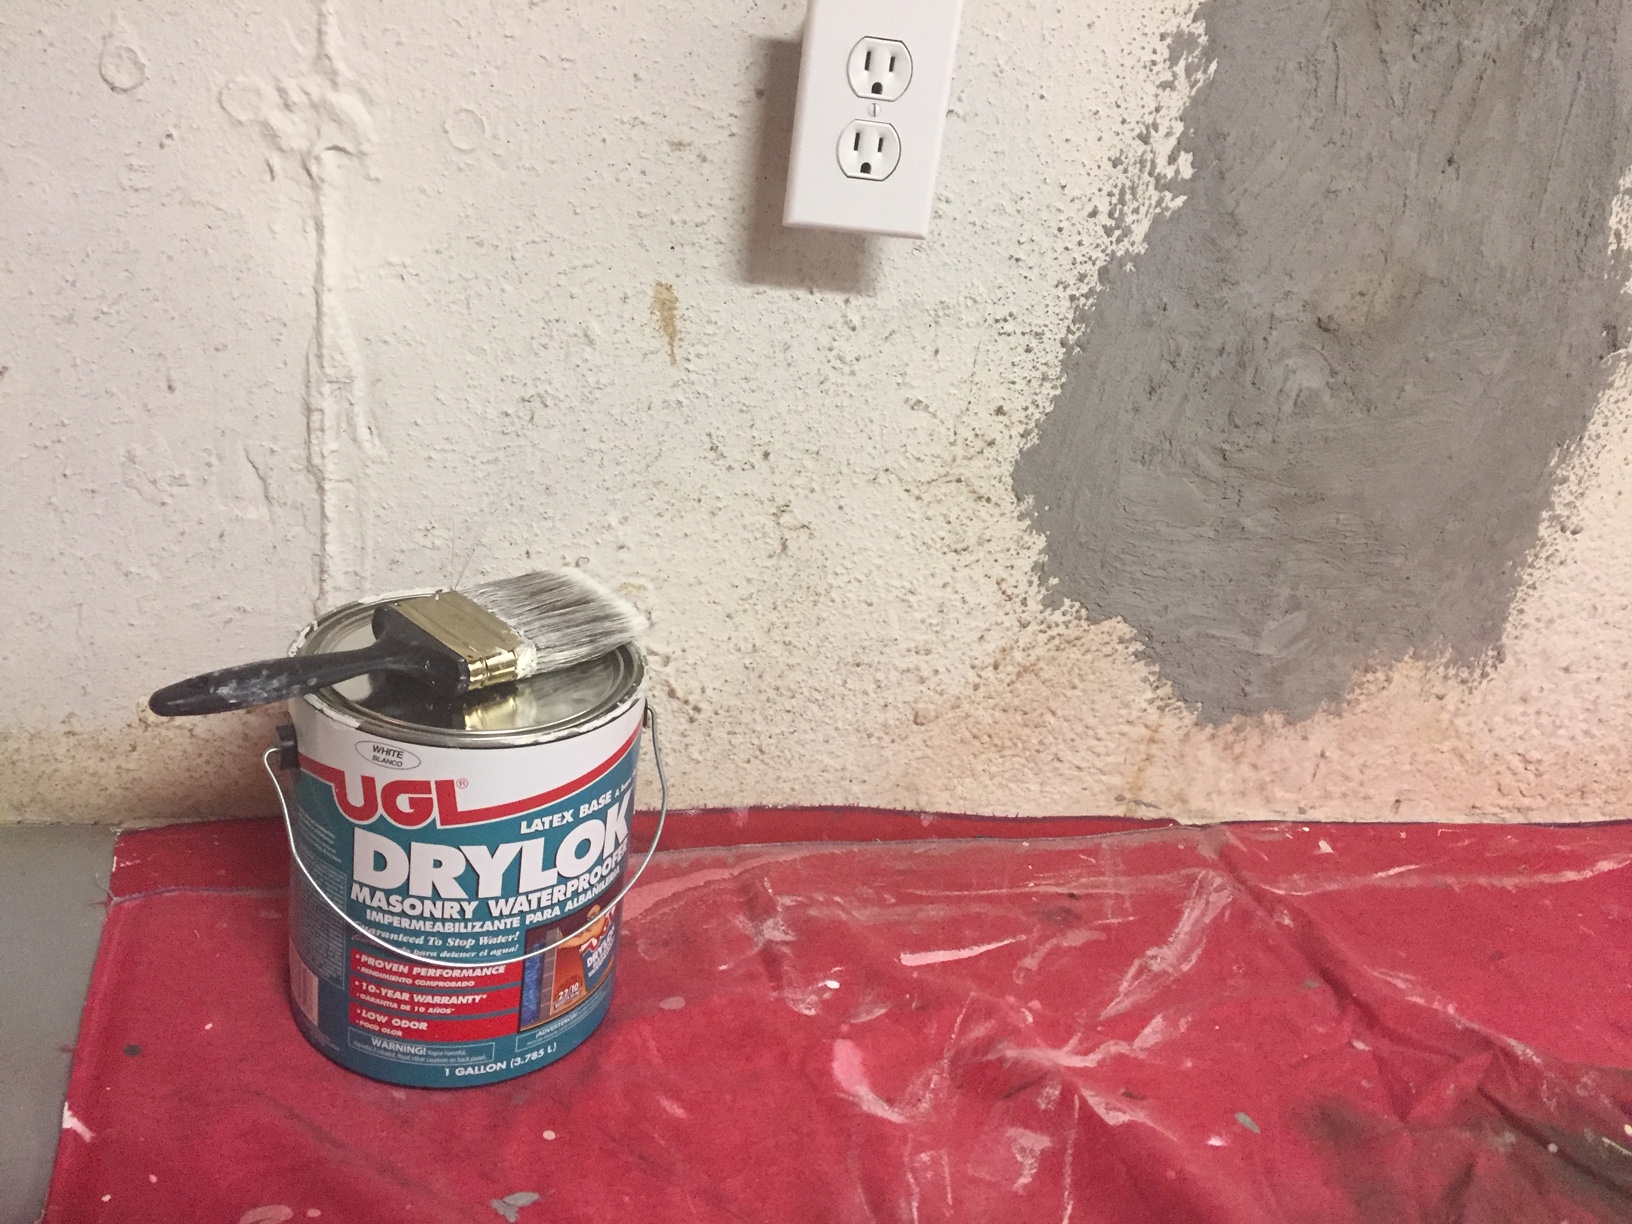
• White UGL Drylock, for top application once the patch dries. (Also pictured/linked below.)
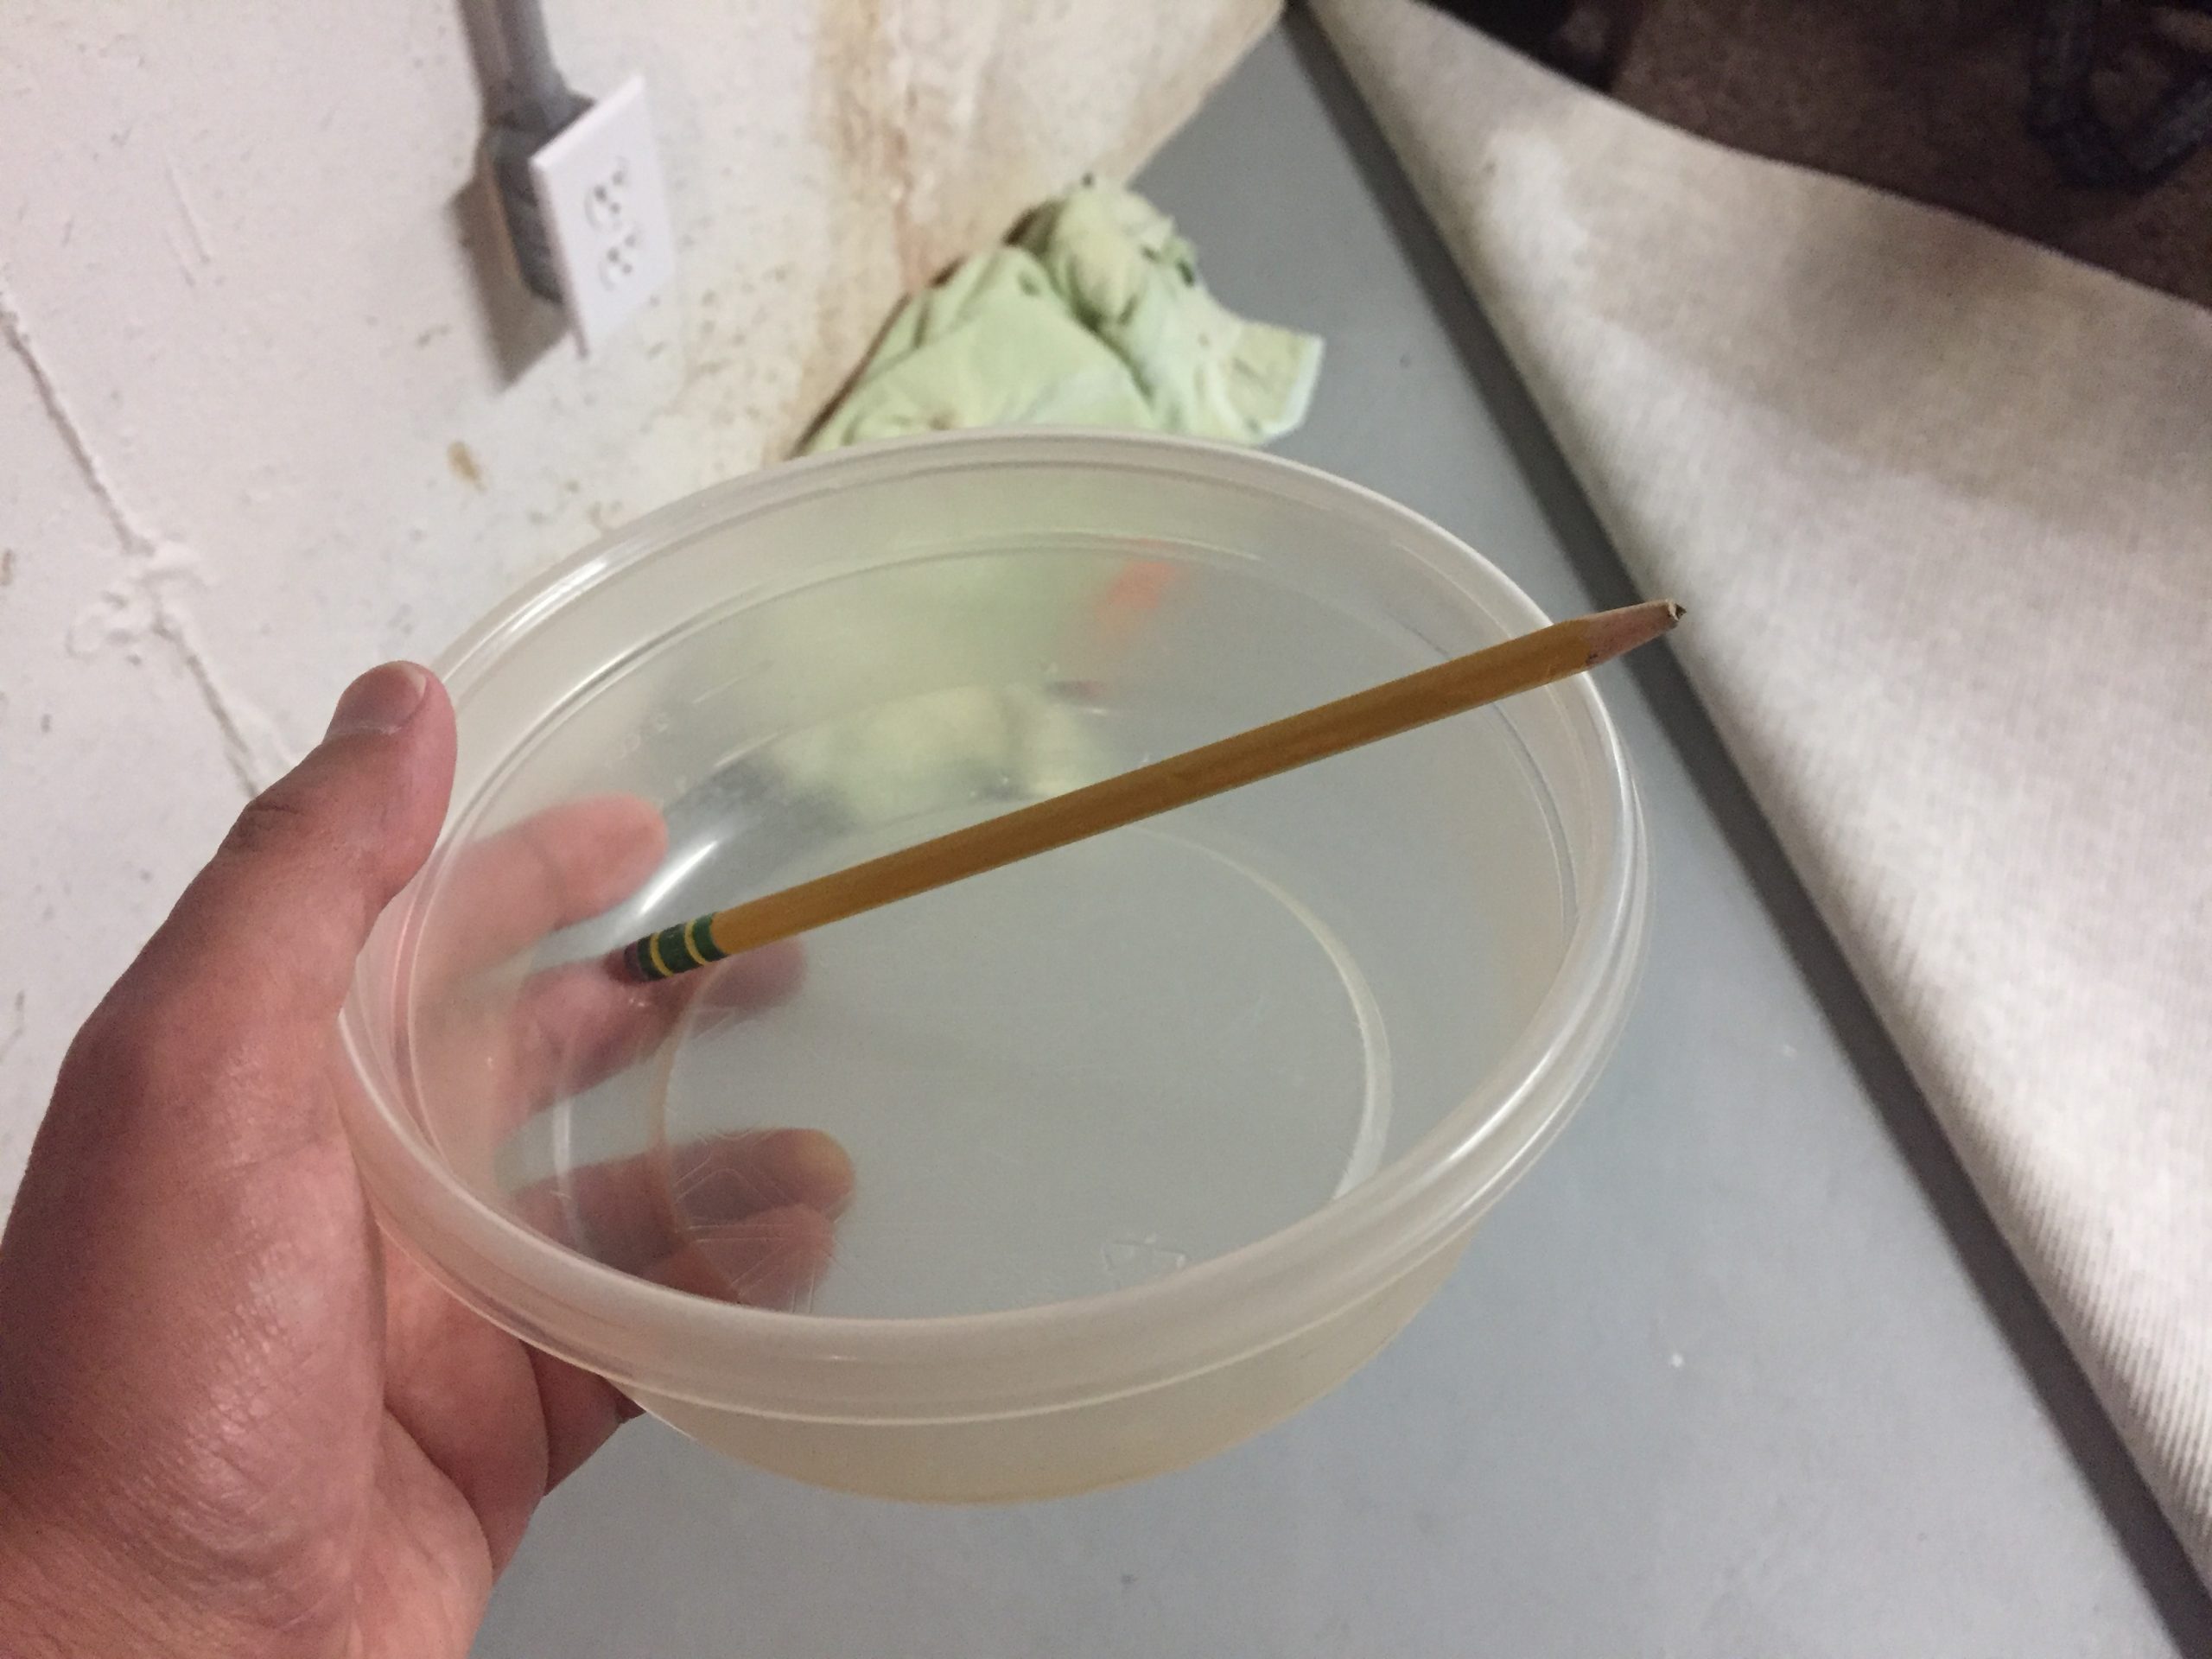
• A razor knife, a chisel, a mixing container – and an old pencil “stirrer”
• A trowel (Handy – but frankly, I didn’t use this too much. I mostly used my gloved hands.)
• Coffee (Which I find necessary for most all facets of life. But it’s up to you.)
That’s it.
It’s important to note that the mixing container and “stirrer” are expendable, as the hydraulic cement dries very fast. Plus – hydraulic cement is a known carcinogen. So, I’d suggest you really don’t want to use either of these, ever again, after mixing up hydraulic cement as a patch for a basement wall leak. (And don’t open or mix that cement it anywhere near your coffee either!)
Repairing the Basement Wall Leak
I’m going to use annotated photos to mainly convey the procedure I used for this. I can write all I want, but there’s nothing like photos. Video is even better, naturally, but this project needed to move fast. Not only was the leak active (slowly dripping) while I worked – but the hydraulic cement, as I mentioned above, sets very fast. You only have a limited amount of time to work with it.
So – videos are great for jobs like my recent ceiling fan installation. But for this job? Photos.
And, of course… calling in a qualified local contractor to assess and repair is perfectly prudent (and sometimes critical for a job like this) as well. But I knew how I would start this job…
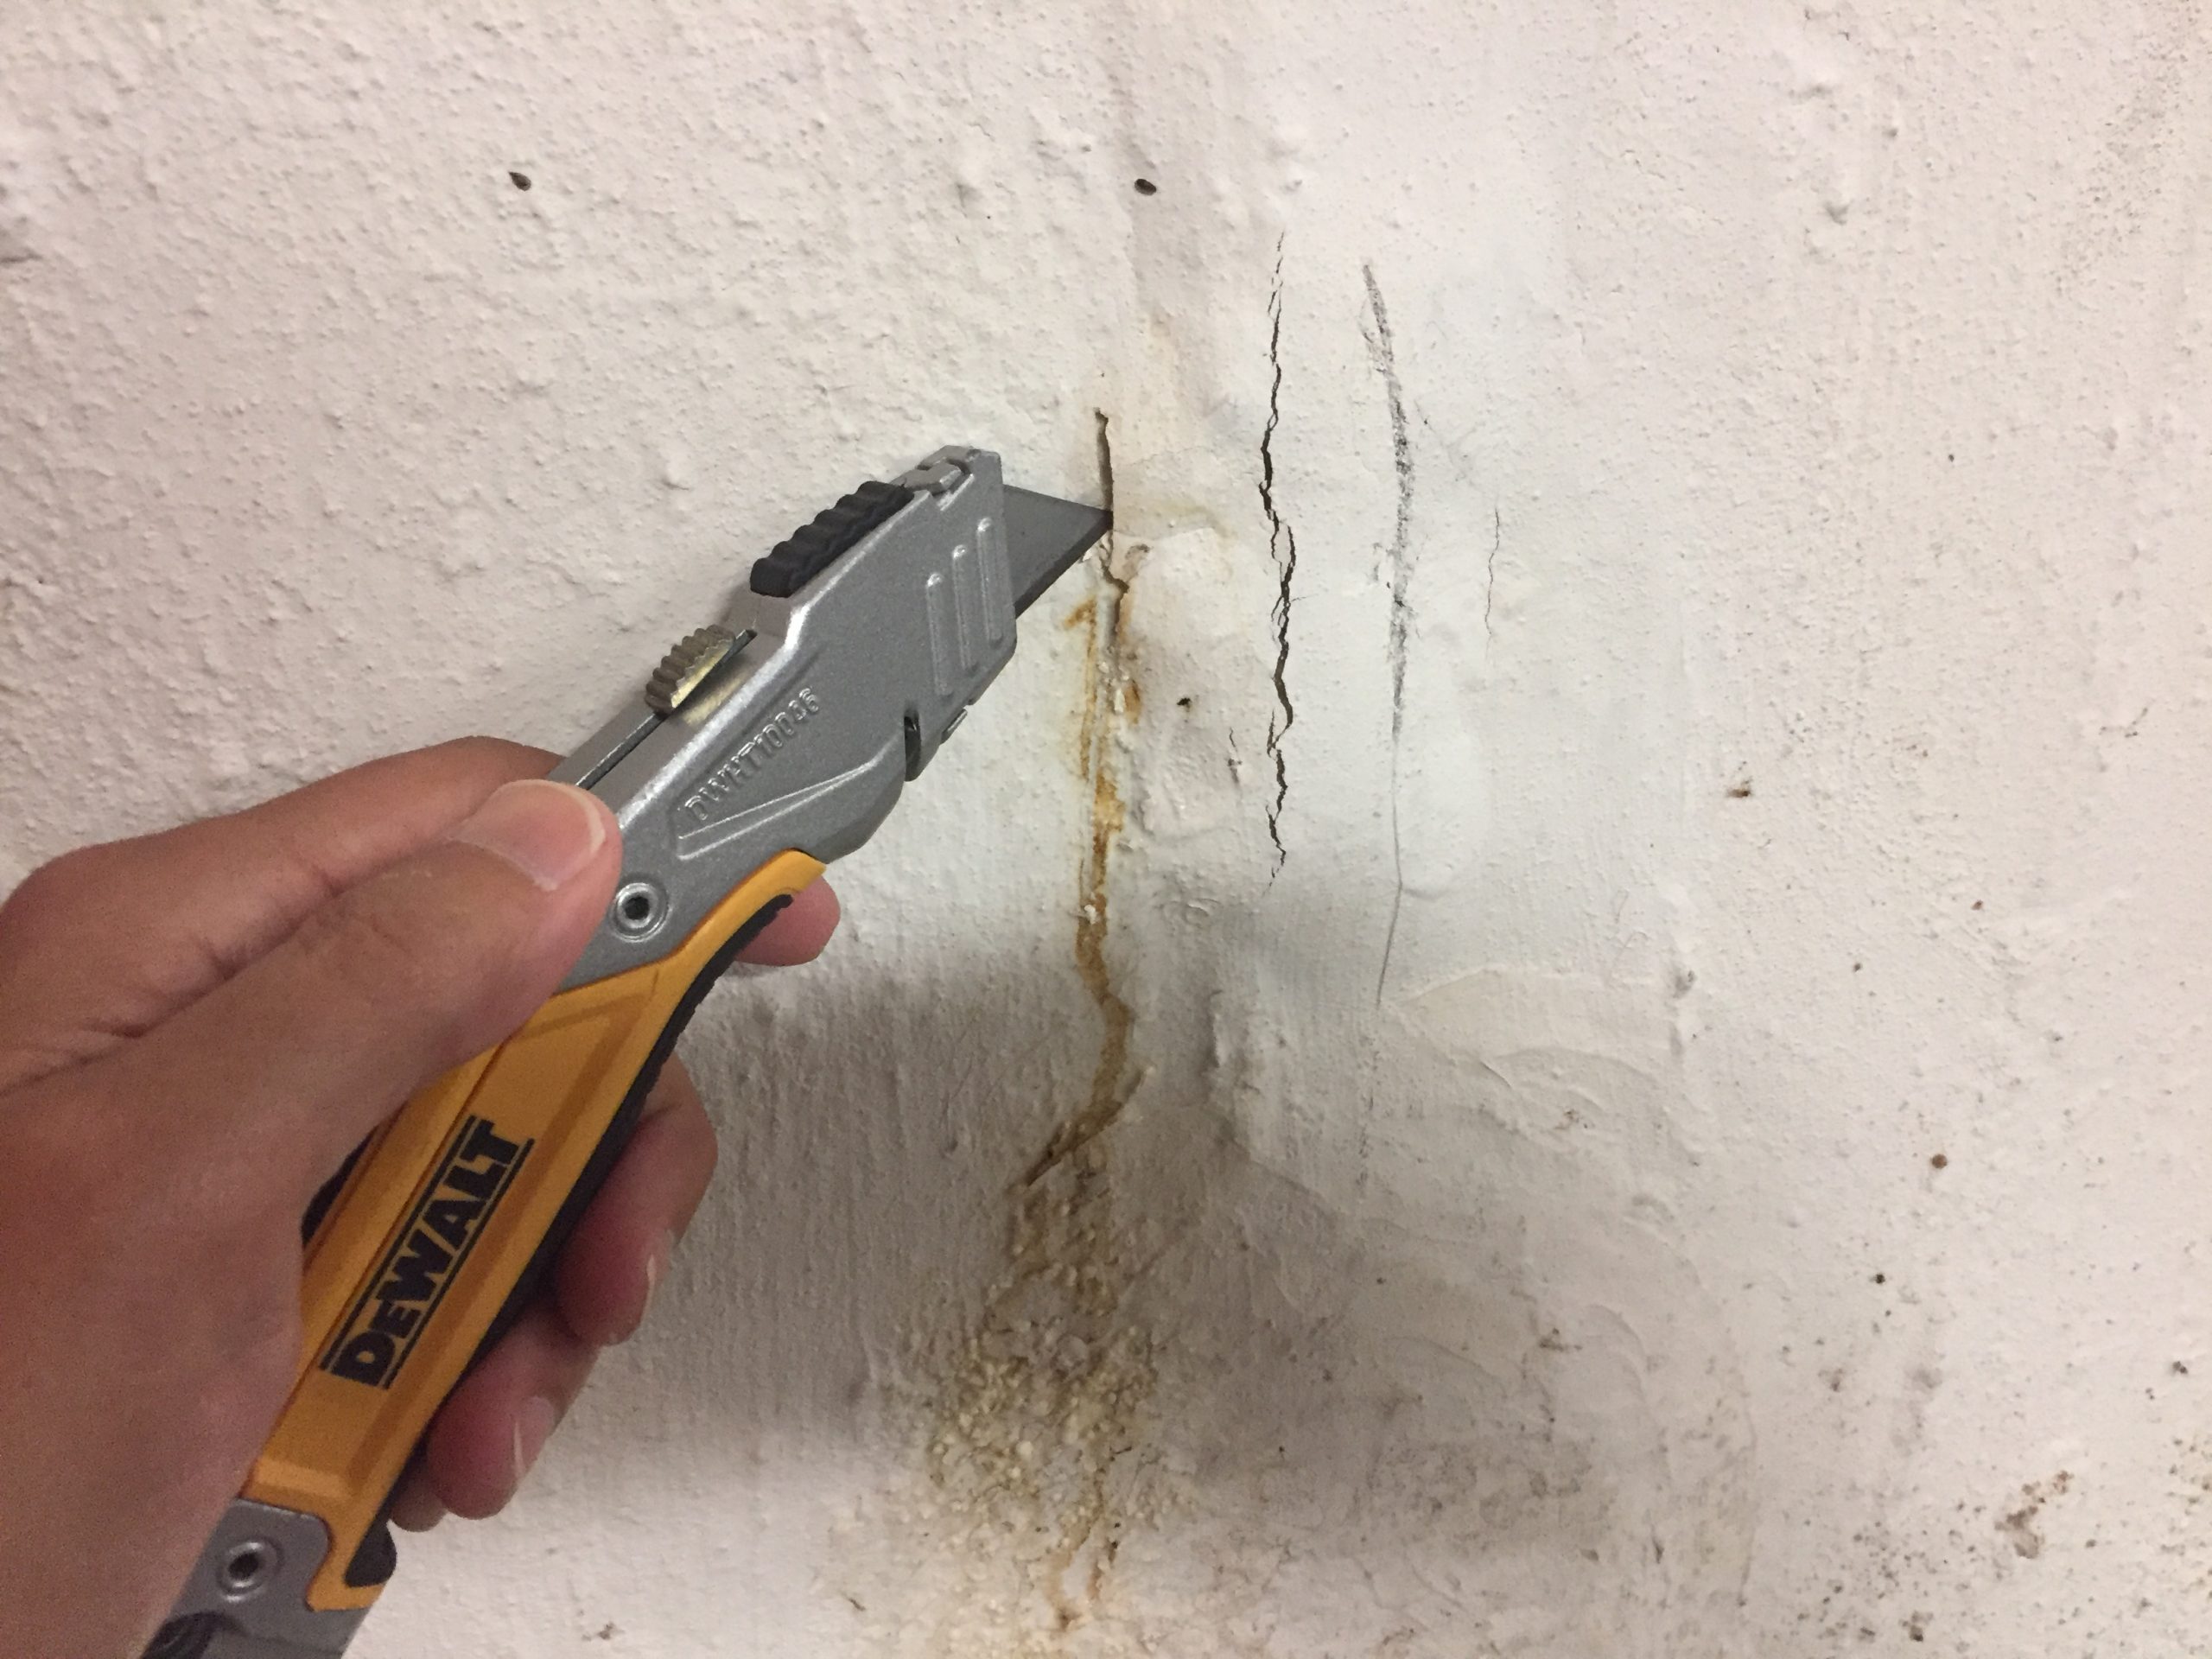
I begin with my razor knife to score an area around that bubble as a starting point. I want to be sure to eventually seal significantly more area than where the leak is. And this gets me started – even though I won’t really know the specifics of the damaged area until I get under there and see.
So, I make the “first incision.” (Exploratory surgery begins.)
Then I use my chisel to take it further, cutting inward from the razor knife score line I made just prior.
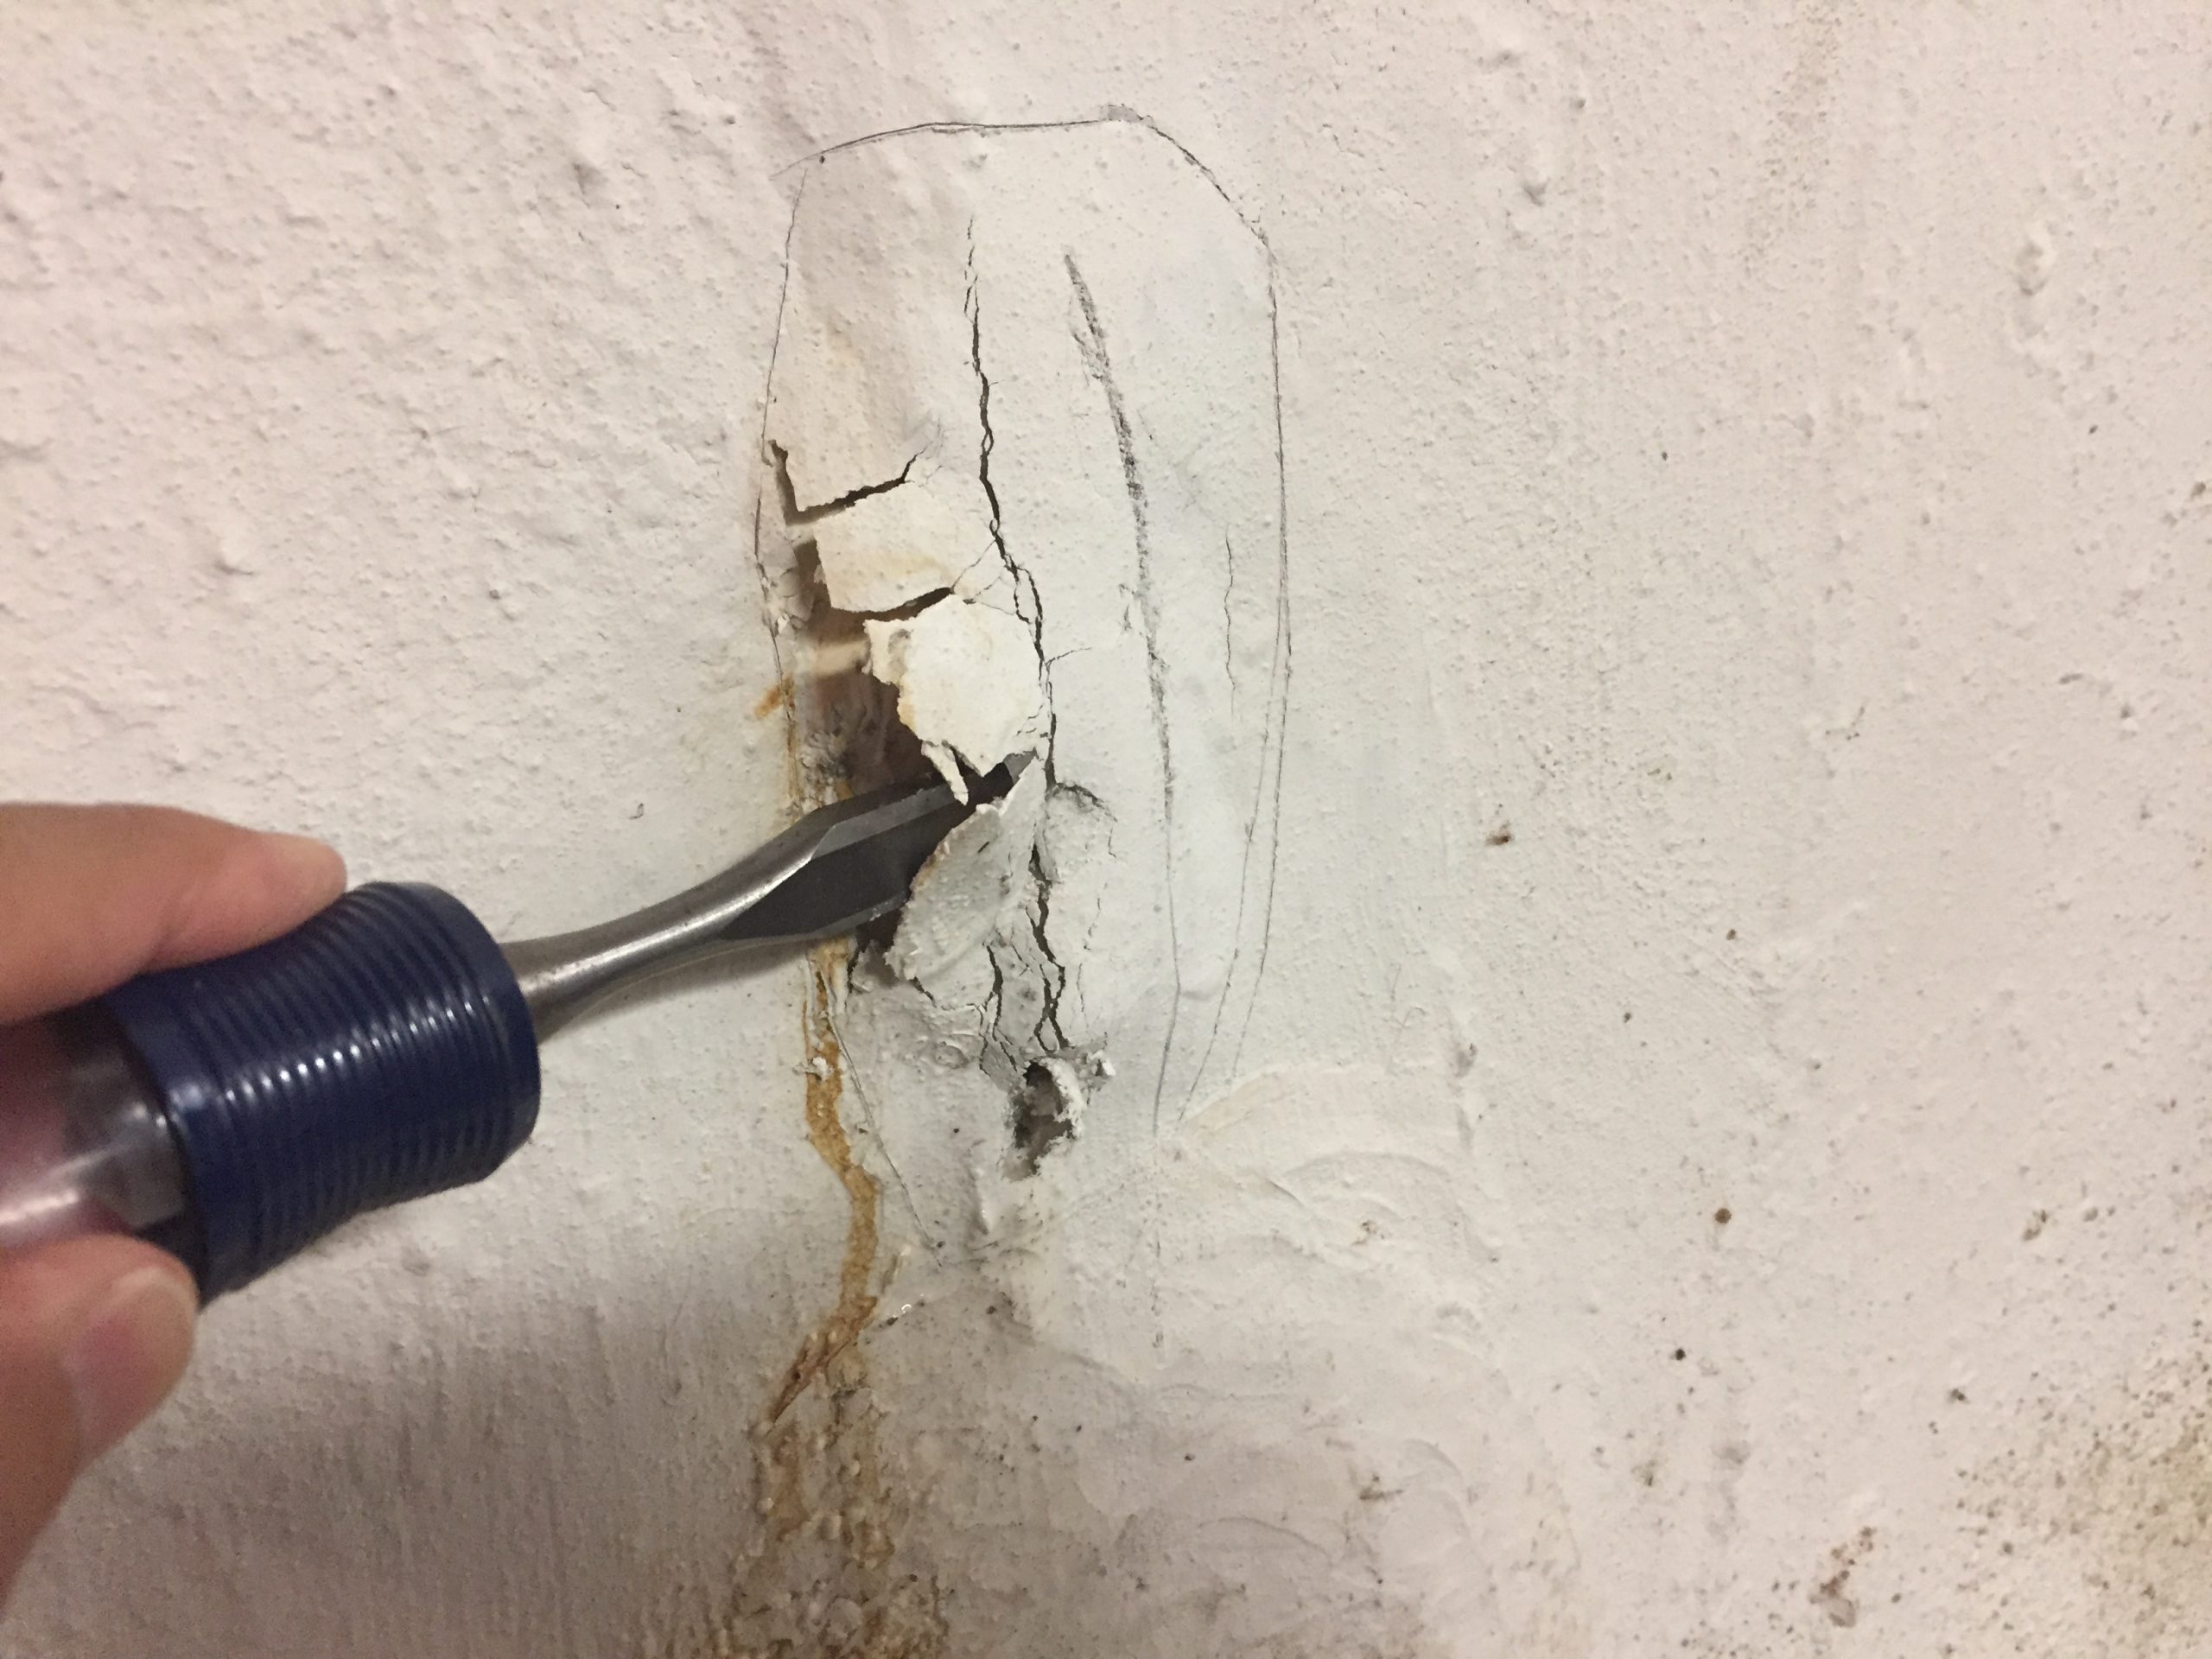
After further work to chip away the old Drylock and dig out the underlying Silicone sealant – I can see the damaged area now, which is a comprised of a thin stress fracture, likely from house settling, that started by that rebar rod.
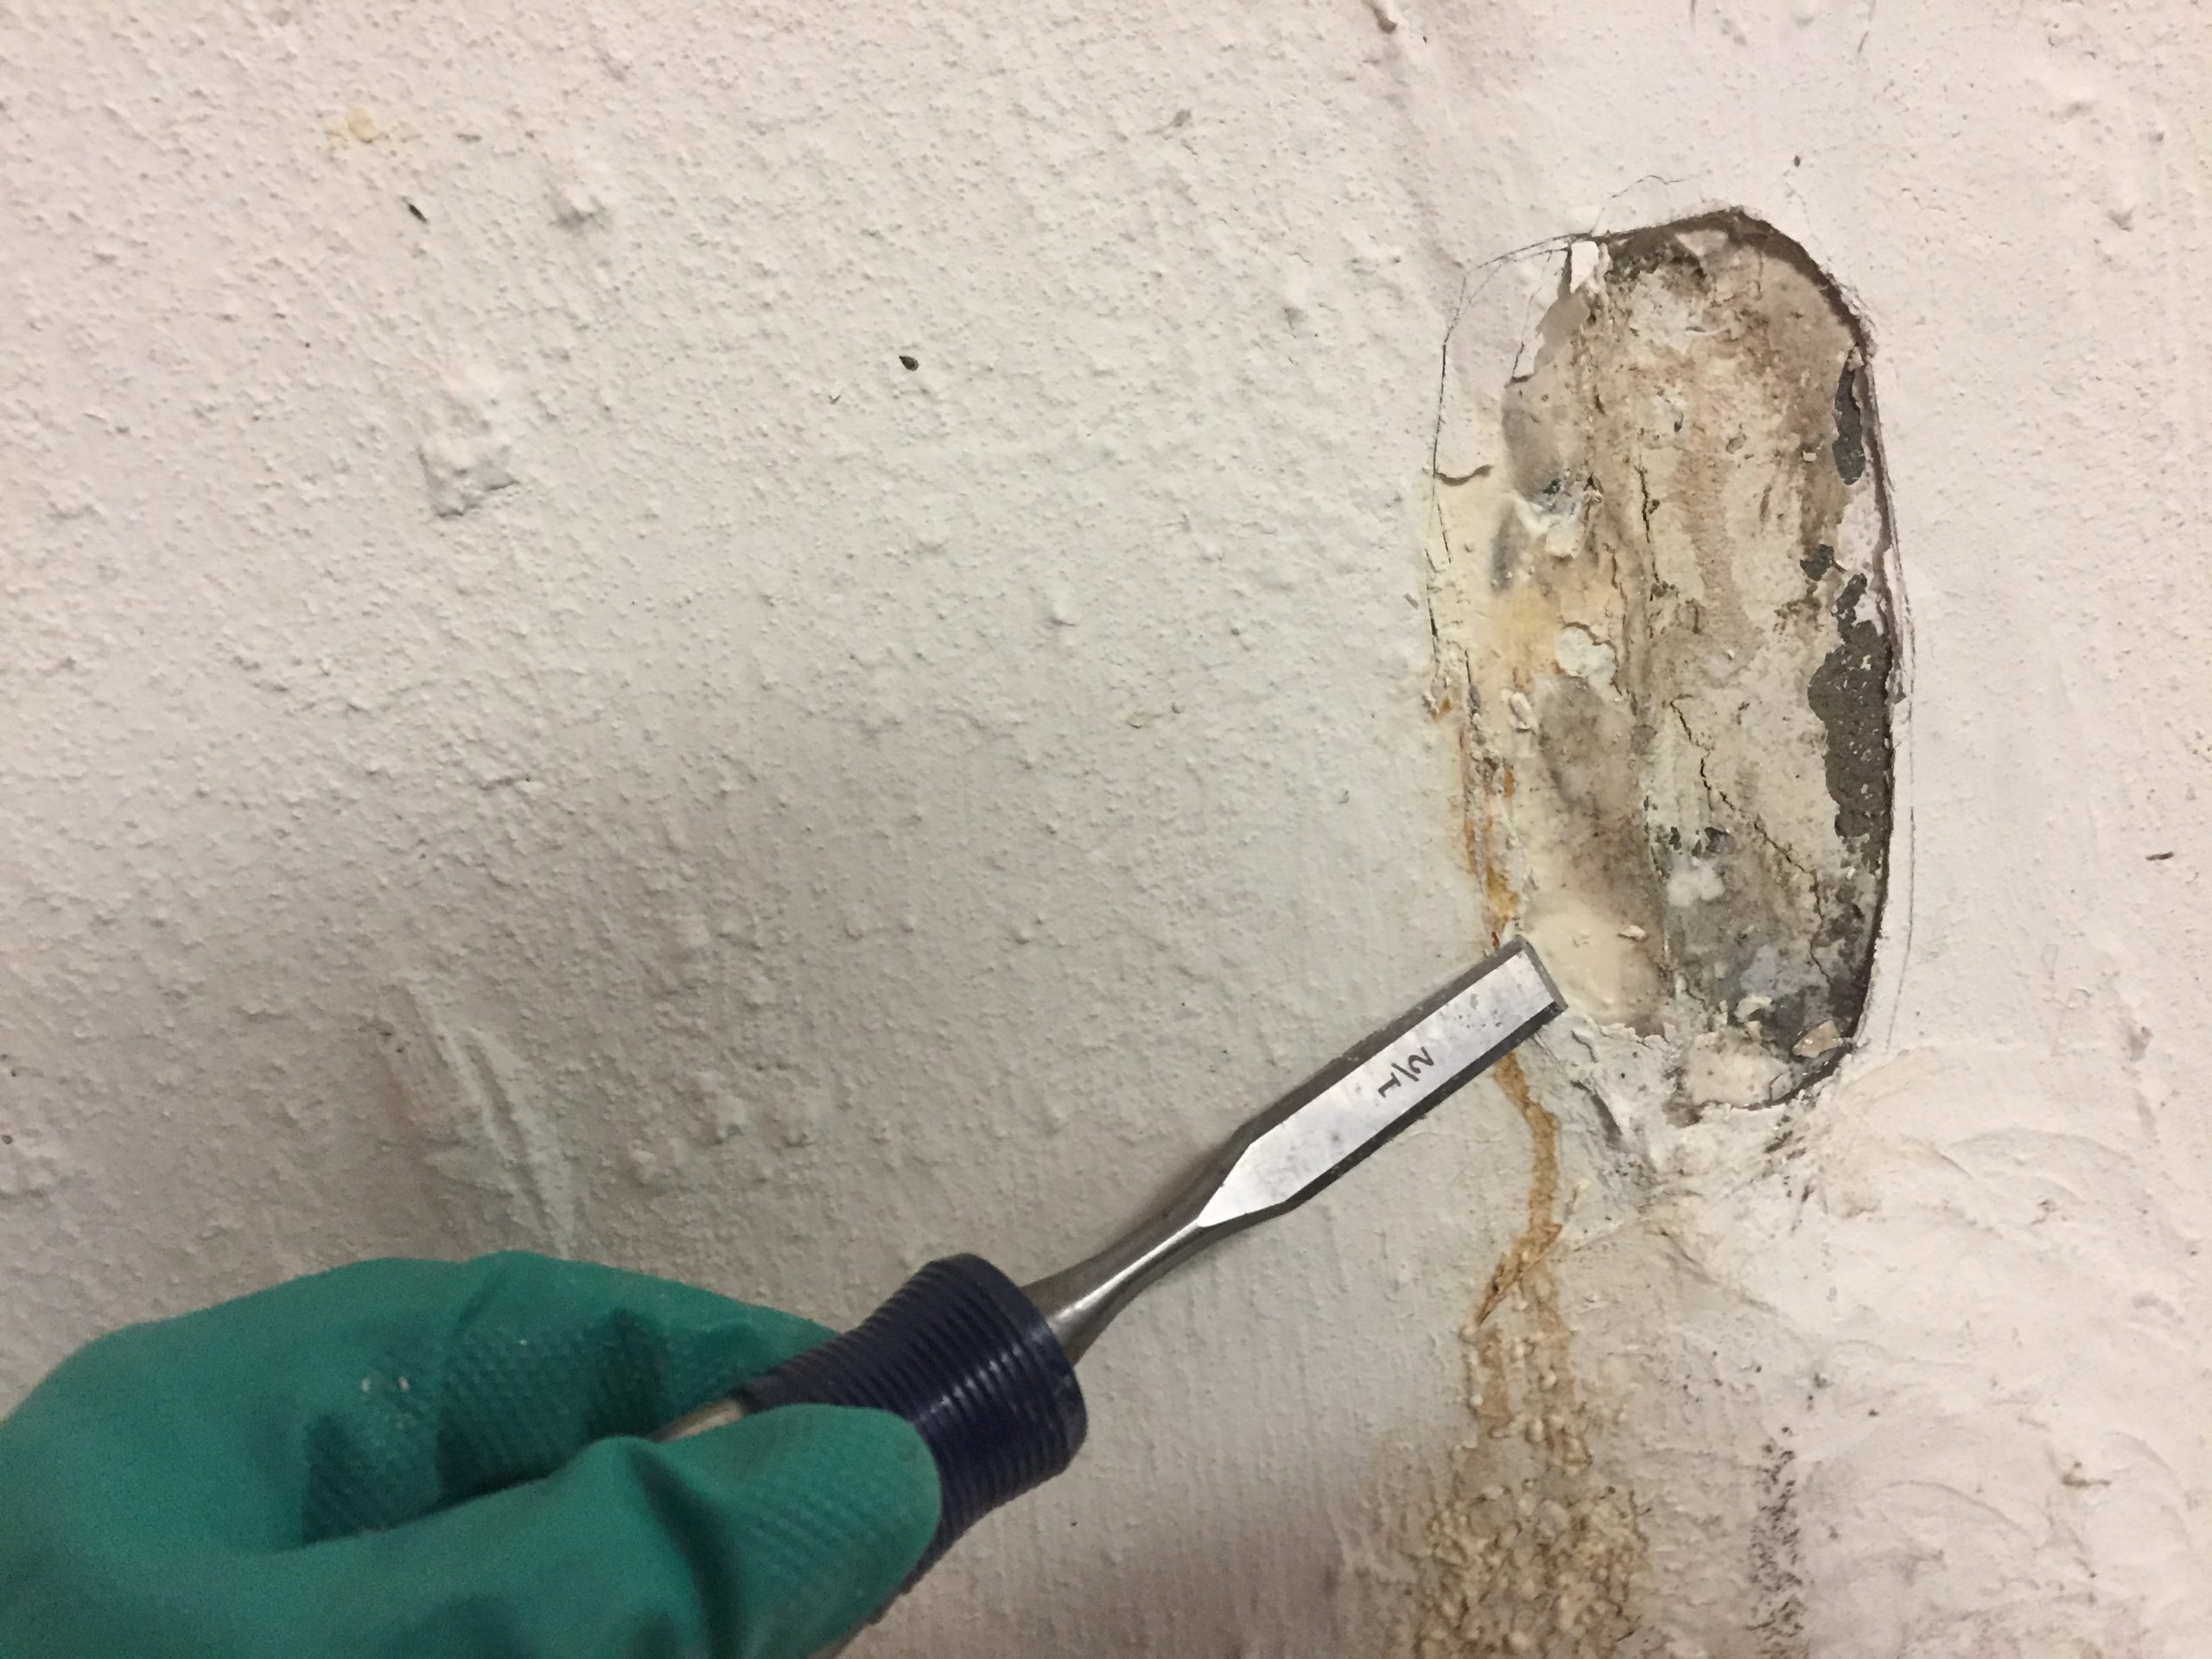
Note that I put on one of my protective gloves above already. This wasn’t because I was working with the hydraulic cement yet; it was only because it was damp and kind of gross once inside. (The main point of those gloves, though, is to protect yourself from touching the hydraulic cement.)
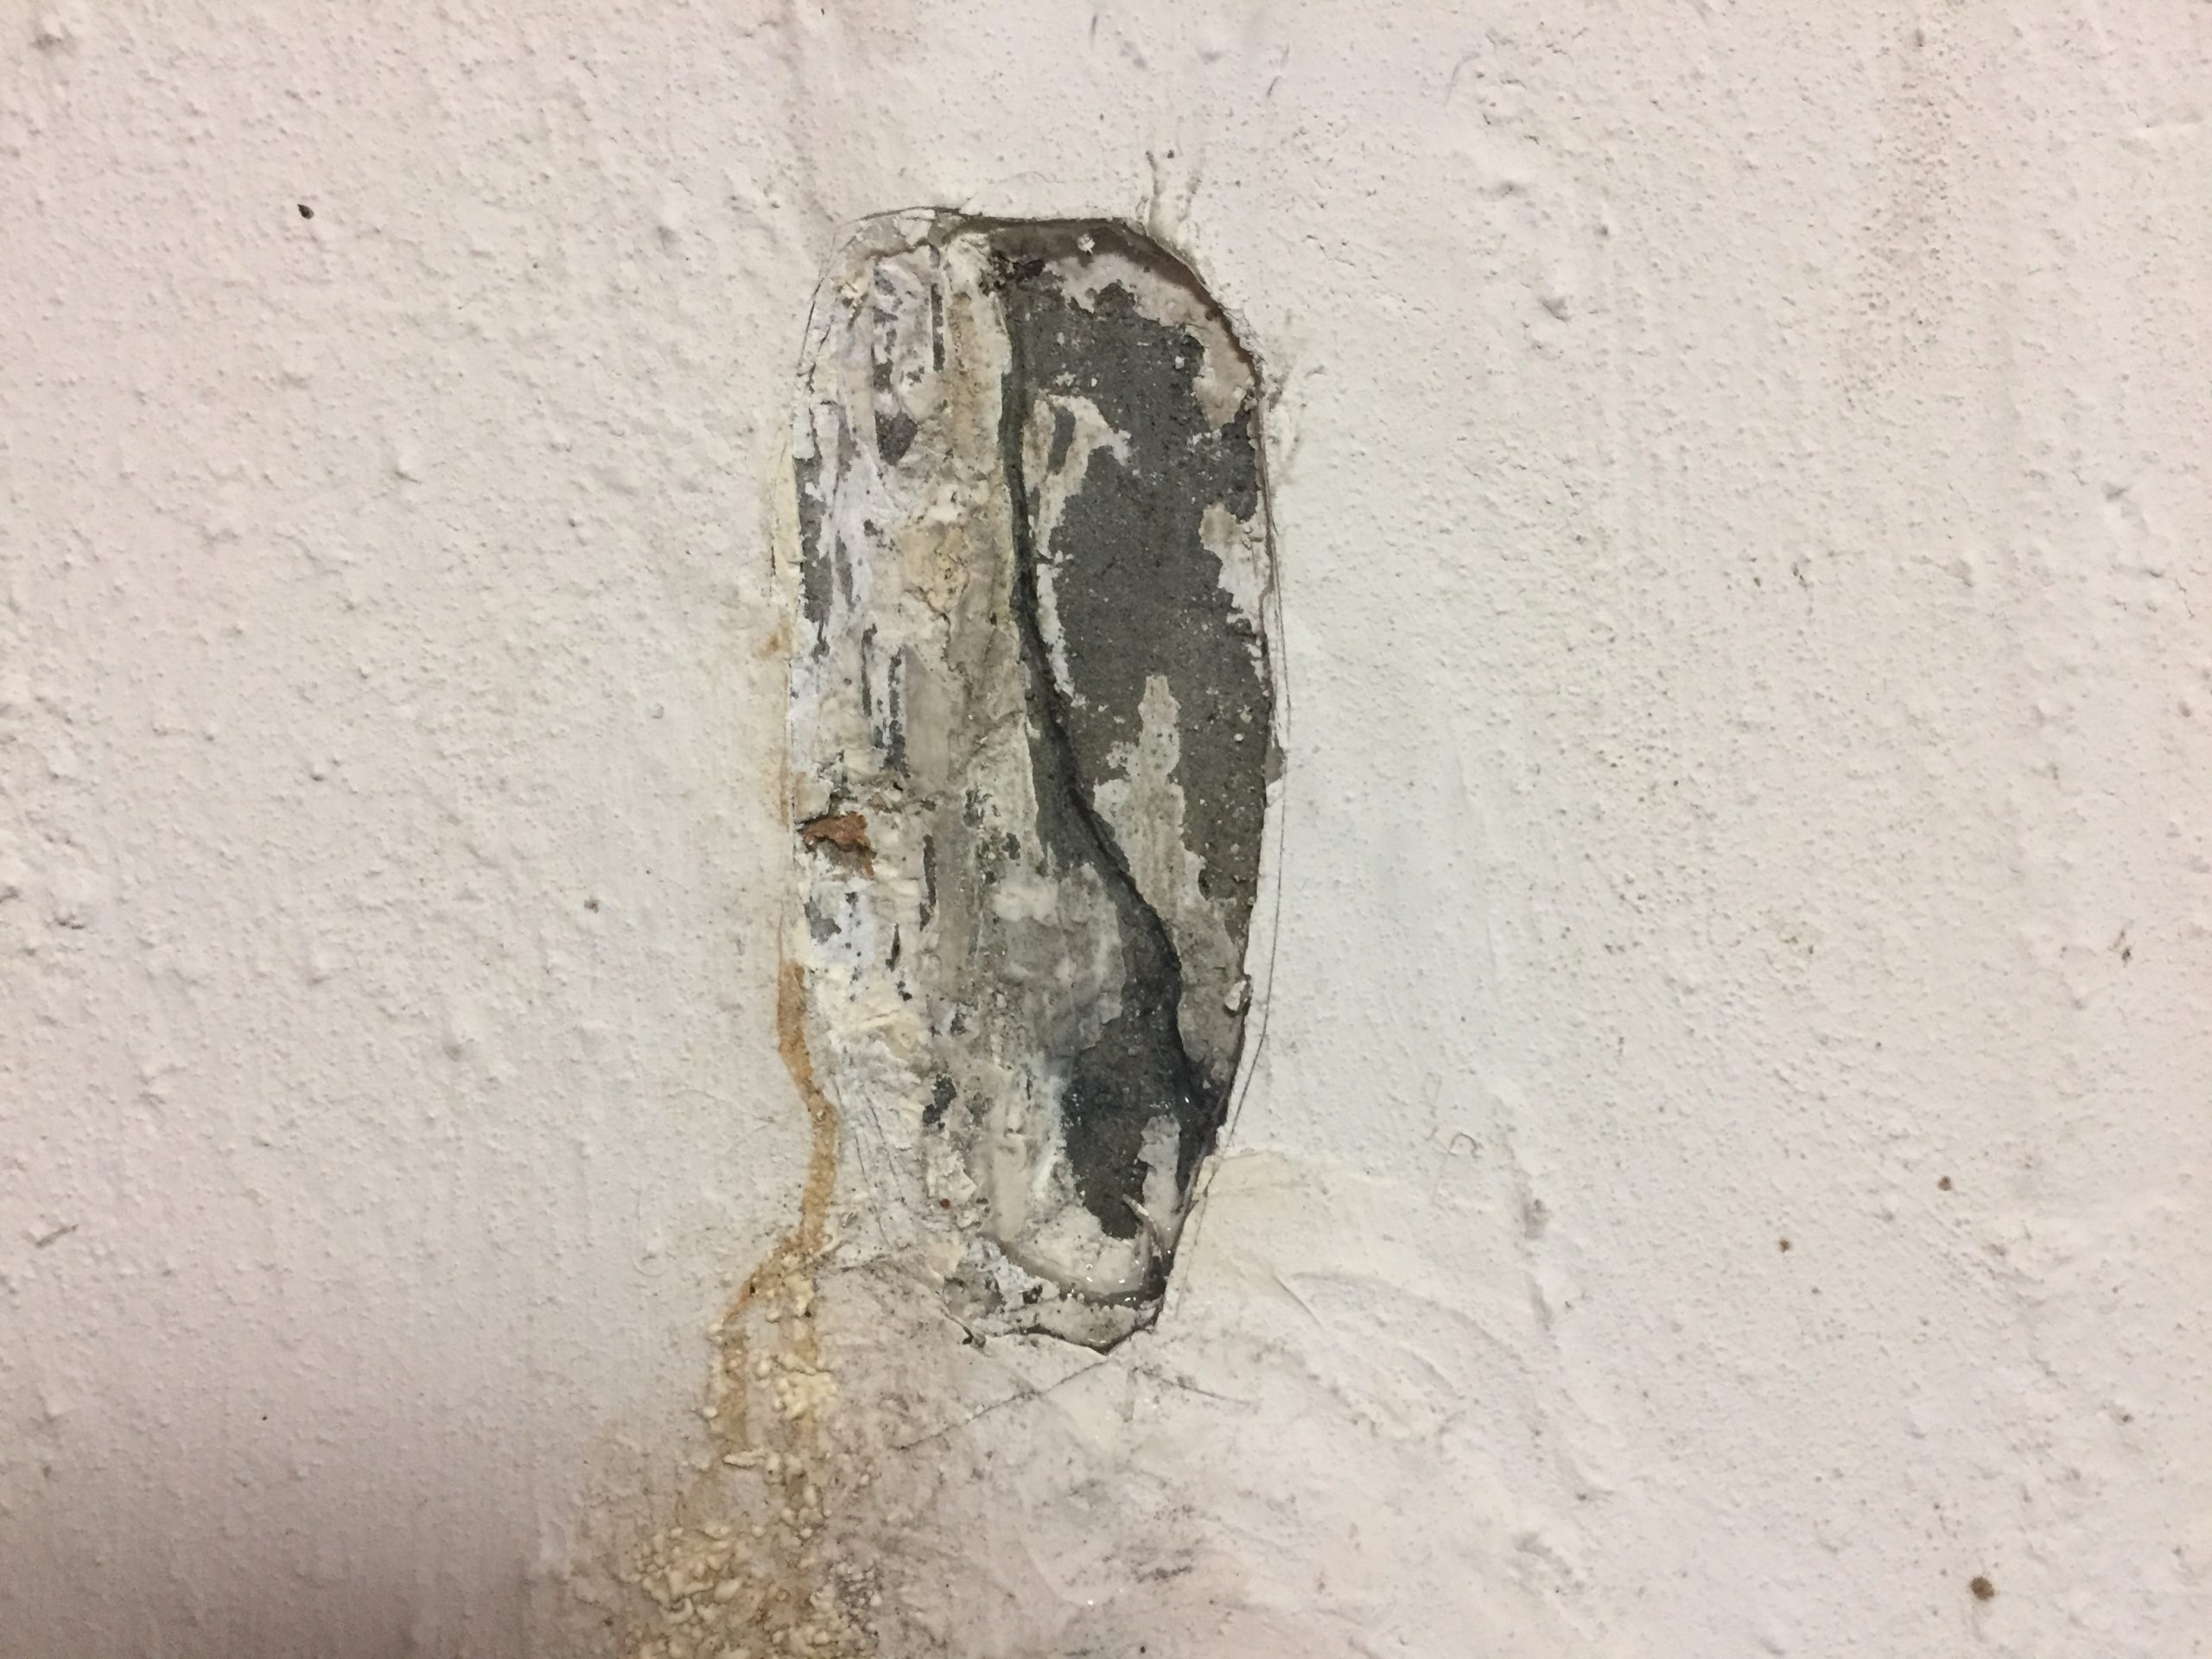
After a bit more work, I open the area further – providing a nice core region over which I’ll seal.
I try to make the entire area as smooth as I can, as I don’t want any kind of lip on the arc of my oval below. Also note how pronounced the small crack is now. (Open the photo.) I’ve tried to get as much ‘junk’ away from that (and out from within it) so I’ll be able to force my hydraulic cement directly into the crack when the time is right.
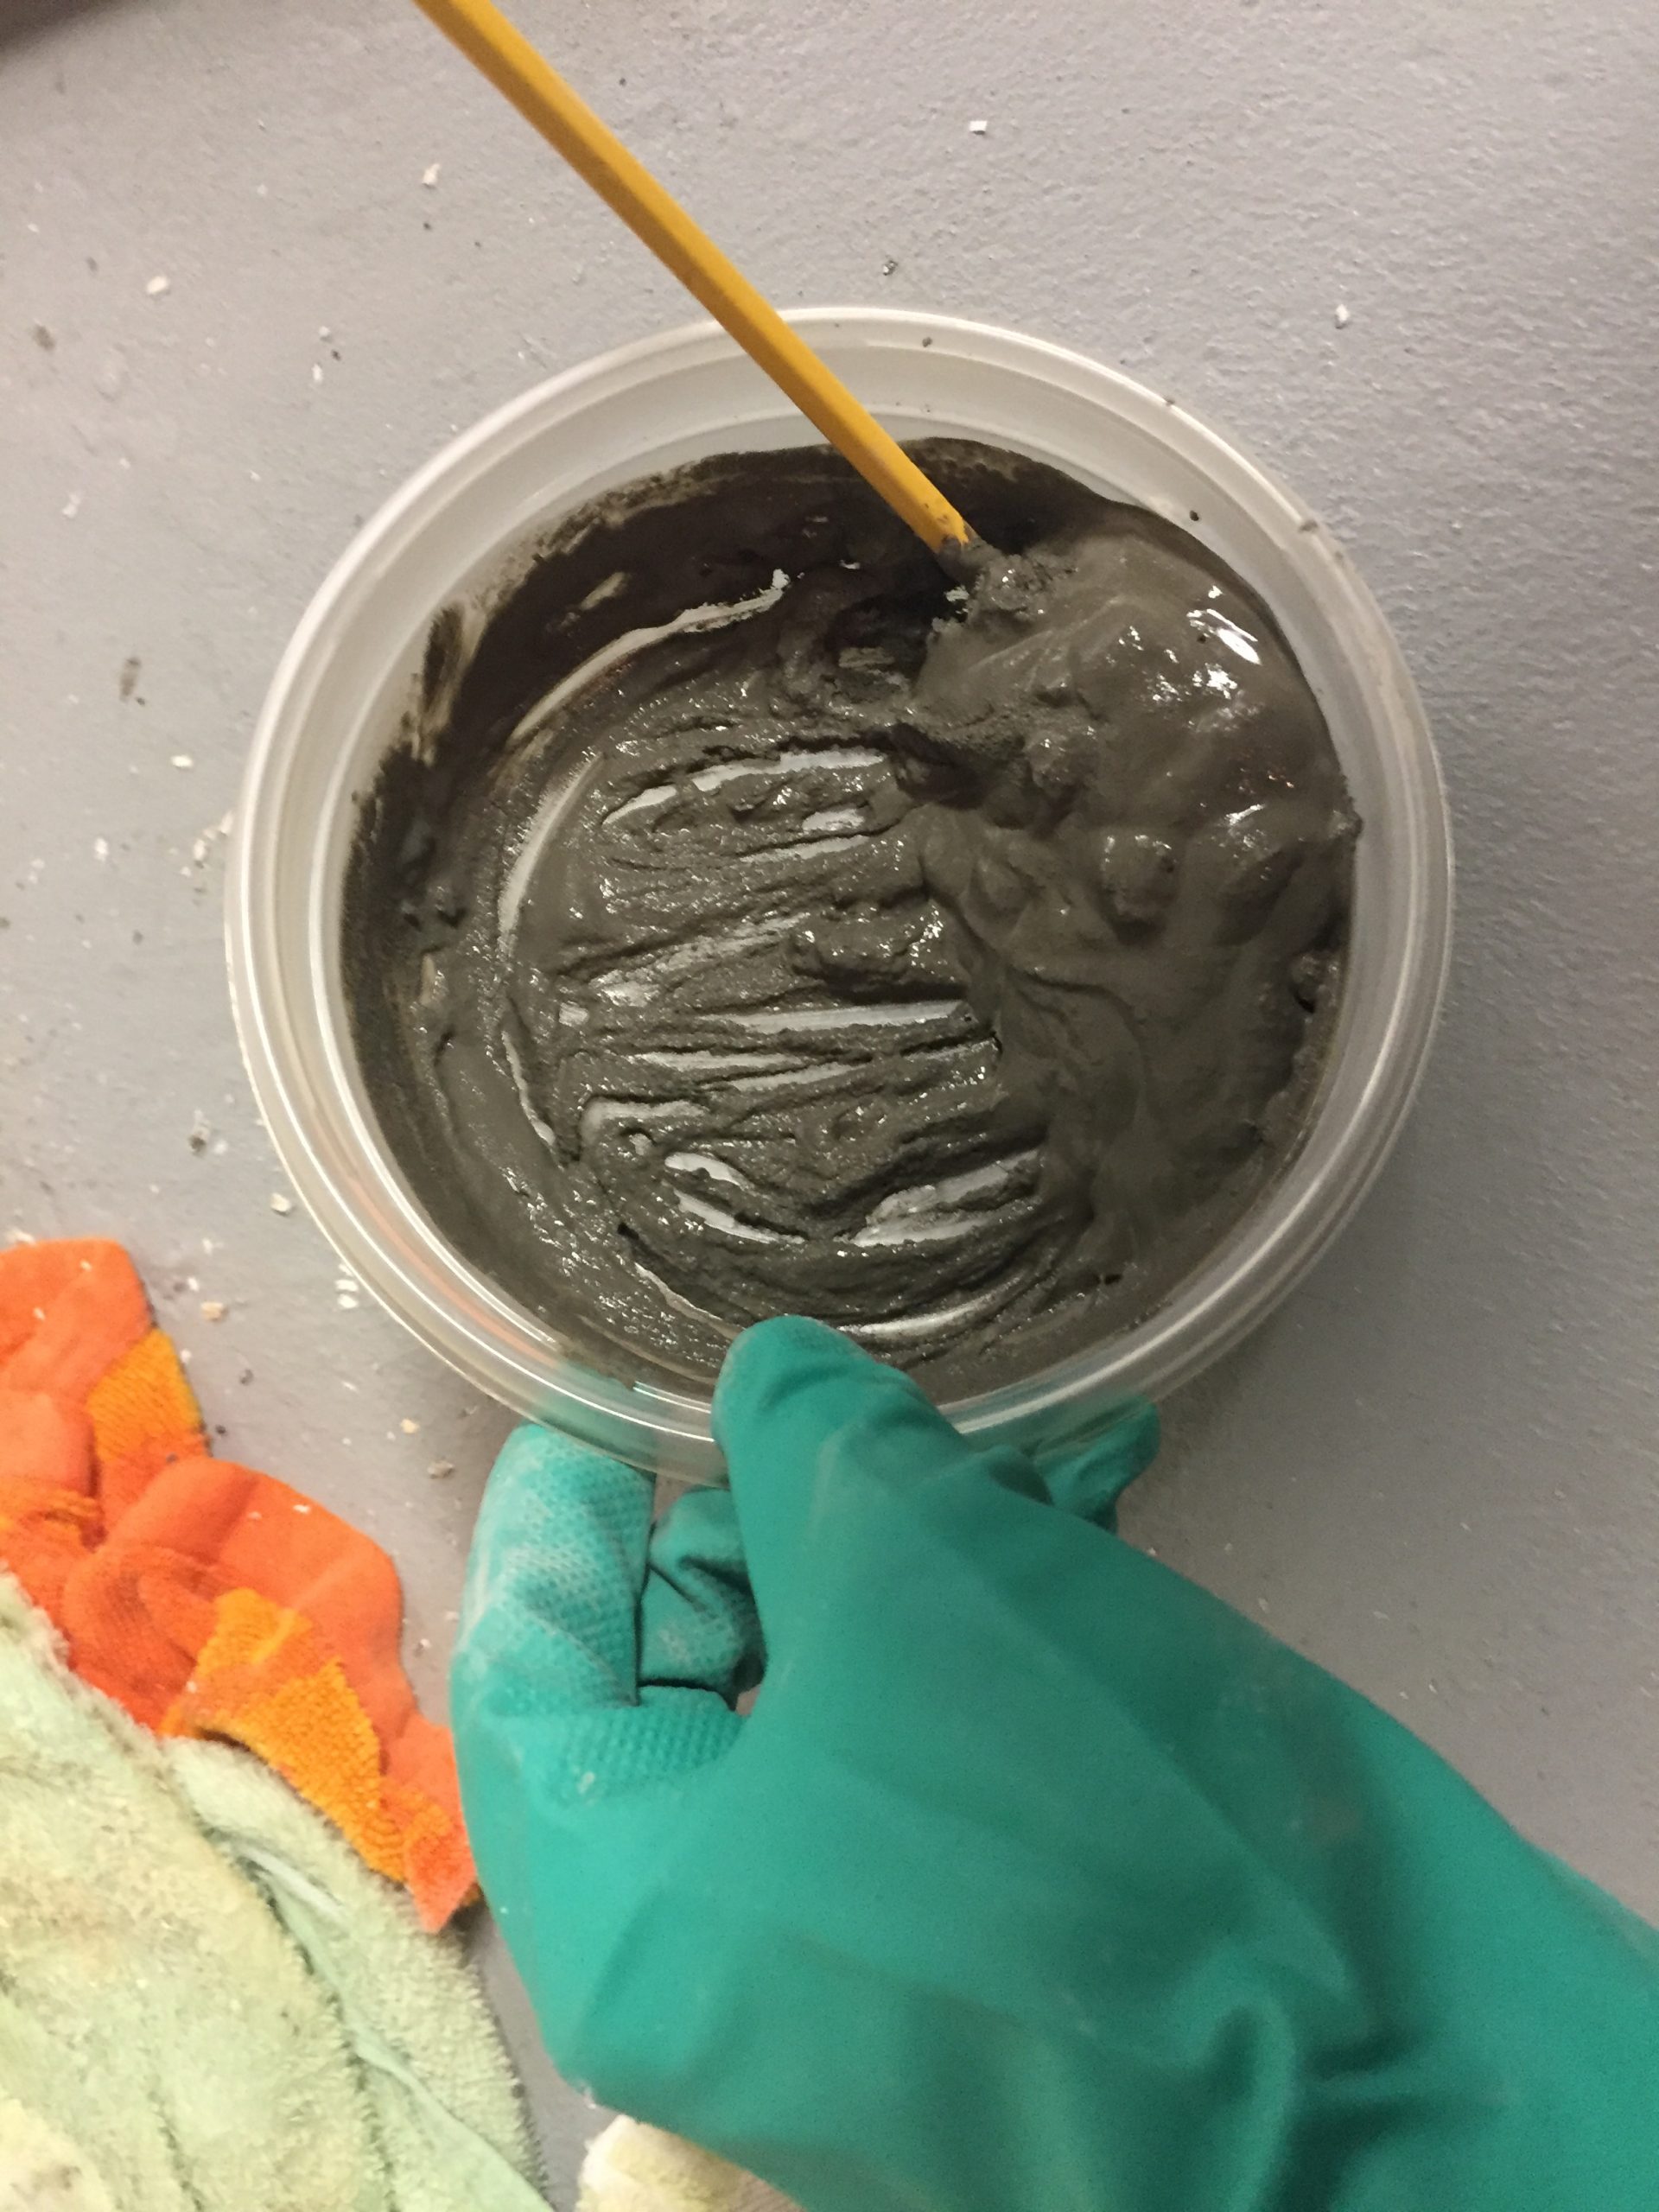
Now remember, hydraulic cement sets fast. And you don’t want it on your skin – and you SURELY don’t want to inhale it. So, before even opening that can – have your gloves on. And have your dust mask on.
I assure you – the only reason my protective rubber gloves were OFF in the photo below is so I could… well… take the photo after I removed the lid. I did, indeed, have my dust mask on the whole time. Keep it on.
Follow the instructions from your hydraulic cement manufacturer as to how much water to add. And mix accordingly. Again, though… keep in mind that this will set very fast. So, don’t over-mix. You’ll need to get right to work.
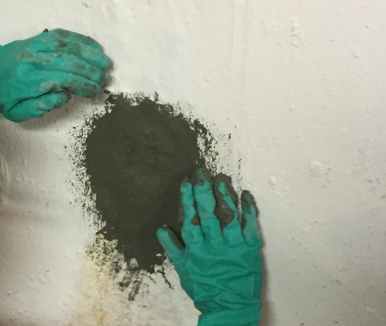
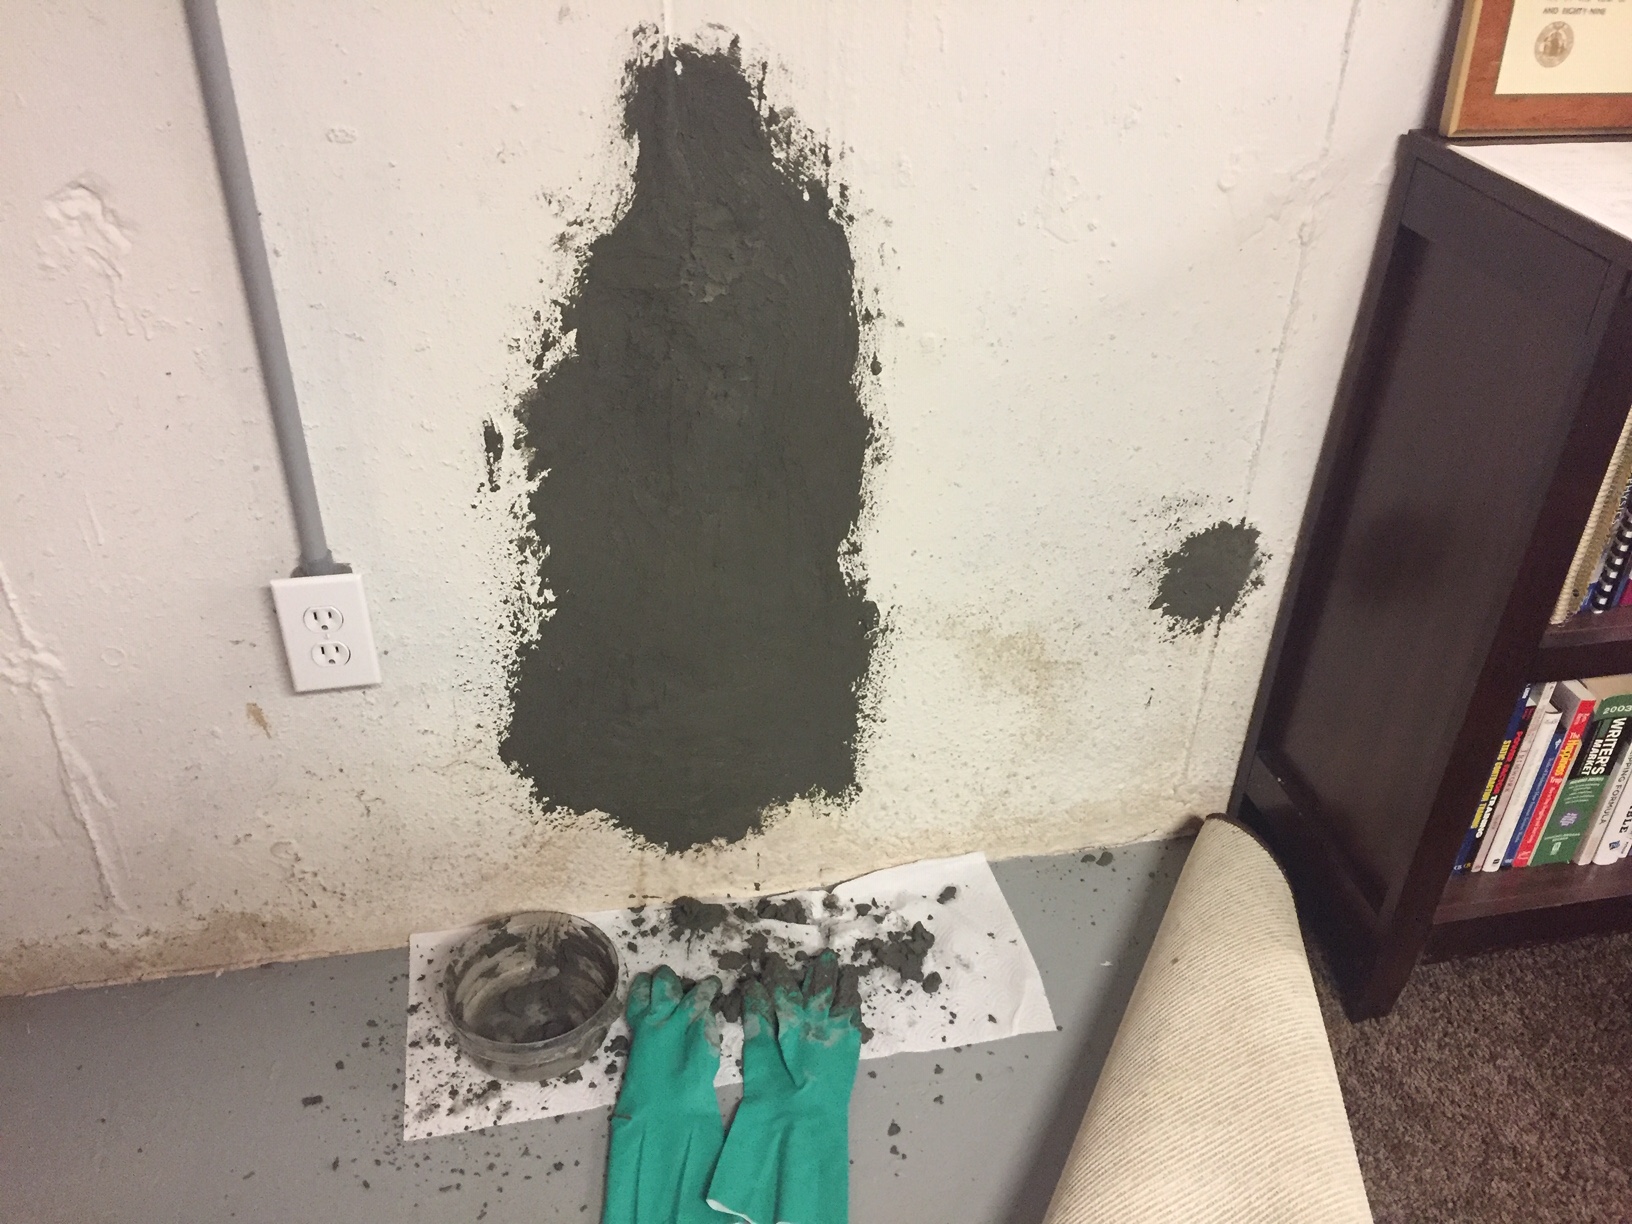
I grab a bunch of hydraulic cement, pack it into a palm-sized ball, and then FORCE it into that stress fracture I had cleared. This was the source of my leak. Once I do this, I smooth out the material much further, intentionally far exceeding the core area I had cleared as you can see in the two shots below.
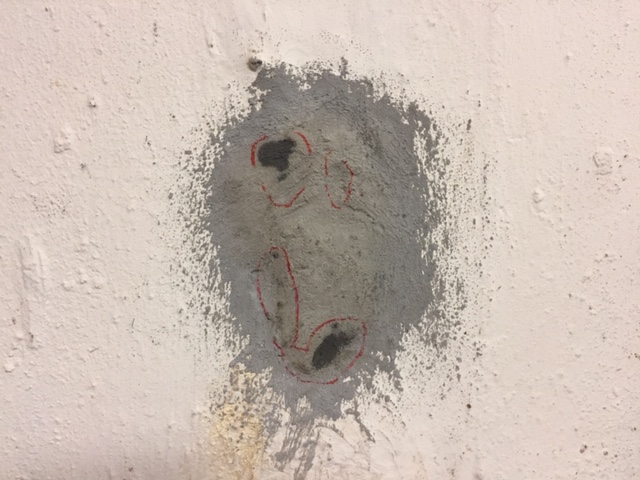
After a few hours of drying, I marked up the remaining wet spots as you can see in the next two photos. I want to monitor these closely. They’re still damp, which means this is where the water below remains prevalent. But nothing is leaking. So far, so good!
After another day or two, it’s time for a second coat.
As you can see, I once again ‘far exceed’ the core area. (I surely know there is [or was] water on the other side of this wall from heavy rains the prior 10 days – so, why not be excessive, right?)
Once fully dried, it’s now time for the aesthetic topcoat. Which, for me, goes back to my white UGL Drylock once more – assuring not only additional water deterrence, but also a perfect match for the remainder of the interior basement walls.

And that’s the story of my basement leak repair.
This was, most fortunately for me, only a small water leak; things can be far, far worse – of course.
The photos and procedure above were from about 2 months ago, and the basement has been bone-dry since. Much as it was for the 19-years prior. And most importantly, my guitars are, once-again SAFE!
Anyone have any additional basement water leak experiences you can share with us below – either larger or smaller?
Need Professional Help from a Local Contractor?
• Visit Our Find a Contractor Page
Related Posts
• My Wireless Waterproof Doorbell Epiphany
• Installing a Bathroom Ventilation Fan
• How to Replace a Dead GFCI Outlet
• How to Clean your Outdoor A/C Unit for Better Cooling
• Troubleshooting and Repairing a Broken Doorbell
• Spider Mite Arborvitae Decimation

Thank you for making this post. I’ve had different contractors solve rod holes differently. Most recently they did silicon then hydraulic cement forced in with a rebar to pack it in. I had been reading about epoxy so I was concerned that this silicon method in a wet tie rod hole wouldn’t work. This makes me feel a bit better seeing what you did.
Glad this gives you more peace of mind, David. I know exactly what you mean… it’s hard to know what solution is best. There are often variations in opinions and experiences. The initial patch that I did on this particular house was in ~1999. Maybe 2000. I did it exactly the same as the one pictured above. I only did two such patches and neither has leaked since. Once and done. At least… for me. (So far.) Best of luck to you.
We have the same issue on a tiny hole in wall with an occasional drip- my questions is – once the hole is patched up (we want to finish our basement) where does the water go that would have leaked in? Will in go into the French drain we have? Would it find another spot and then leak thru eventually or will it dissipate?
In my experience, the first line of defense is the house grading, Carol. To lead the majority of the water -away- from those basement walls from the outside. Because once water is there, it may eventually seep down and get caught in your drain system. Or it may just linger – especially in periods of prolonged rain or natural high-water-concentration, the latter depending on your environment or proximity to a lake or the ocean. So, it’s hard to answer your question exactly – but think of the patch as a cork in a bottle of wine turned upside down. The pressure of that wine, if it remains pressed up against that cork, may well (over time) find it’s way through. In some way.
For finishing a basement where you already have water problems, I’d suggest consulting with a local engineering company that specializes in your area. Have them give you a personalized assessment and recommendations on potential grading, drainage, and overall remediation and risk mitigation suggestions. It will cost you a few hundred dollars most likely, but it could save you many thousands (in potential damages) later.
When we first moved to this house – I watched the basement like a hawk for 2 years. I firmed up the grading. Water was still making it’s way in from time to time. My resolution was the choice not to finish my basement. (Note the photos above.) It’s pretty down there and FULLY livable – but I always have visibility on the perimeter walls. Saves me in property taxes too!
Hope this is of some help. Best of luck to you guys,
Mark
I have this same problem, same circumstance, and same annoying little crack from a form-pin hole in the concrete. I prepped the wall with soap and water, concrete etch, all that, then sprayfoamed the old form hole and hydro-cement patched it on top. 2 days of curing there is still a couple damp spots in the hydro cement where the hole is, just like in your pics. I was not sure if I needed a second coat, I was concerned I might have accidentally smoothed the cement too thin, but now I read your post it looks like I should.
It’s just my approach to most everything, SH… that second coat: Why not? Or said another way, engineer, then over-engineer (given you have the time and resources to do so), and in all cases: test repeatedly!!
It’s been 4 years now since that repair above. Still bone dry.
Did you need a bonding agent?
No bonding agent for me, Patty…
Though I have to admit, when you asked that, I thought… “Huh – should I have used a bonding agent?” ;)
I’ve done this repair a few times over the years. (Not at the same spot – and not even always at the same house.) I’ve always done it as I describe above. When I first came to this house – I did another patch that was much larger. I used nothing extra there either. And that’s been fine for close to 20 years now… and I -really- hope I don’t jinx myself by stating that here!