This guest post is by Interior Decorating enthusiast, Eva Stephen.
I don’t know what it is about prefabricated curtains, but the flimsy rods, overly decorative hooks and the tiny screws just end up looking cheap, unstable and unappealing.
Sometimes we just need a little more DIY elegance than the hardware store has to offer.
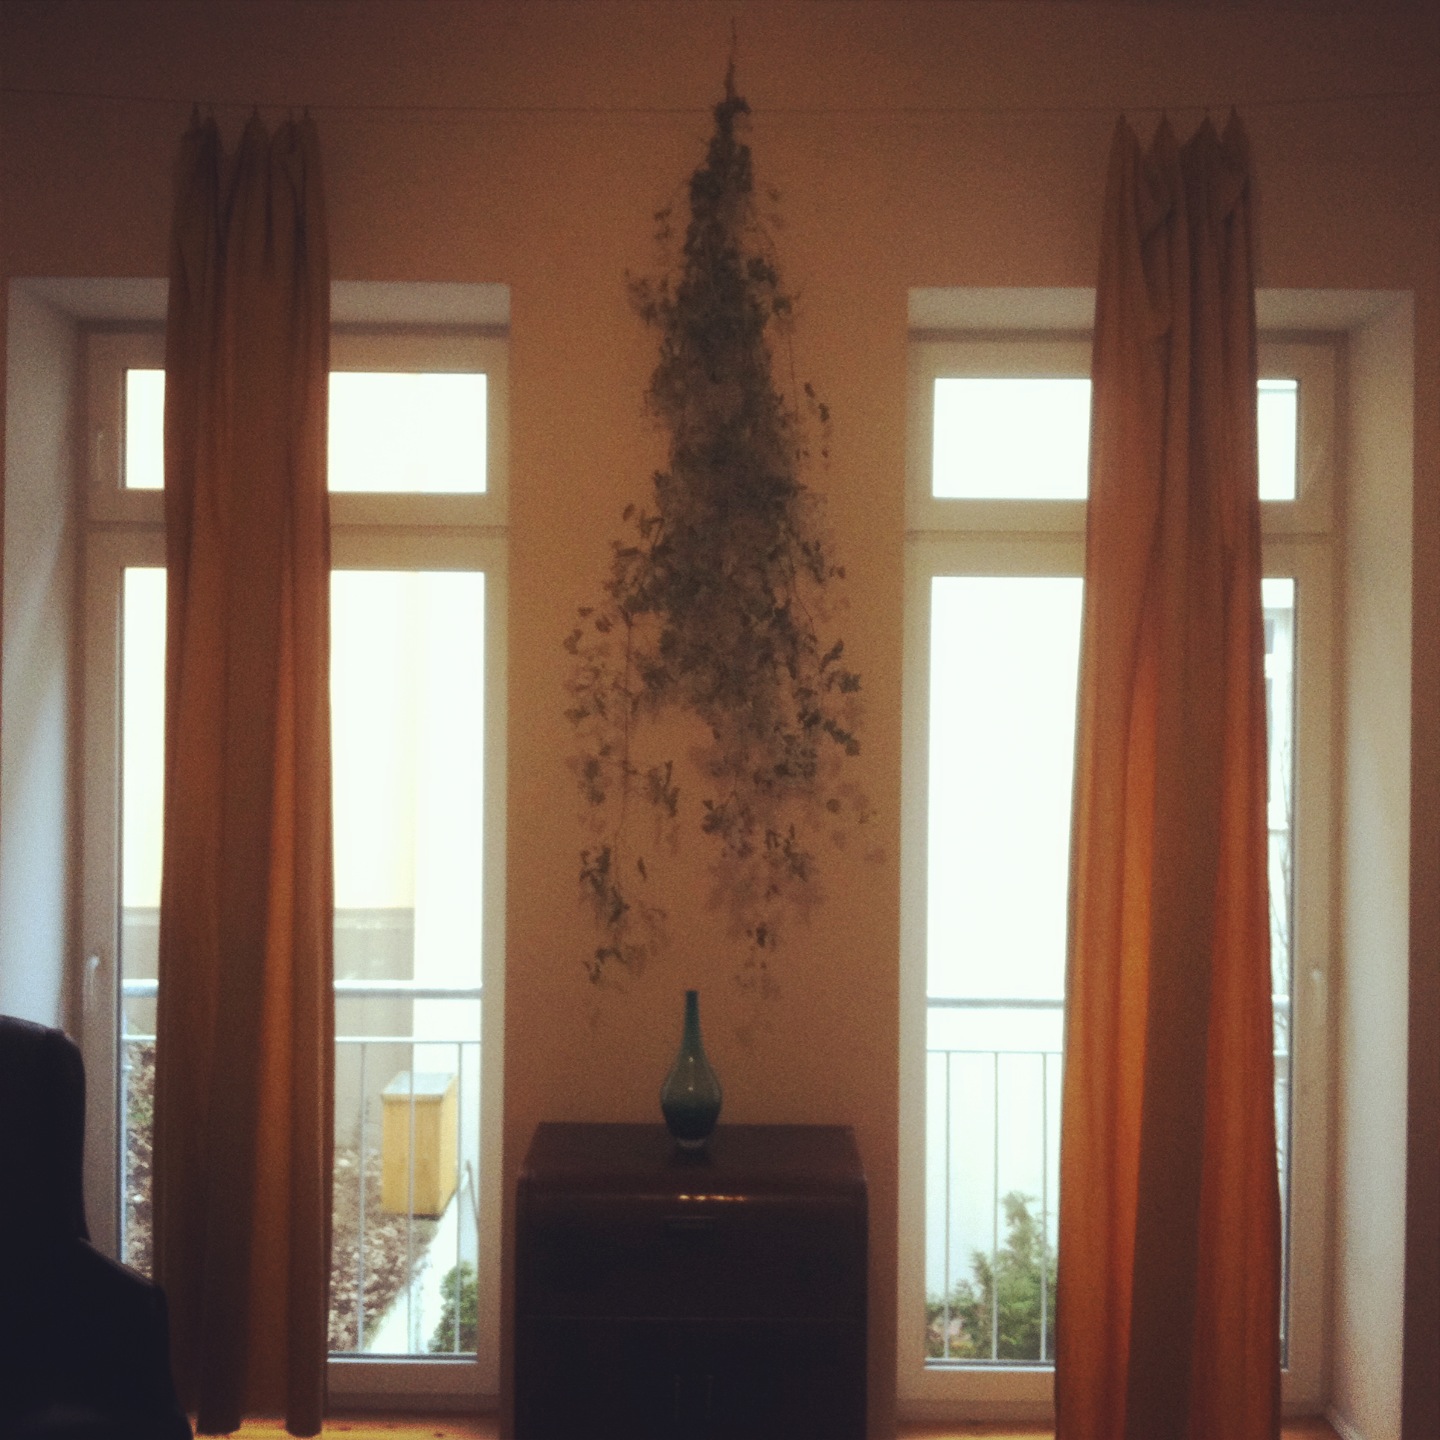
In this tutorial, I’ll show you how to craft your own sturdy and stylish custom curtains and how to use local flora to top it all off with timeless ambiance.
To create my curtains, I assembled the supplies summarized below. All of these can easily be obtained at local hardware stores, craft stores, fabric stores and/or via many on-line resources.
- Two large rectangular lengths of fabric (We choose mustard yellow to catch and enhance the light in our living room)
- One length of medium gauge wire (12 or so)
- Wire clippers
- 8-10 Alligator Clips with an eyelet on one end
- 2 Wire Clamps
- 1 Turnbuckle
- 3 Eyebolts
- 1 Hook screw
- Simple sewing thread and needle
- Several long vine clippings from your neighborhood

Bringing the Curtain Design to Life
Now, I’ll bring everything together via the following steps, which I’ll interleave with photos to make everything as clear as possible…
Step 1: Cutting your Wire to the Proper Length
Cut the wire to fit the length of the walls between which you will hang the curtains. It doesn’t have to be exact, within a few inches is fine, just be sure it’s not shorter.
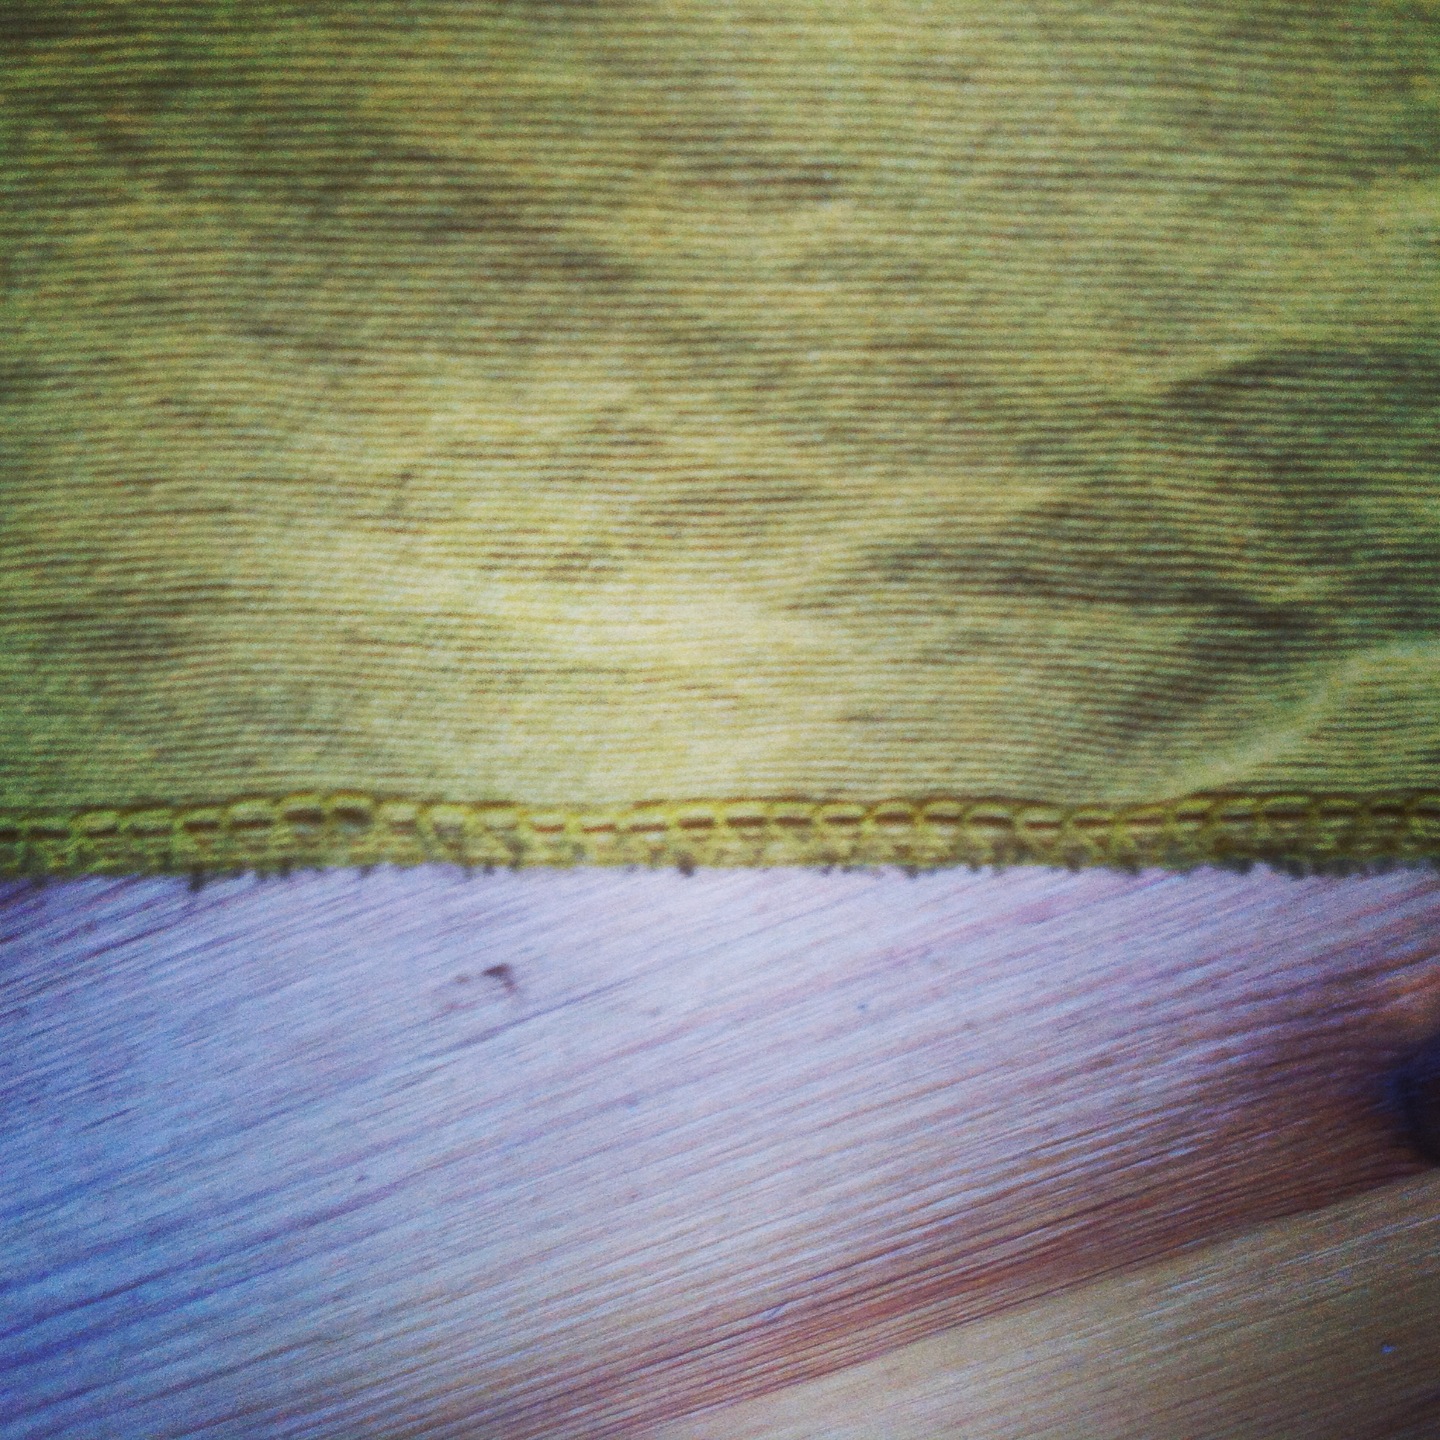
Step 2: Cut and Hem your Curtain Fabric
Measure your curtain fabric and cut it to the size of your window. If the fabric is long enough to reach the floor, it will get very dirty, very quickly. Be warned! Hem the bottom at the desired length.

It shouldn’t require much more than a single hem…
Step 3: Install the Eyebolts
Drill appropriate diameter holes and insert two eyebolts into the opposing walls at the desired height for the curtain wire. Depending on your wall, you may need anchor screws.
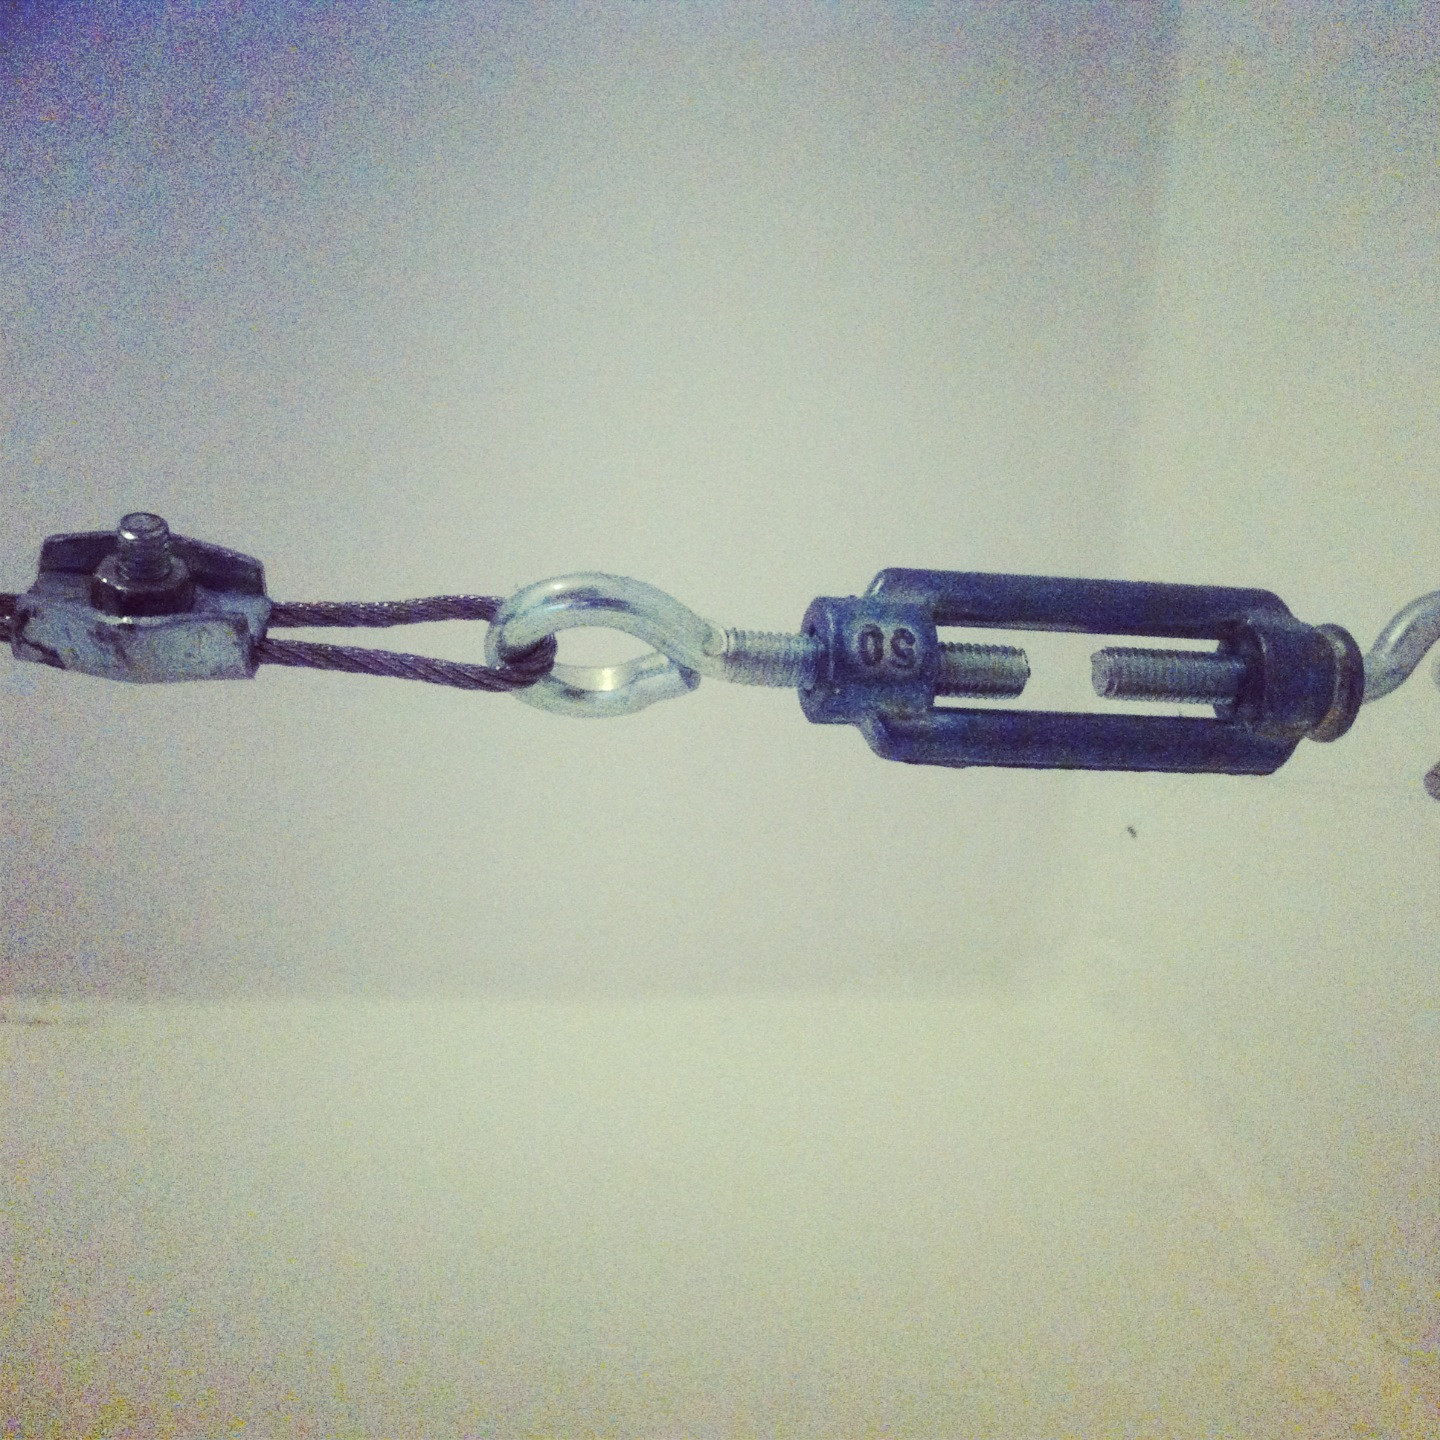
Step 4: Hook Screw, Turnbuckle and Eyebolt Assembly
Insert one hook screw into one side of the turnbuckle and insert the final eyebolt into the other side as shown in the photo just below…
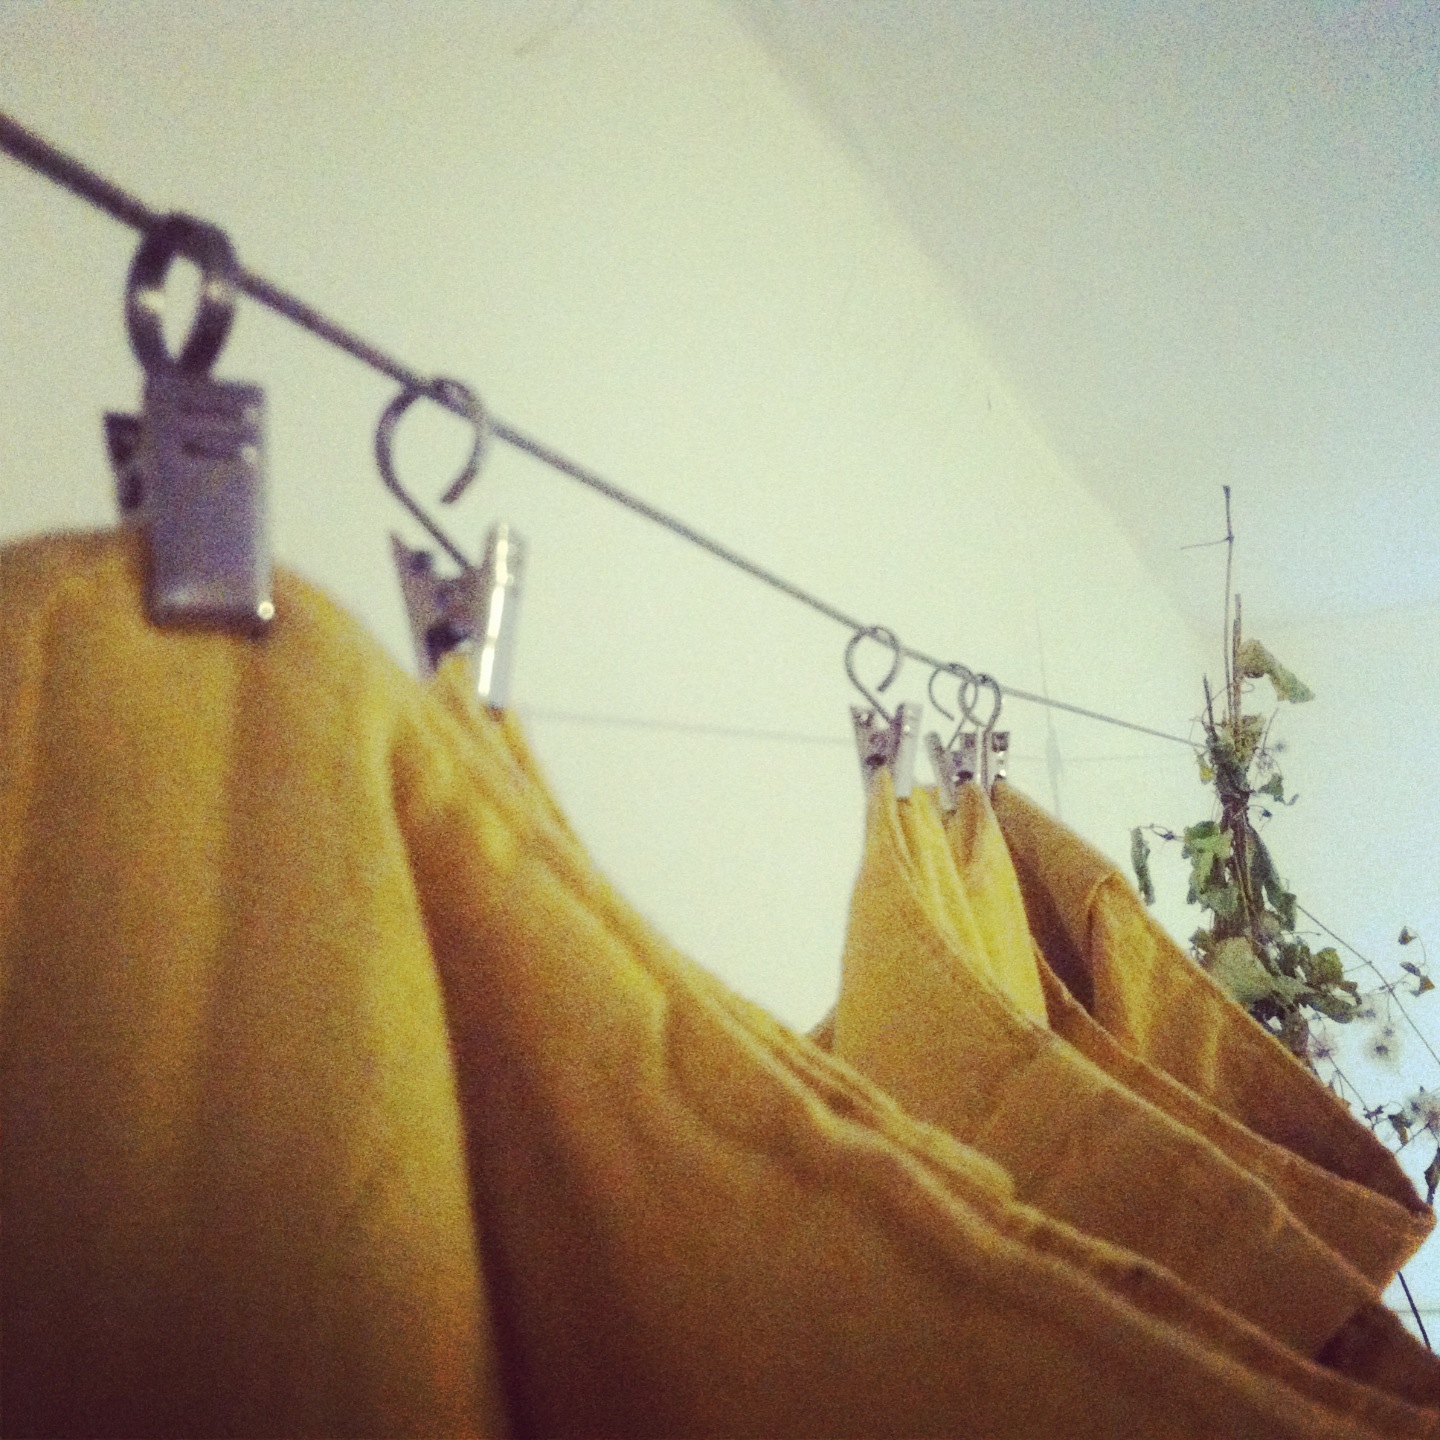
Step 5: Fasten One End of Your Wire & Add Alligator Clips
Loop your wire through one eye bolt in the wall and secure it with a wire clamp. Snip the residual wire with your wire clippers, leaving a few centimeters for give. Slip all 8-10 alligator clip with eyelets onto the wire.
Step 6: Final Wire Fastening and Turnbuckle Adjustment
Then loop the open end of the wire through the eye bolt connected to the turnbuckle and secure that end with the second wire clamp. Loop the hook bolt to the eye bolt connected to the wall. You will probably need to adjust the wire clamp to make the wire a little more taught. It doesn’t need to be very taught; just enough to ensure the wire won’t sag under the weight of the curtains. Micro adjustments can be made by screwing the eye hook into or out of the turnbuckle.
Step 7: Clipping your Curtain Fabric
Clip your curtain fabric to the alligator clips on the wire. Make sure the clips are evenly spaced to ensure a balanced look.
Step 8: Adding the Vines or Flora of Your Choice
The final touch is to wrap thread around the vines multiple times, nice and tight. Then go ahead and tie the end of the vines to the wire and step back to enjoy your work.
Stylish Home Decorating Simplicity
Now you have a simple and elegant set of custom curtains that will be far more sturdy and functional than the store-bought versions. Add some beautiful furniture to accent the curtains. We found a gorgeous, stately leather chair that fit perfectly with our mustard yellow curtains.
And voila, it’s just that easy to add sturdy and stylish curtains to your home!
Plus projects like these can be varied to suit individual tastes in so many ways – that the only limit lies in your imagination. Does anyone have any additional thoughts to share below?
Enjoy!
 About the Author: This article is provided by Eva Stephen who is a writer for Shop 4 Furniture. Eva likes to write about DIY tutorials, home organization and experimenting new and odd things in home styling.

Hi Mark,
First many thanks for your nice words. :-)
The fabric used in the project is canvas and for a project like this I’d recommend a fabric that doesn’t stretch because it is much harder to sew this kind of fabric. Mistakes in the sewing can be exaggerated and very obvious on a large straight line. Fabrics that are more difficult to sew include anything that stretches like silk, knit and jersey.
As far as your other question is concerned, fading on light color curtains wont be as noticeable. Cotton stuff is always easier to wash although it will later need ironing and may be spray starch. Plus I have found nylon sheers, with a vinyl roller shade underneath easy to wash also and they stay clean a long time. To deal with dirt you may vacuum the curtains off and on. Hope it helps.
These are really helpful insights, and they definitely help a lot. (Especially to someone like me – who has never actually sewn anything!) Thanks, Eva…
The vines are a very nice touch Eva, that looks like a great way to make curtains – not too hard at all!
Hi Jan, Yes that’s what I try in my articles to make home styling more fun, economical and easy to do. Thanks for your nice comment. :)
Great article Eva, and the curtains look terrific! (The vine accents are particularly cool!) One question for you – is there any specific type of fabric you would recommend for a project like this? (Are some perhaps better with sun fading or general washing & dirt resistance in your experience?)